
Knife Making & Bladesmithing Supplies
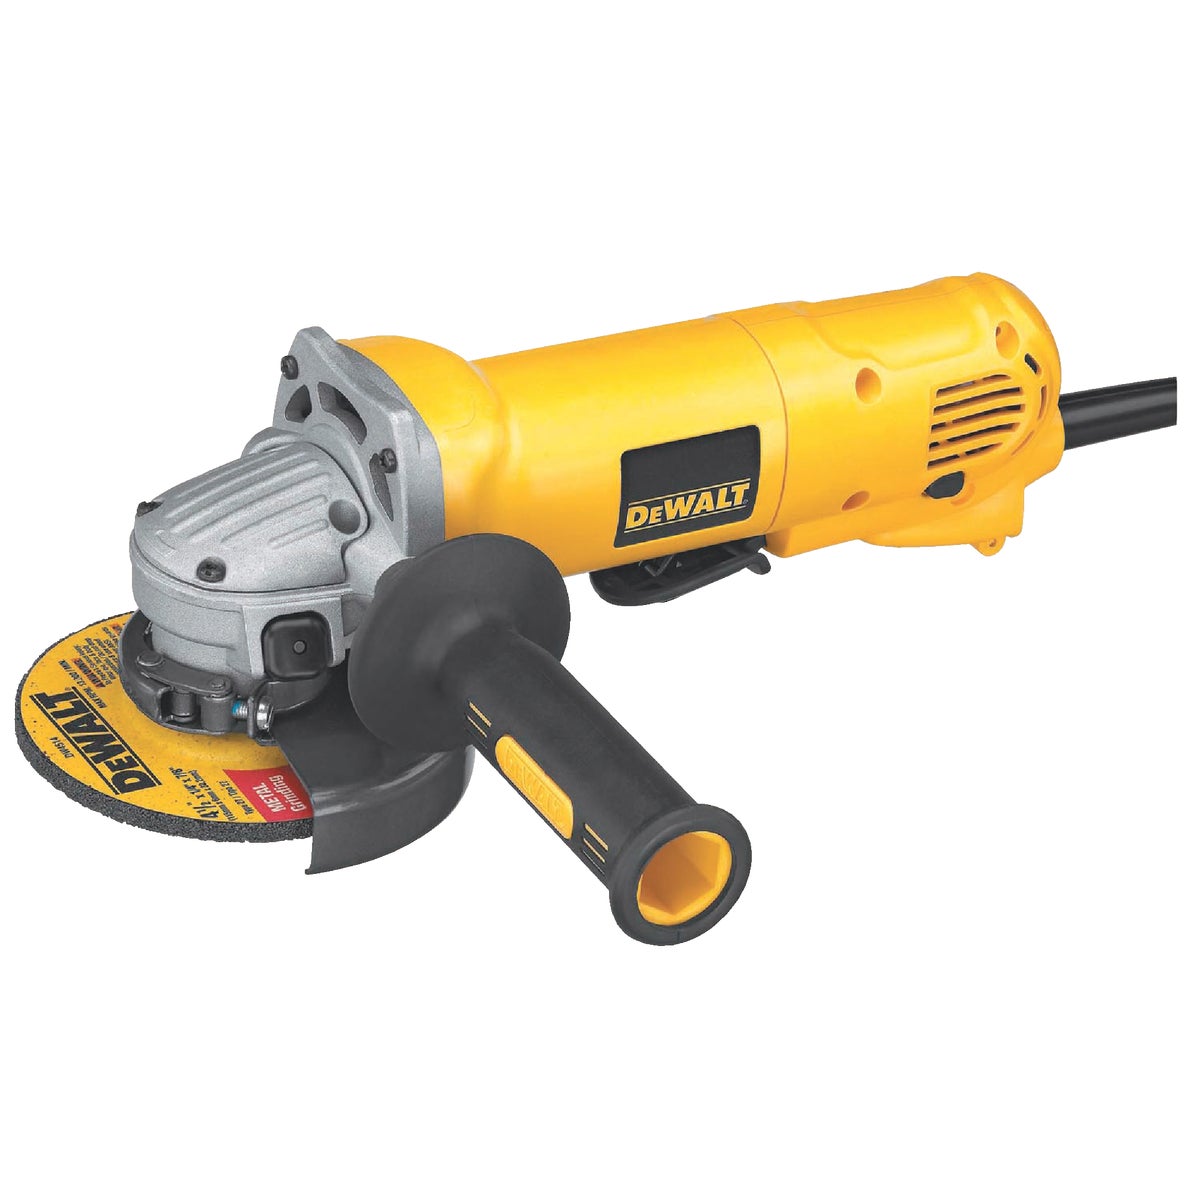
Stock removal, handle scales and hand finishing. The grinder, the flap discs, the torch, the epoxy, the files and the buffing compounds are all hardware-store items — and when the blade is finished, our sharpening center puts the edge on it.
Short answer
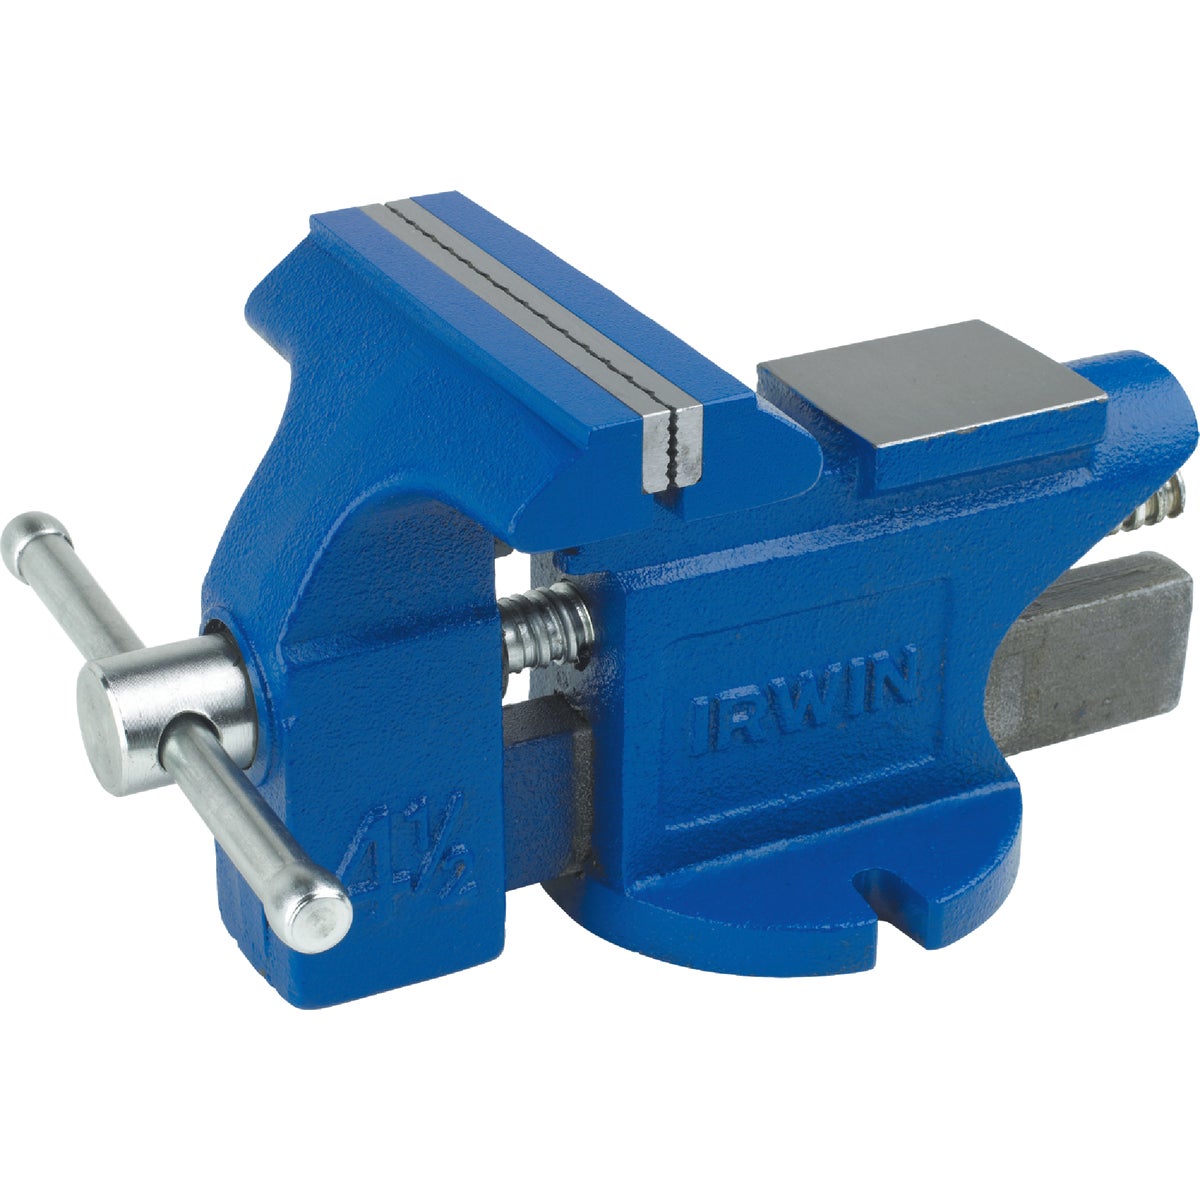
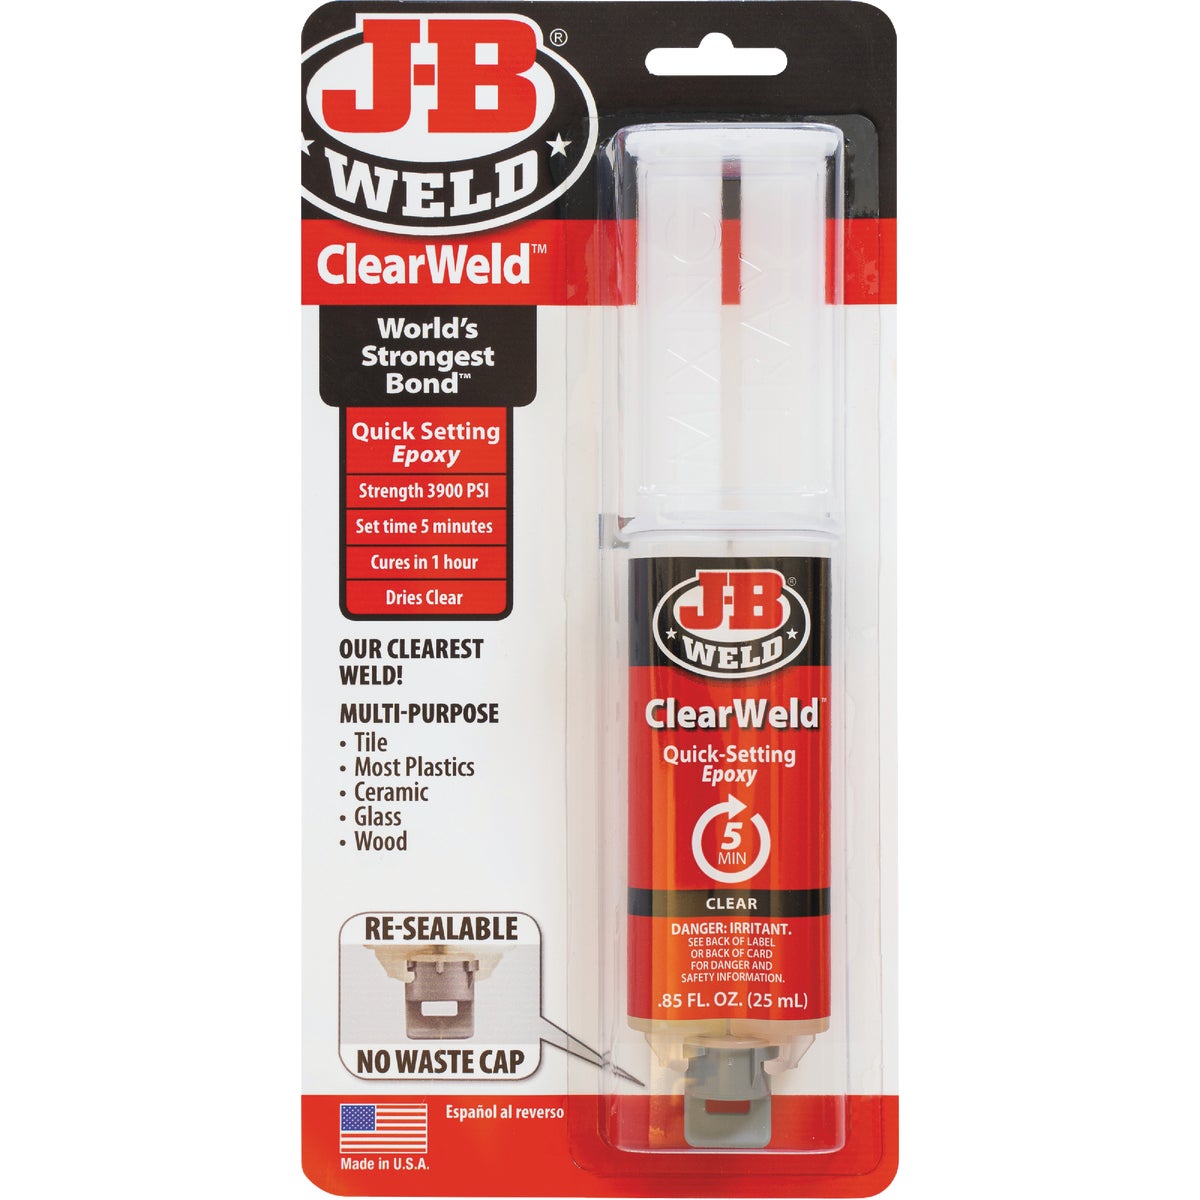
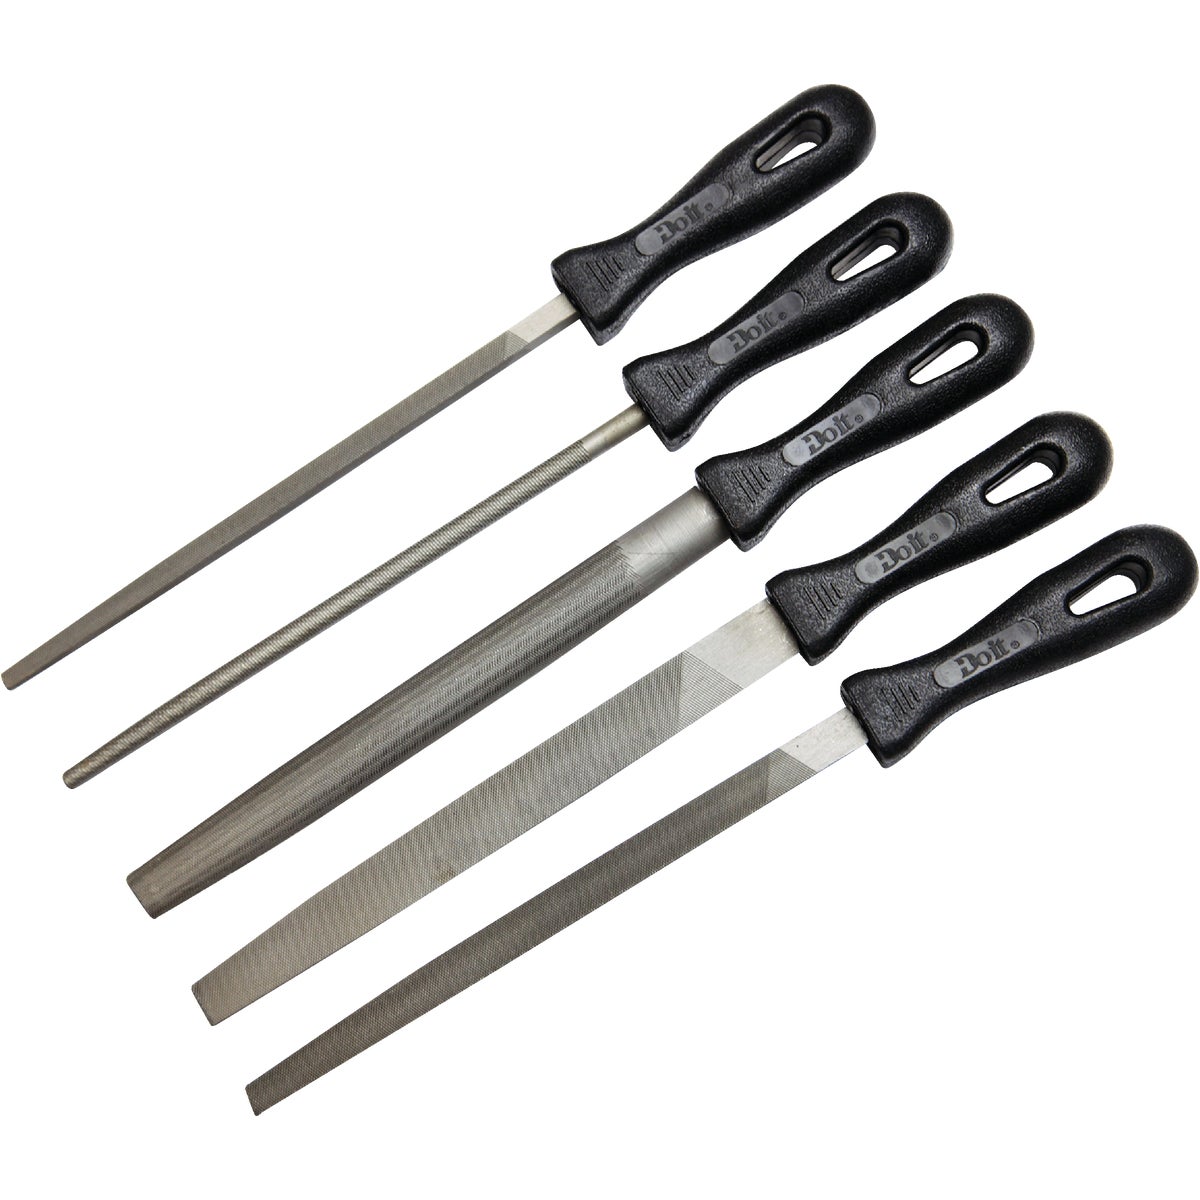
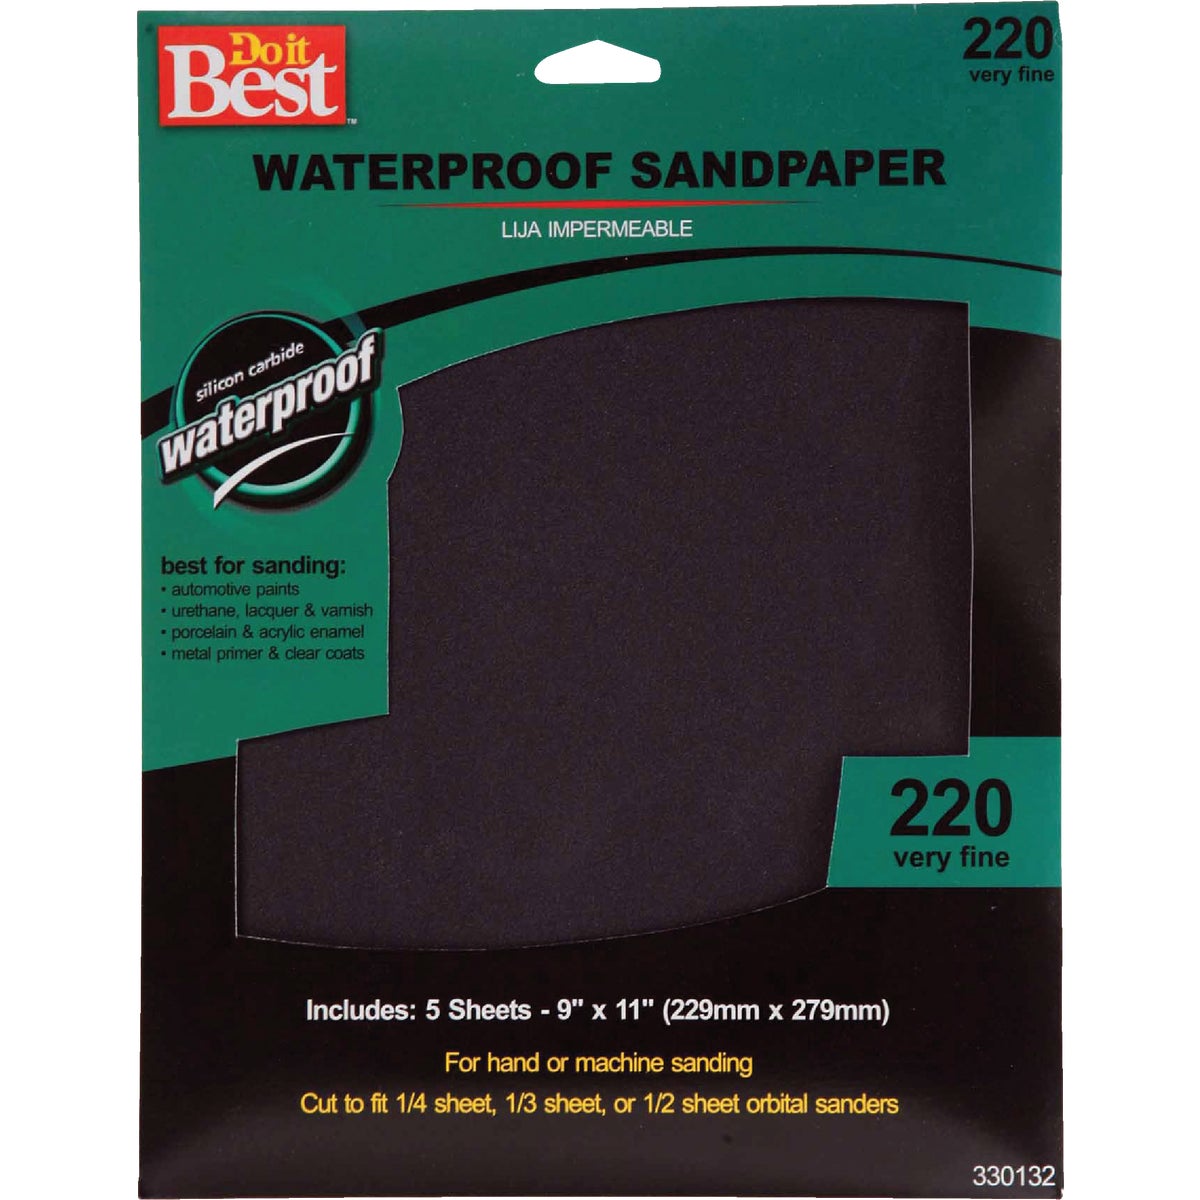
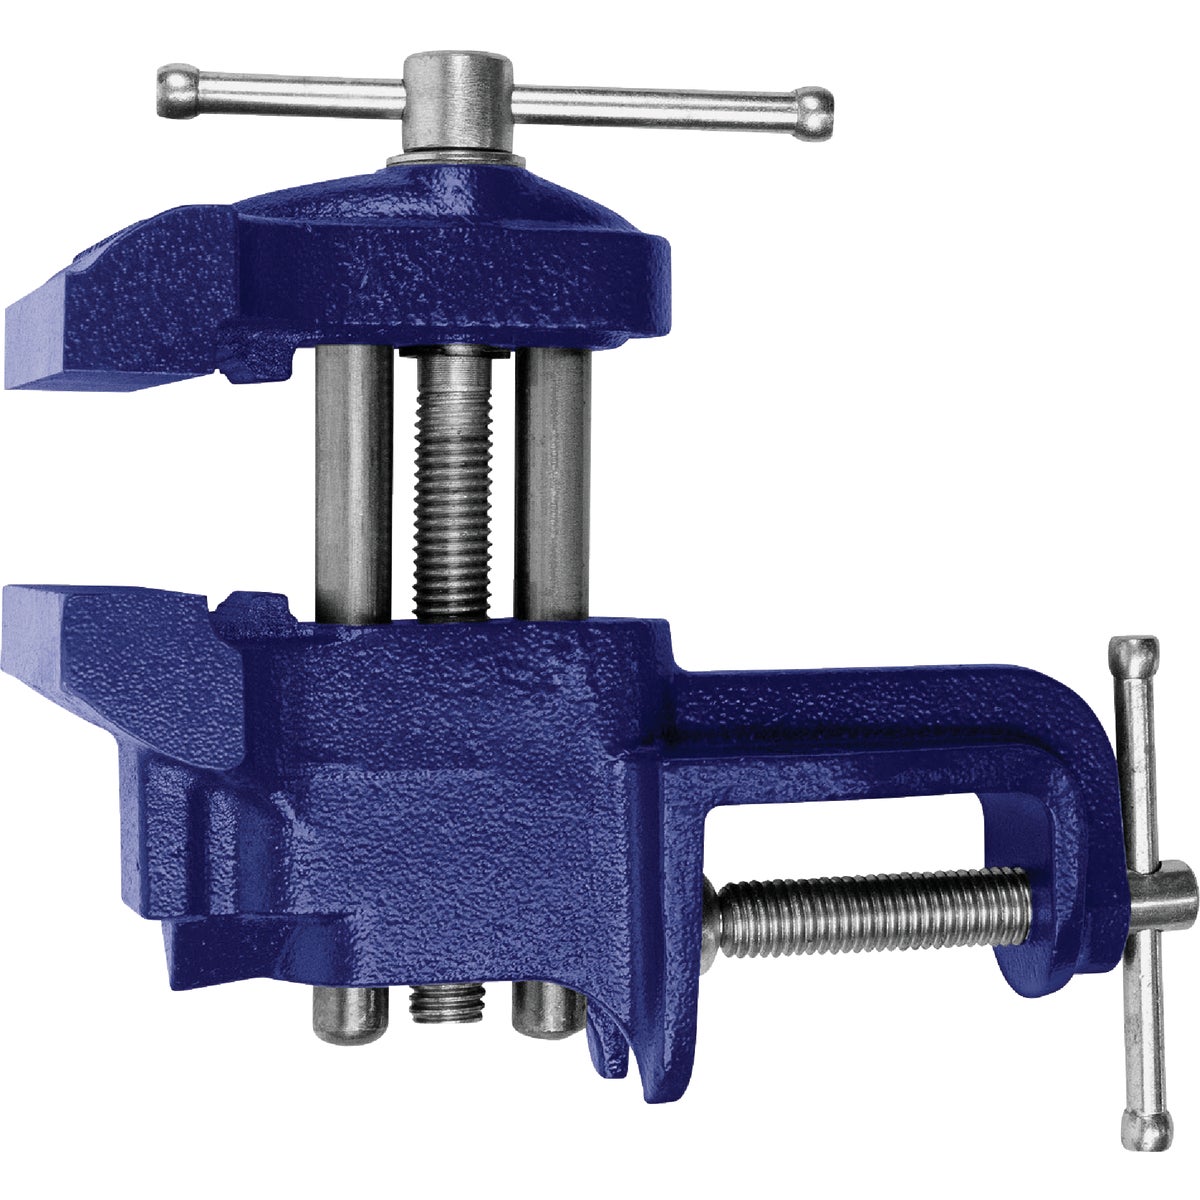
Most first knives are made by stock removal — grinding a blade out of flat bar rather than forging it — and that route needs surprisingly little specialist equipment. An angle grinder with flap discs does the profiling and rough bevels. A bench vise holds the work, and it is the item people most regret cheaping out on. Two-part epoxy bonds the handle scales; slow-cure, not five-minute, because you need working time to clamp them straight. Then it is files, wet sandpaper and buffing compound, in that order, for as long as your patience lasts — hand finishing is most of the hours in any knife. The one thing worth knowing before you start: heat treatment is what makes it a knife, and doing it properly on real knife steel needs more temperature control than a propane torch gives you, so most people send blades out or buy pre-hardened stock.
The First Knife Kit
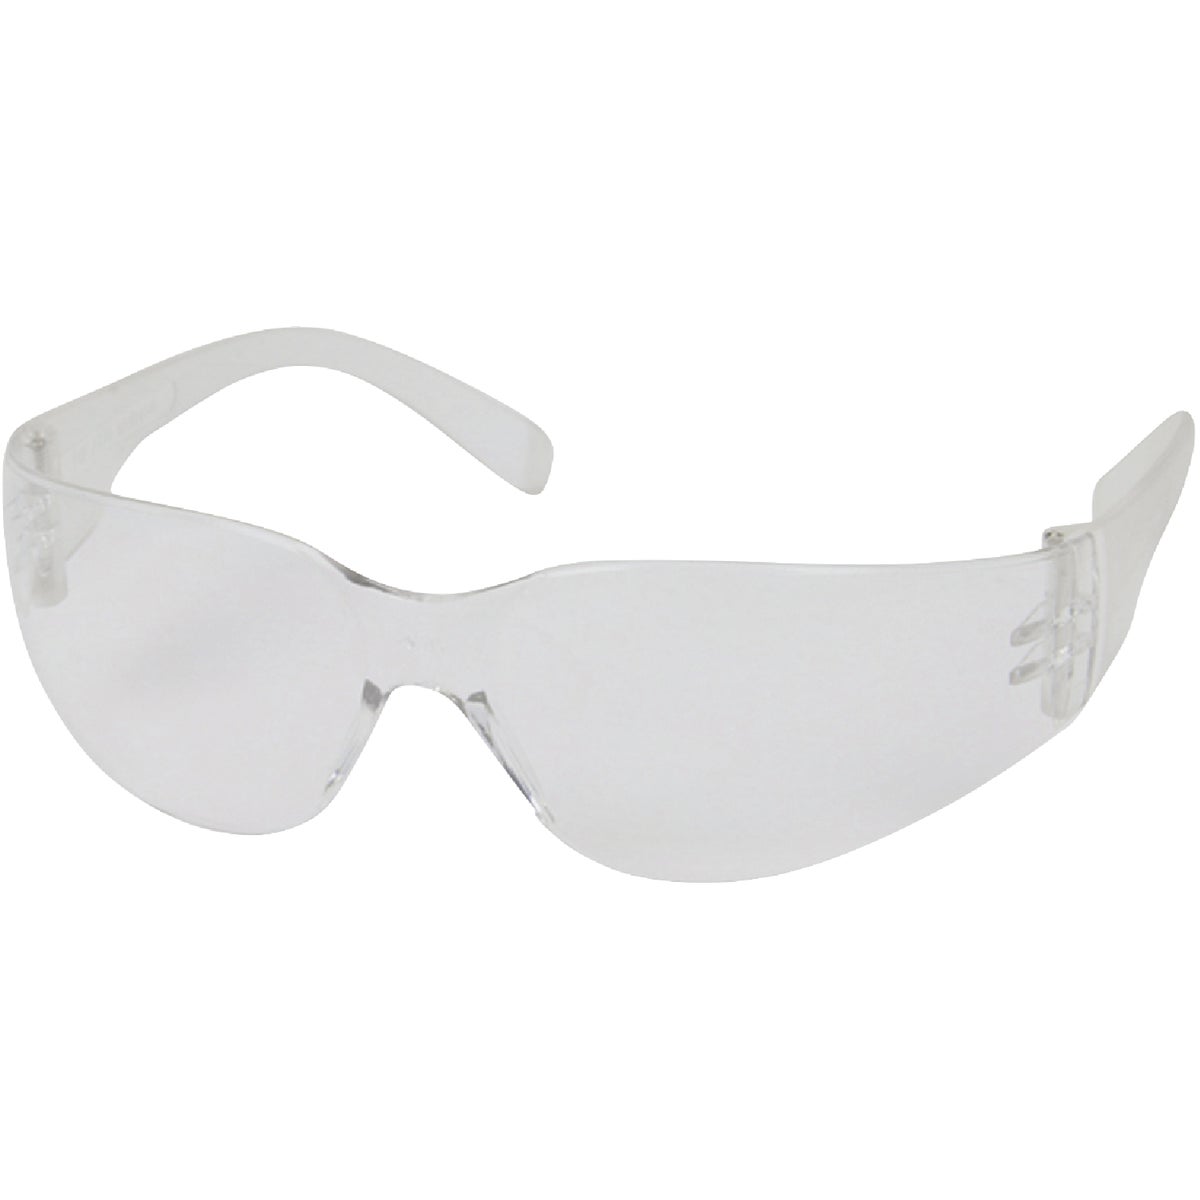
The stock-removal path: something to hold it, something to shape it, something to glue the handle on, and something to finish it with. These 8 items run about $241.90 all in.
Profiling & Grinding Bevels
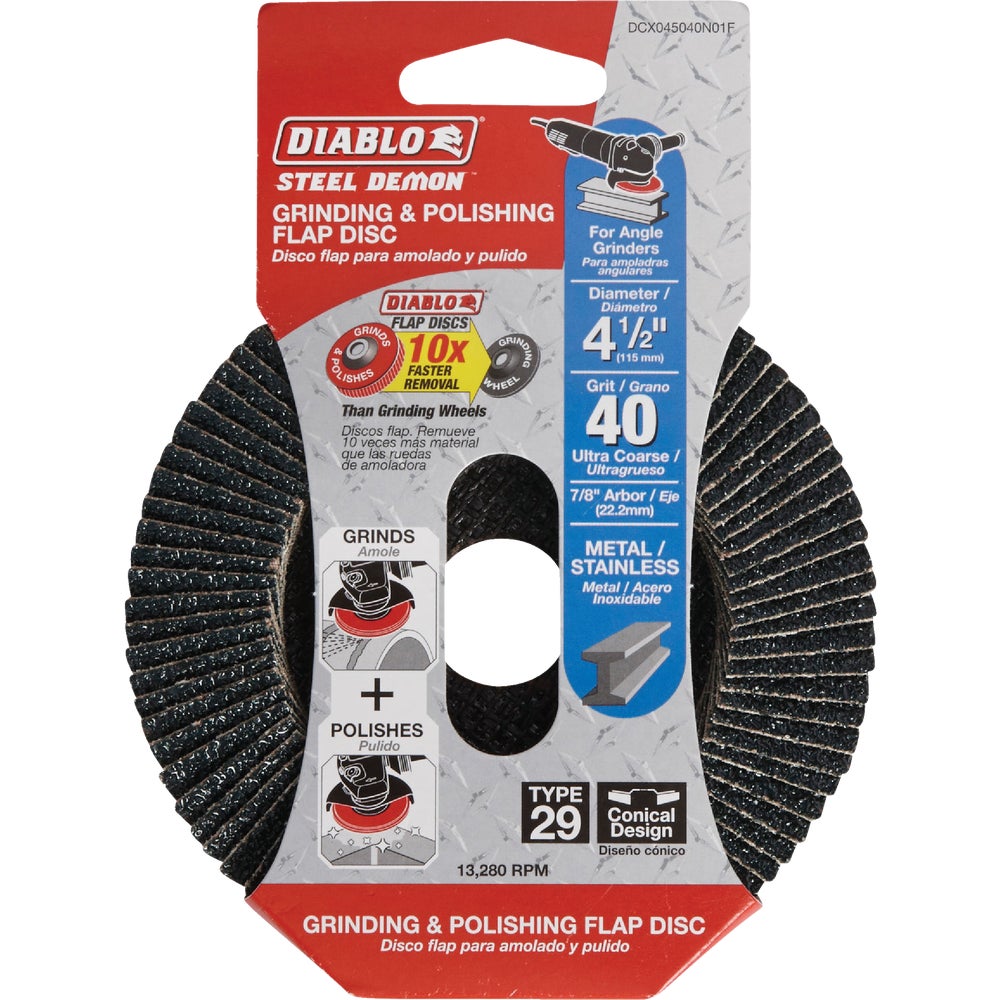
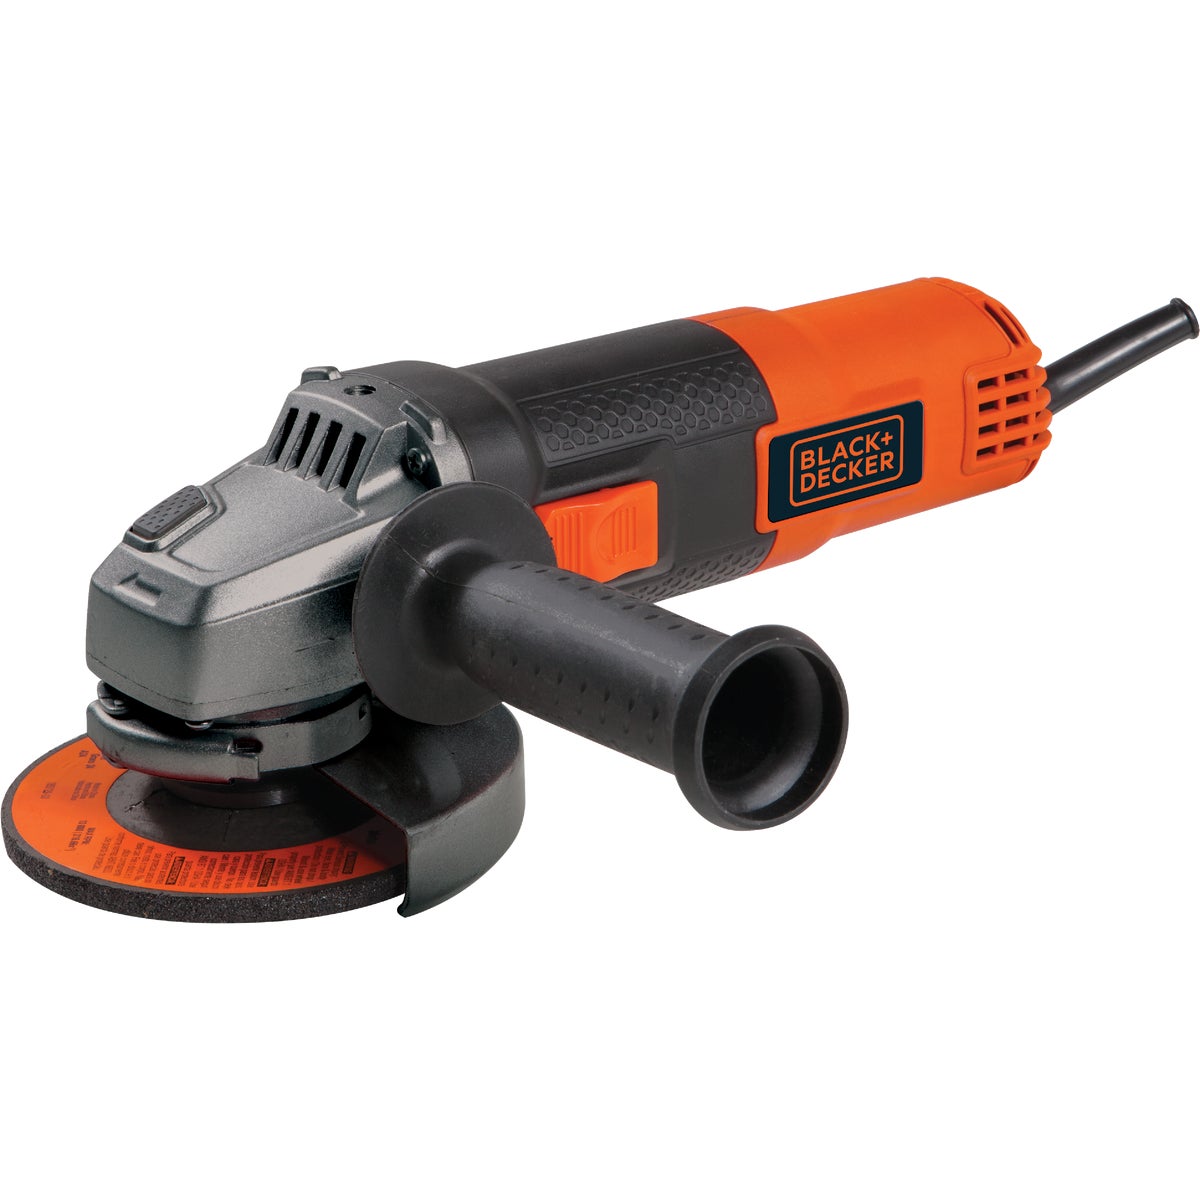
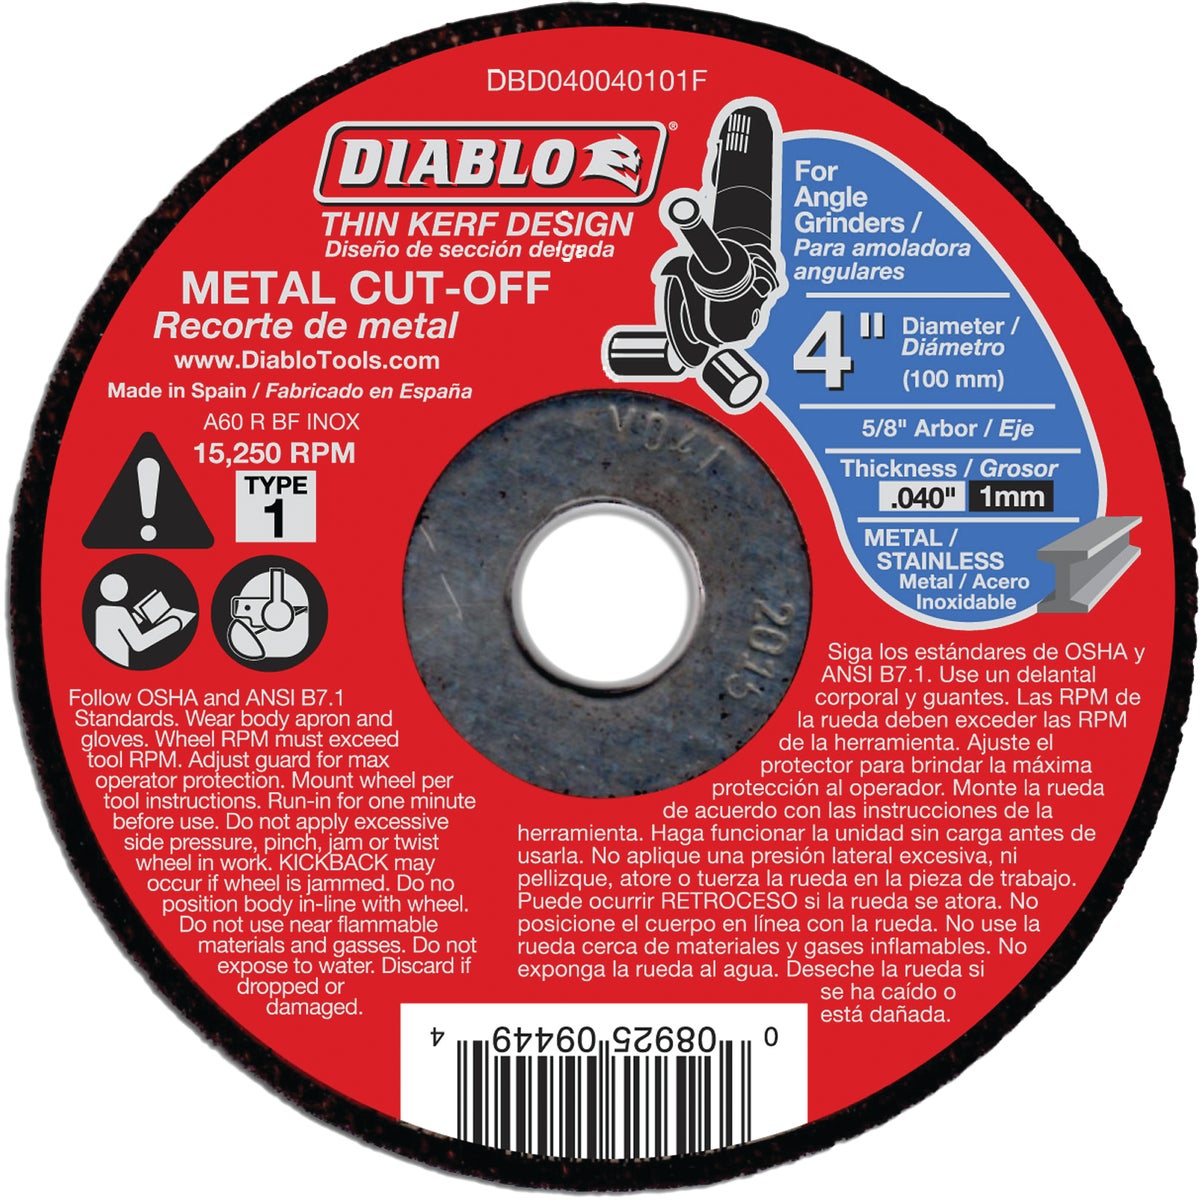
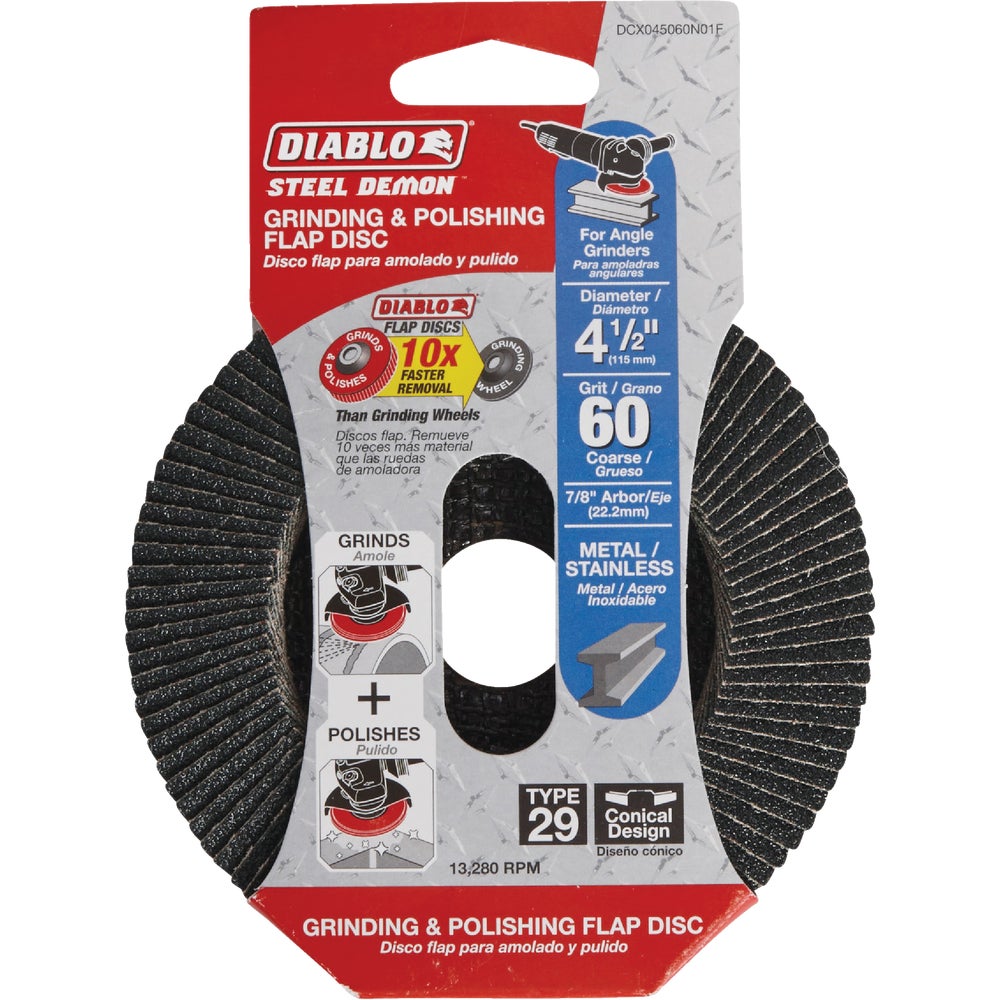
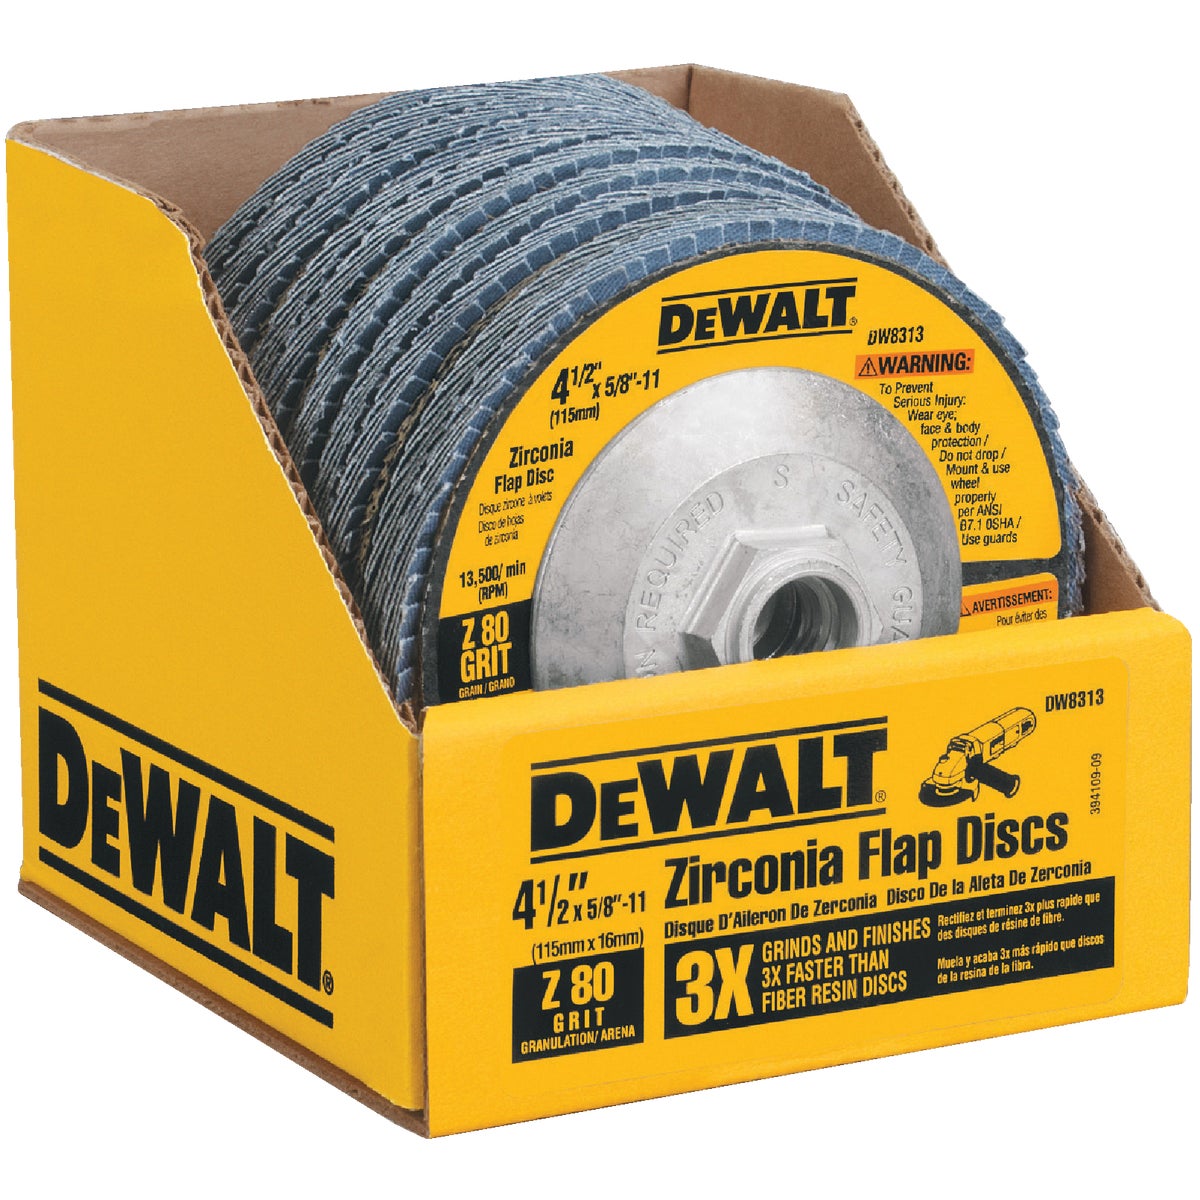
A 2x72 belt grinder is the dream and a 4-1/2 inch angle grinder is what most first knives are actually made with. Cut the profile with a thin metal wheel, then work the bevels with flap discs, coarse to fine. Go slowly and dunk often — the enemy at this stage is heat, because overheating a hardened blade ruins the temper you paid for.
Torch Work & Heat
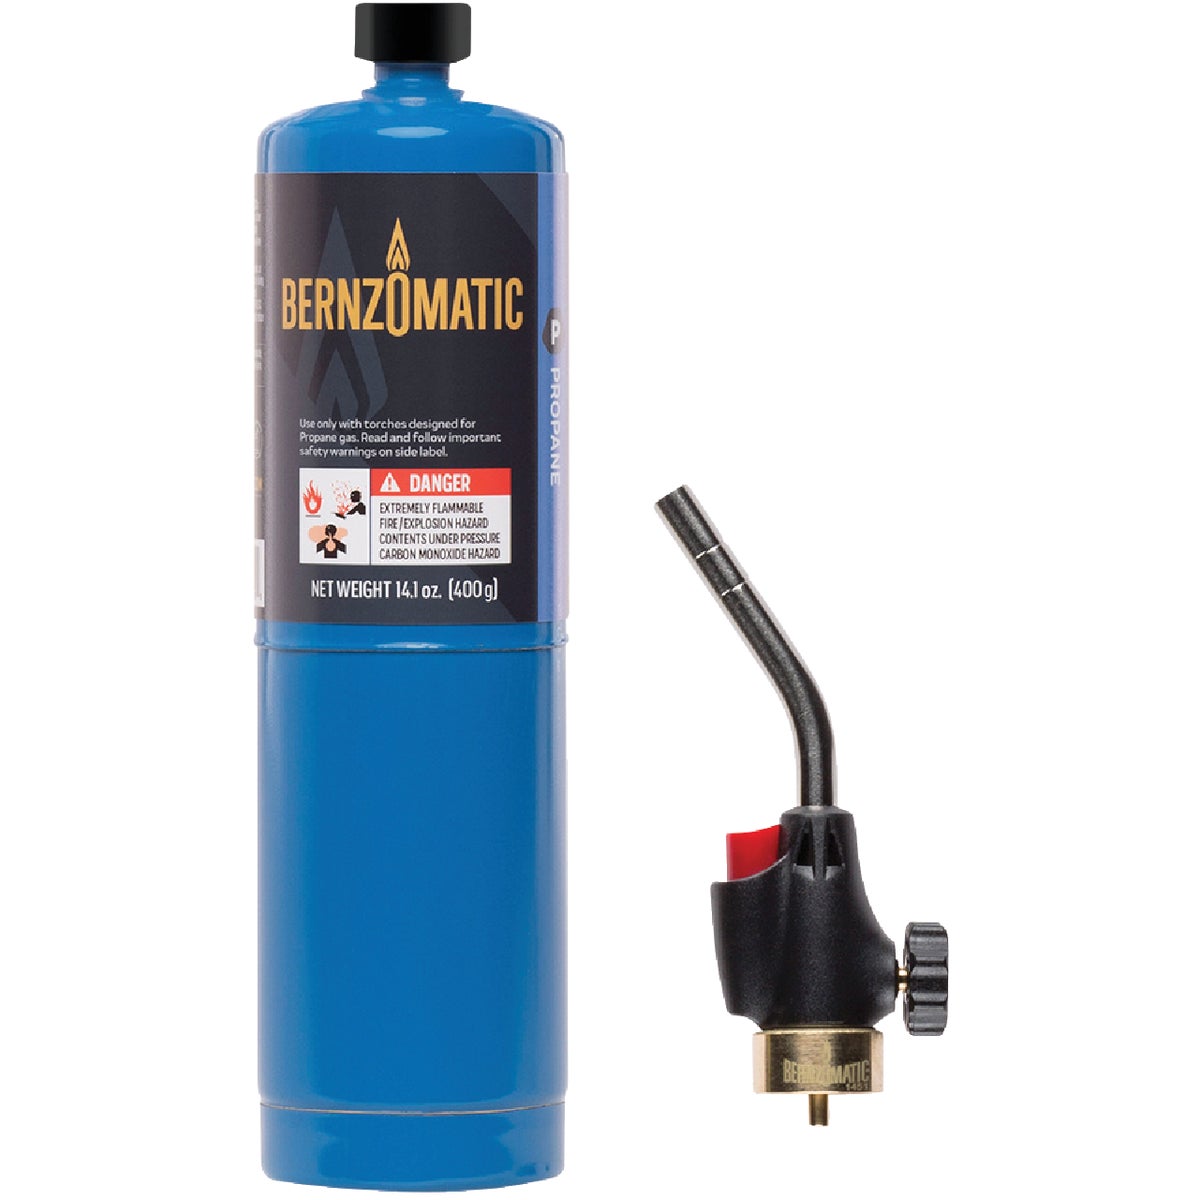
Be honest about what a propane torch can and cannot do. It will not hold a full blade at an even critical temperature for a proper quench on most knife steels — that wants a forge or a kiln. What it will do is anneal, do local work, help free a stuck fitting, and handle small parts and bolsters.

Handle Scales, Pins & Epoxy
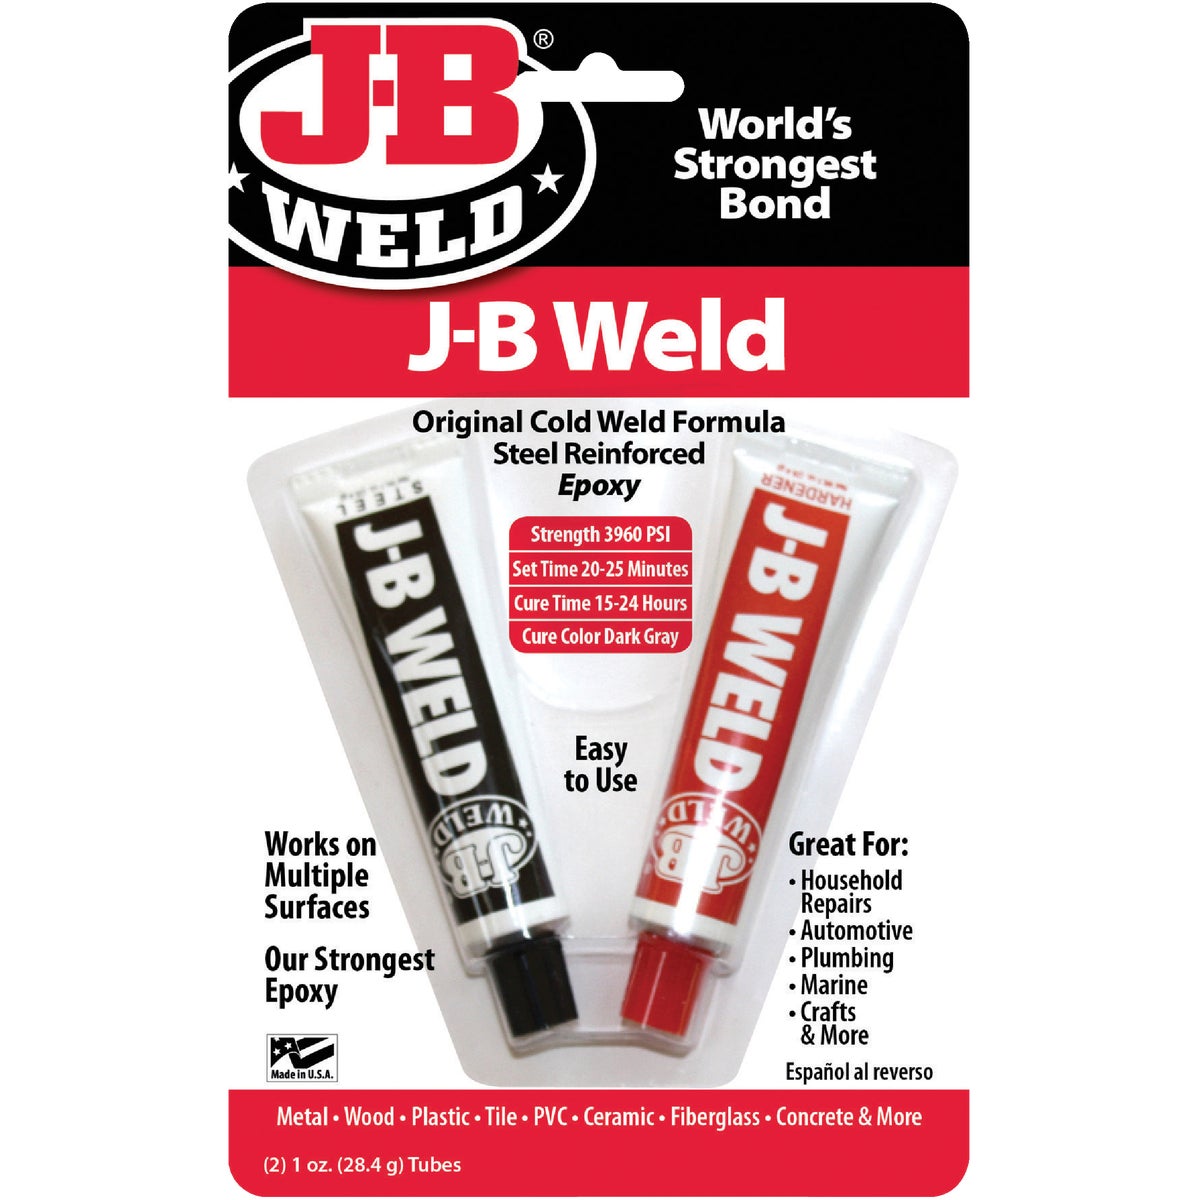
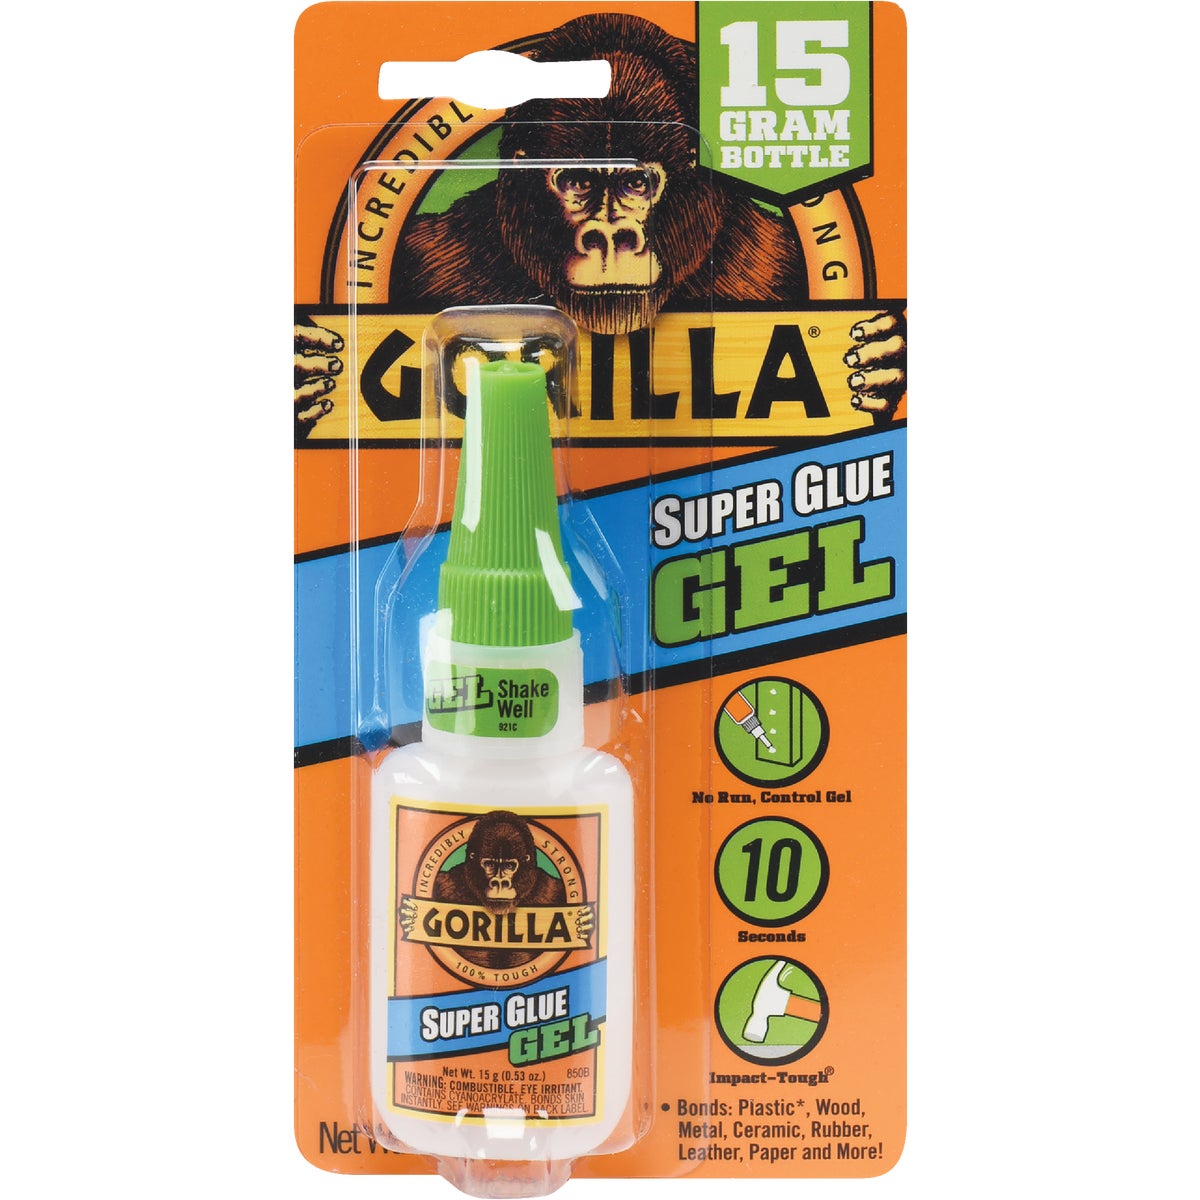
The handle is where a knife is won or lost as an object. Scales have to sit flat, the pins have to be tight, and the epoxy has to be slow enough that you can clamp everything square before it grabs. Rough up the tang first — epoxy bonds to texture, not to polished steel.
Hand Finishing & Polish
This is the part that takes the hours and makes the difference. Files to true the plunge lines and even the bevels, then wet paper in ascending grits, sanding in one direction at each grit until the previous grit's scratches are gone. Then buff — different compounds for steel, for stainless and for the final bright finish.
Layout & Measuring
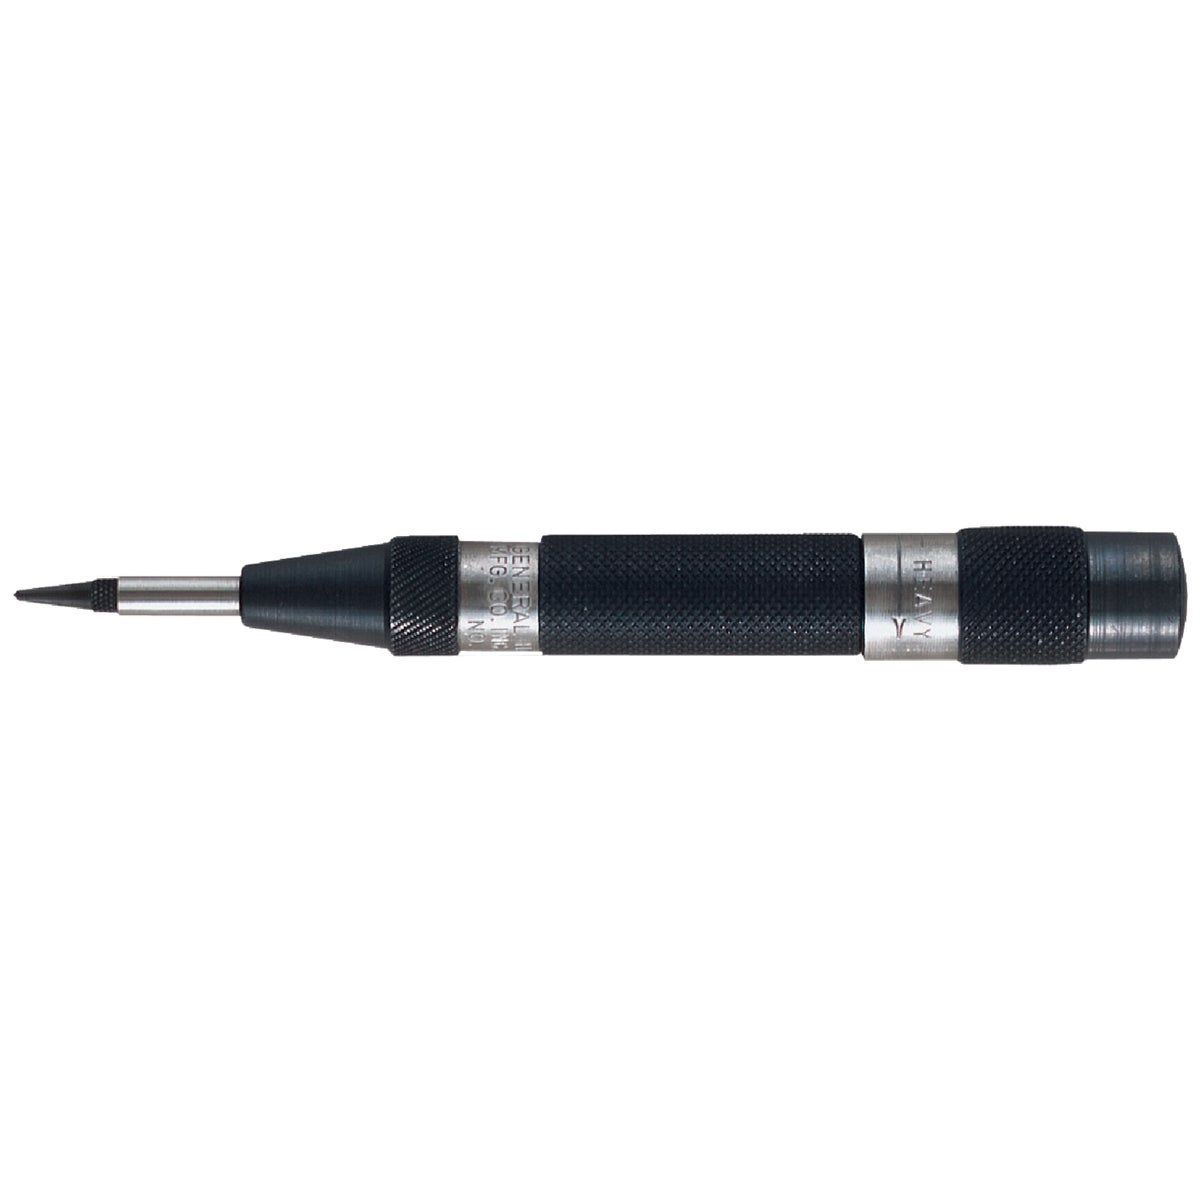
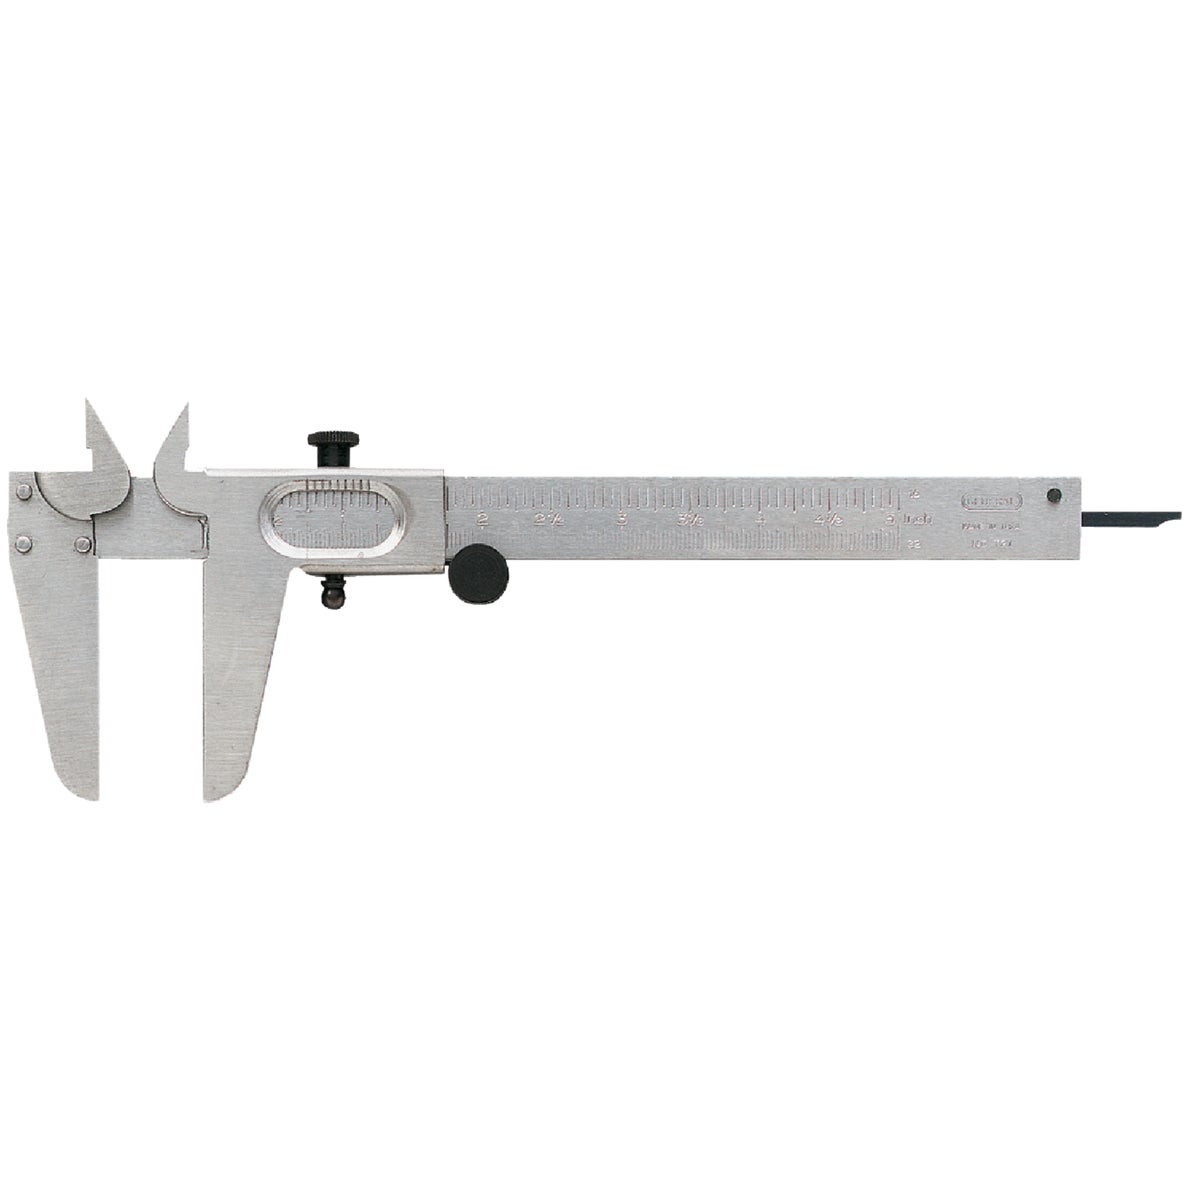
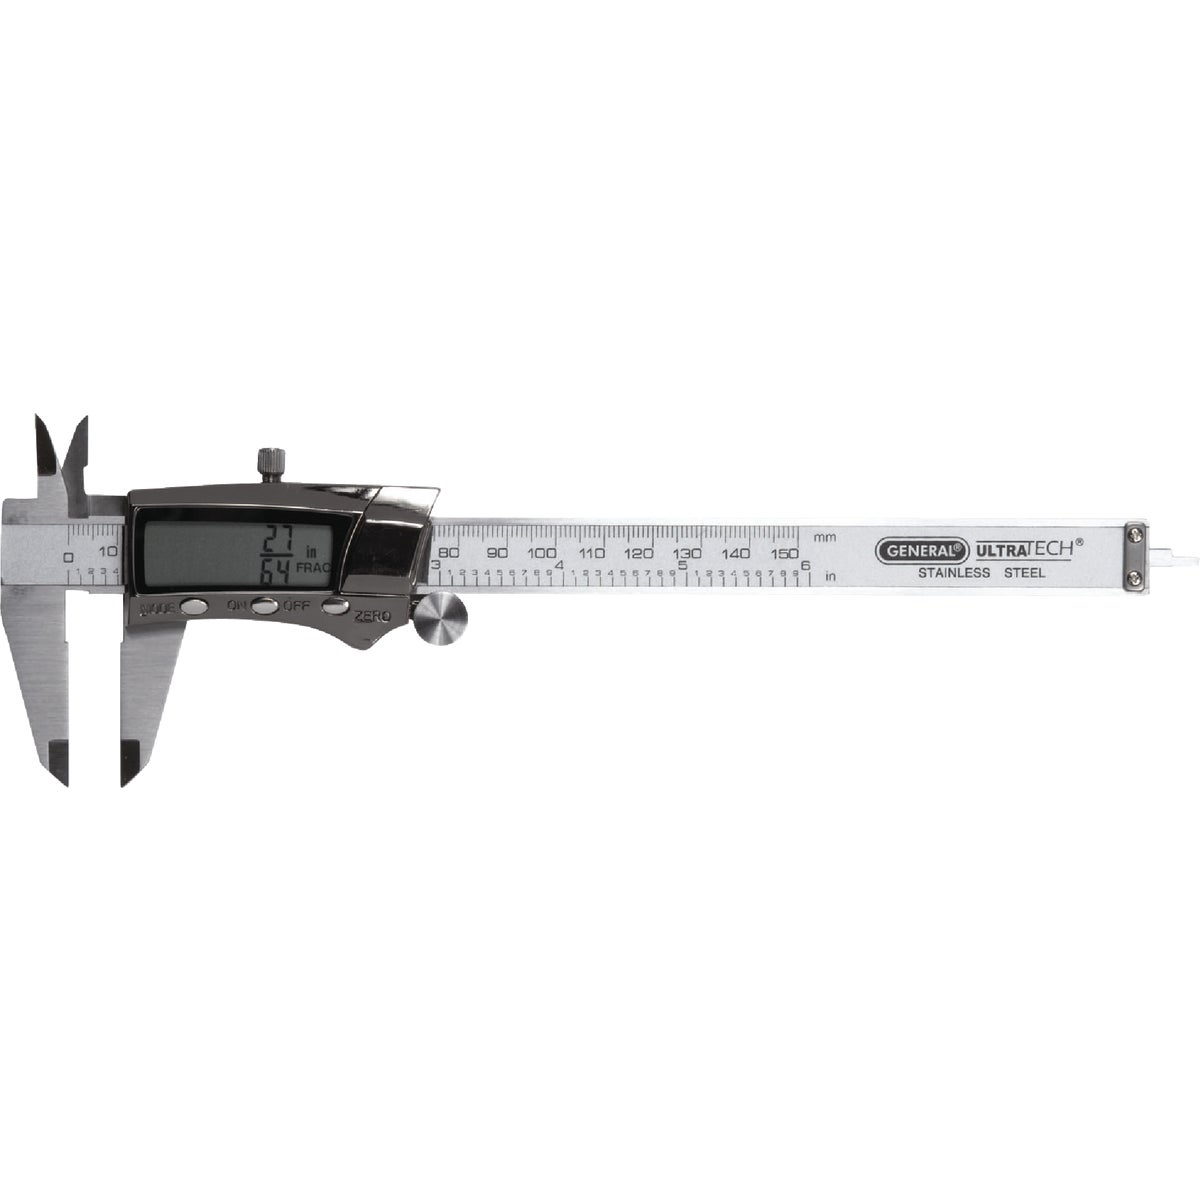
Symmetry is what makes a handmade knife look made rather than improvised. Scribe and punch before you drill, and measure the blade at several points as you grind — bevels drift, and by the time you can see it by eye it is too late to fix cheaply.
Grinding Safety
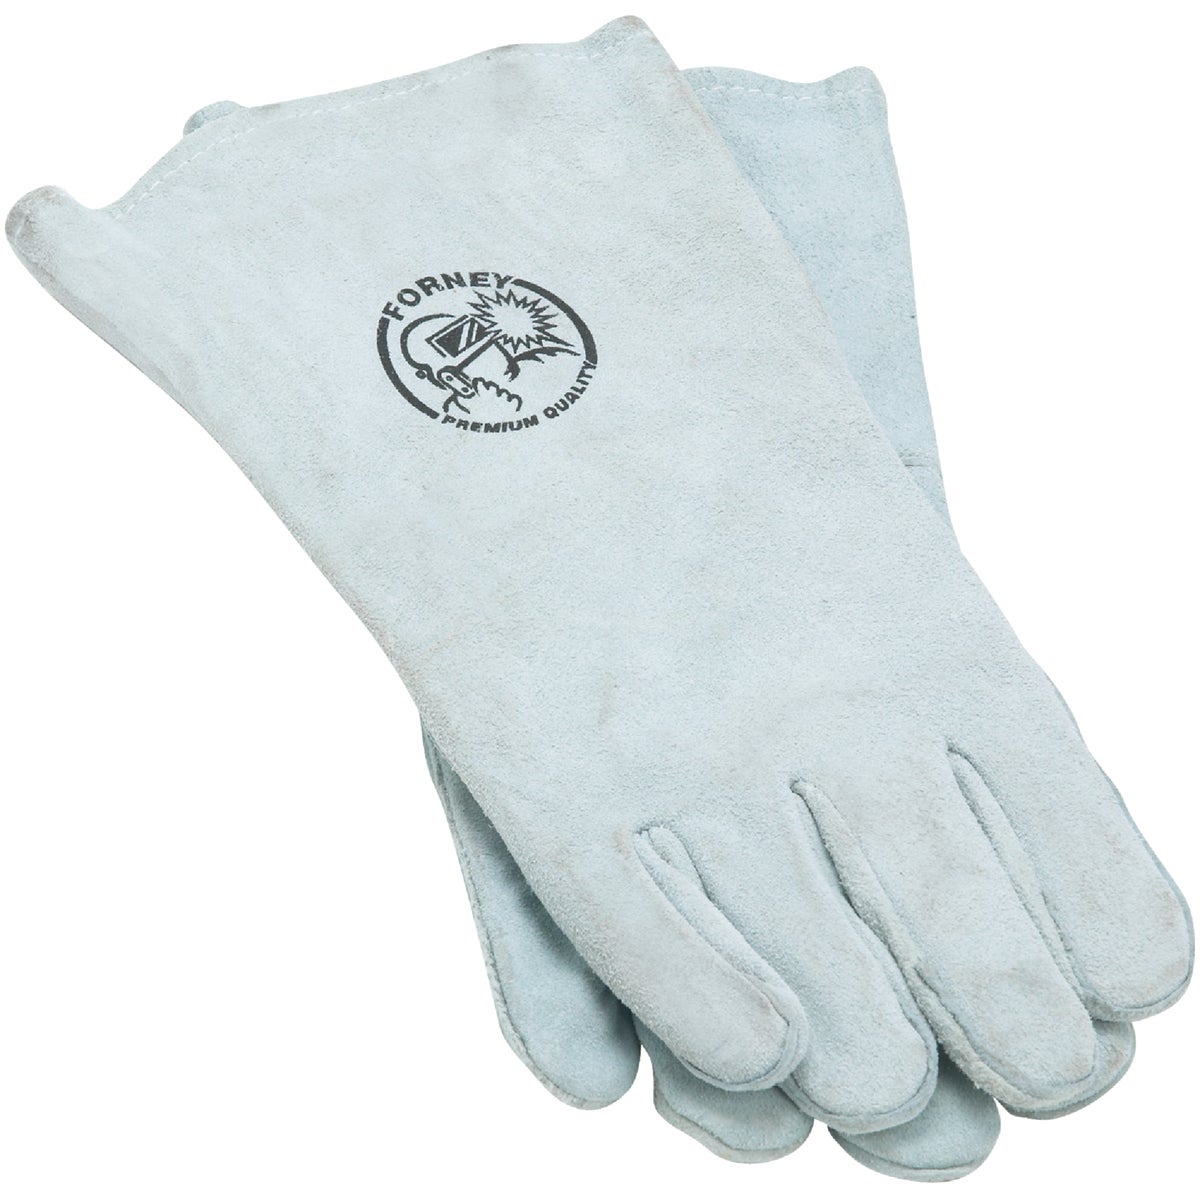
This is genuinely the most hazardous hobby on our site. Angle grinders throw sparks and can throw a wheel; a hardened blade under a belt can catch and go somewhere fast; steel and buffing dust are not things to breathe. Do not skip this section.

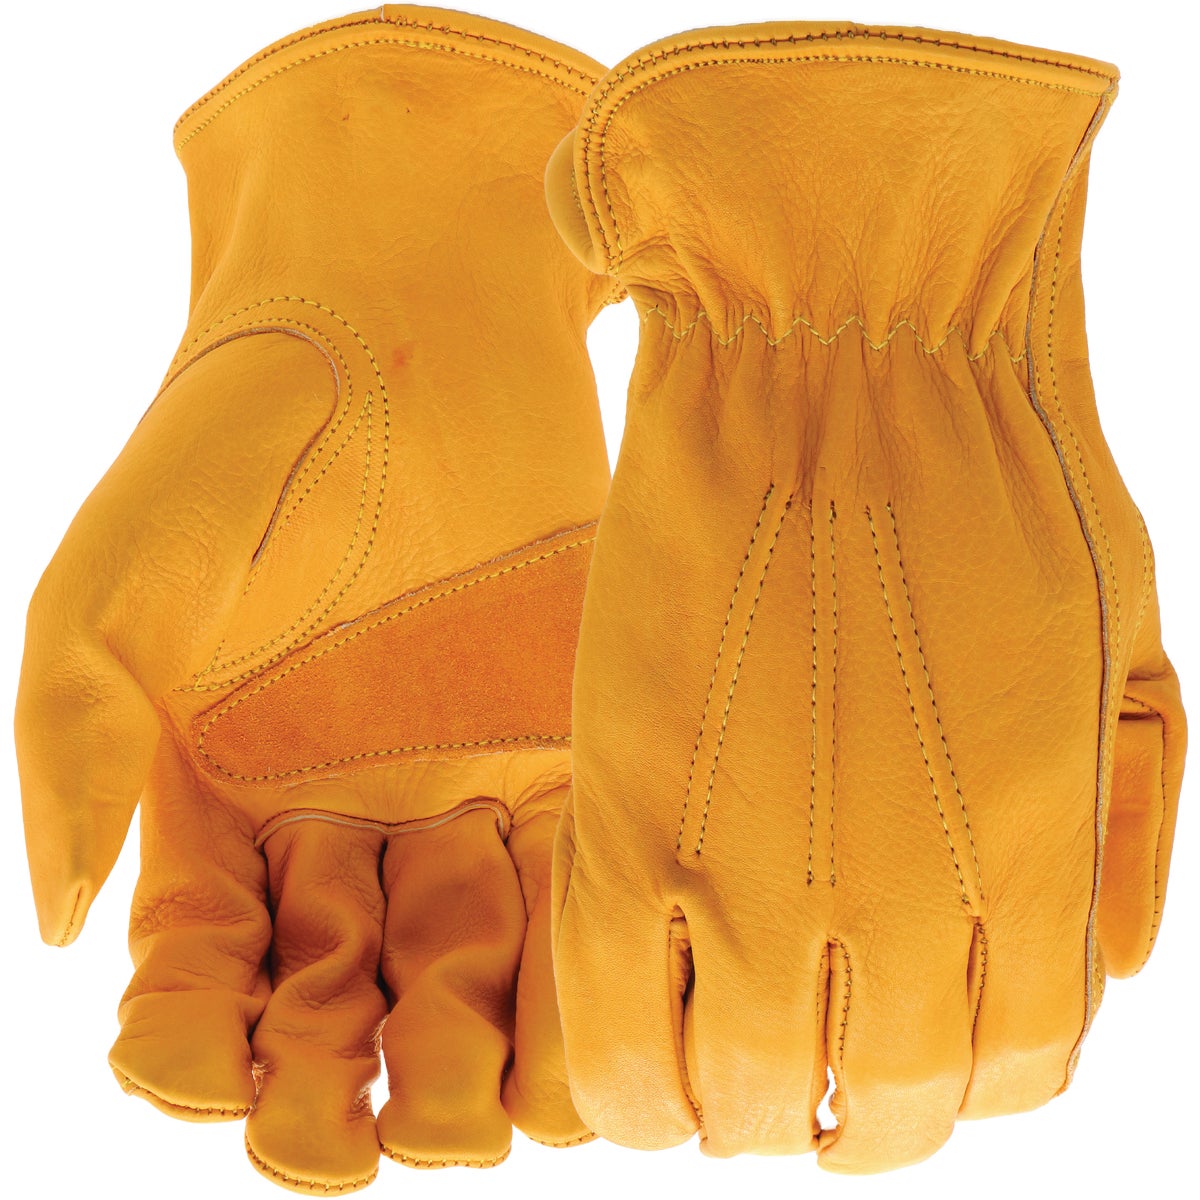
How to Hand-Finish a Knife Blade
Grinding a blade takes an afternoon. Finishing it takes considerably longer, and it is the part that decides whether the knife looks handmade or homemade. The method below is slow on purpose.
File the plunge lines and true the bevels
Before any paper, use files to make the plunge lines crisp and even on both sides and to flatten any waviness the grinder left. This is the detail an experienced eye goes to first, and no amount of sanding afterward will fix a plunge line that is wrong.
Start wet sanding at the grit your grinding left
If you finished on an 80-grit flap disc, start around 120 rather than jumping to 400 and spending an hour discovering it will not cut. Use a hard flat backing block — a finger behind the paper rounds the bevel and softens the edges you just made crisp.
Sand one direction per grit, and rotate between grits
Work a single direction at each grit until every scratch from the previous grit is gone. Then turn 90 degrees for the next grit. When the old scratches are all running the wrong way to your new ones, you can see exactly when a grit is finished — this is the whole trick, and it is why people who skip it get a hazy blade.
Keep the paper and the blade wet
A drop of water or light oil floats the swarf away so the paper keeps cutting. Dry paper loads up, glazes, and starts burnishing rather than cutting — which looks like progress and is not. Change paper more often than feels necessary.
Buff in stages, with light pressure
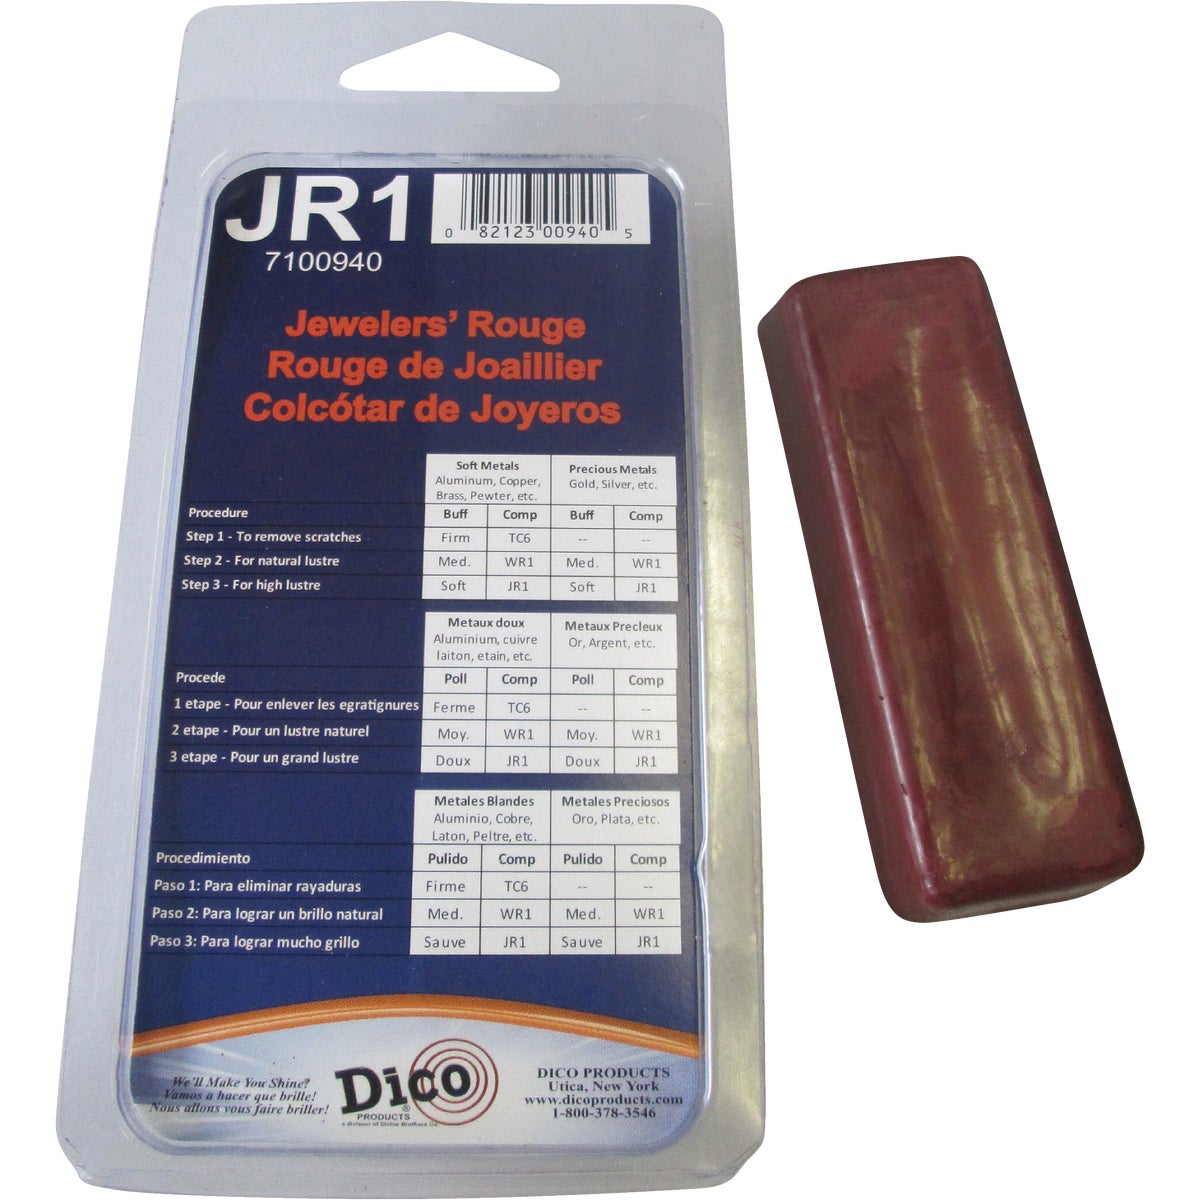
Cutting compound first to take out the last fine scratches, then white rouge, then jewelers rouge for the final brightness. Light pressure and keep the blade moving — a buffing wheel generates real heat, and it can also snatch a blade out of your hands, so present the edge trailing and never wear gloves at the wheel.
Knife Making Questions, Answered
Yes — most first knives are made by stock removal, which means grinding a blade out of flat bar stock rather than forging it to shape. You need a way to cut the profile, an angle grinder with flap discs for the bevels, files and sandpaper for finishing, and something to hold it all. The one thing stock removal does not remove is the heat treatment question: buy pre-hardened stock, or send the blade out to be heat treated, unless you have a forge or kiln.
Not reliably, on most knife steels. Proper hardening needs the whole blade held at an even critical temperature for a set time, and a hand torch heats unevenly and struggles to get a full-size blade there at all. Simple high-carbon steels like 1084 are the most forgiving and people do manage it, but the results are inconsistent. For a first knife, either buy steel that is already hardened and ground, or send the blade to a heat-treating service — it is inexpensive and it is the step that decides whether you have a knife or a knife-shaped object.
A slow-cure two-part epoxy, not the five-minute kind — you need working time to get both scales aligned, the pins through, and everything clamped square before it grabs. Rough up the tang with coarse paper and degrease it first, because epoxy bonds to texture rather than polished steel. Clear epoxy avoids a dark glue line under light-colored handle materials; steel-filled epoxy is the choice for bolsters, guards, and filling a gap where a scale did not seat perfectly.
Clamp the blade so both hands are on the grinder, mark your bevel lines and centerline first, and work with flap discs from coarse to fine — 40, then 60, then 80 grit. Take light passes and keep the steel cool by dunking often. Heat is the real hazard: if you let a hardened blade get hot enough to change color, you have ruined the temper in that spot and it cannot be fixed by grinding further. Check symmetry with calipers as you go rather than at the end.
So you can see when you are done. If you sand one direction at 220 and then turn 90 degrees at 320, the old scratches run crosswise to the new ones — the moment none of the crosswise scratches remain, that grit is finished. Sanding every grit in the same direction makes it impossible to tell whether a scratch came from the current paper or the one before, which is how people end up buffing a blade that still has 180-grit lines under the shine.
Work in stages. A cutting compound such as a stainless formulation removes the last of the fine sanding scratches; white rouge is the intermediate; jewelers rouge gives the final bright finish and also polishes brass and nickel-silver fittings. Use light pressure, keep the blade moving, present the edge trailing so the wheel cannot catch it, and never wear gloves at a buffing wheel — a wheel that grabs a glove takes the hand with it.
It has the most real hazards of any hobby on our site, and all of them are manageable. Angle grinders throw sparks and can shatter a disc, so eye protection is non-negotiable and a face shield is better. Grinding and buffing produce metal dust you should not breathe — ventilate and wear a mask. Blades get hot enough to burn long after they stop glowing. And buffing wheels catch: no gloves, no loose sleeves, edge trailing. Work slowly and none of it is a problem.
No — we do not stock knife steel, blade blanks, handle materials, pin stock, or belt grinders. Those come from dedicated knife-making suppliers. What we stock is the rest of the shop: angle grinders and flap discs, cut-off wheels, torches, vises, files, wet sandpaper, epoxies, buffing compounds, layout tools and safety gear.
Yes. We run a dedicated sharpening center at 616 SE 47th Terrace in Cape Coral — knives, scissors, garden tools and saw blades — with mail-in service available nationwide. Putting a proper edge on a blade you ground yourself is the natural last step, and it is a good way to find out whether your bevels are as even as you think they are.
Family Hardware carries the list on this page at both stores. Cape Coral: 622 SE 47th Terrace — (239) 542-6365. Fort Myers: 13101 McGregor Blvd — (239) 933-1744. Open Mon–Sat 7 AM–6 PM and Sun 8 AM–3 PM. Order online for free in-store pickup, usually ready within 2 hours.
Related Guides
These overlap with this list more than you would expect — often the same shopper, and frequently the same aisle.
Pick It Up Today in Cape Coral or Fort Myers
Order online for free in-store pickup — usually ready within 2 hours — or just come in. Prices shown are our everyday shelf prices at both stores; stock on any single item is on its product page.
622 SE 47th Terrace, Cape Coral, FL 33904
Mon–Sat 7 AM–6 PM | Sun 8 AM–3 PM
Departments, services and directions for our Cape Coral store →
13101 McGregor Blvd, Fort Myers, FL 33919
Mon–Sat 7 AM–6 PM | Sun 8 AM–3 PM
Departments, services and directions for our Fort Myers store →
Free shipping on orders over $99 • Free in-store pickup • Online customer service: 877-755-2005
About Family Hardware
Store Locations
About Us
Hurricane Prep Guide
Hobby Supply Guides
Employment
Customer Service
Contact Us
Returns
Shipping & Tracking
Gift Card Balance
Rewards
Promotions
Credit Application
Tax Exempt Purchases
Terms of Service
Privacy Policy
Locations
Cape Coral
Fort Myers
All Store Locations
Grills
Grill Store — All Grills
Alfa Pizza Ovens
Big Green Egg
Napoleon
Challenger Designs
Delta Heat
Tagwood BBQ
Twin Eagles
Replacement Parts
Warranty
Services
All Services
Saw Blade Sharpening
Saw Blade Shop
Key Cutting
Screen Repair
Propane Exchange
Lamp Repair
Key Fob Batteries
Freud
Lamello P-System
Popular Tools Saw Blades
Diablo
Tenryu
© 2026 Family Hardware. Family Hardware and the Family Hardware logo are registered trademarks of Family Hardware Corporation. All rights reserved.