
Miniature & Scale Model Painting Supplies
Mold lines, seam gaps, primer and a bench you can actually see at. The unglamorous half of miniature painting is hardware-store stock — and the hobby-shop versions of these tools are the same tools in blister packs at three times the price.
Short answer
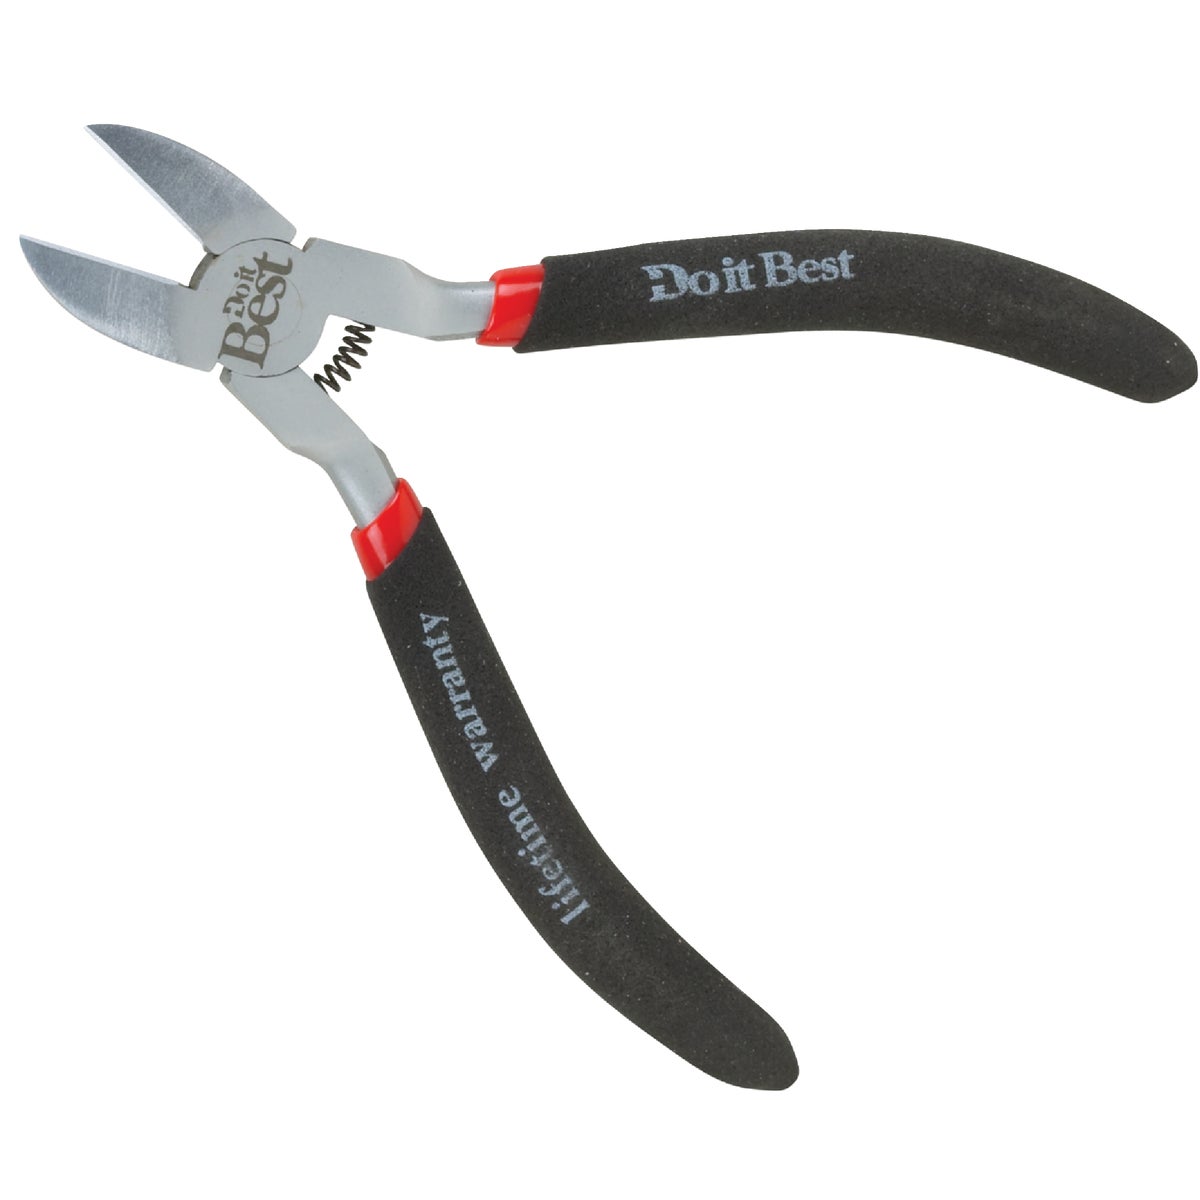
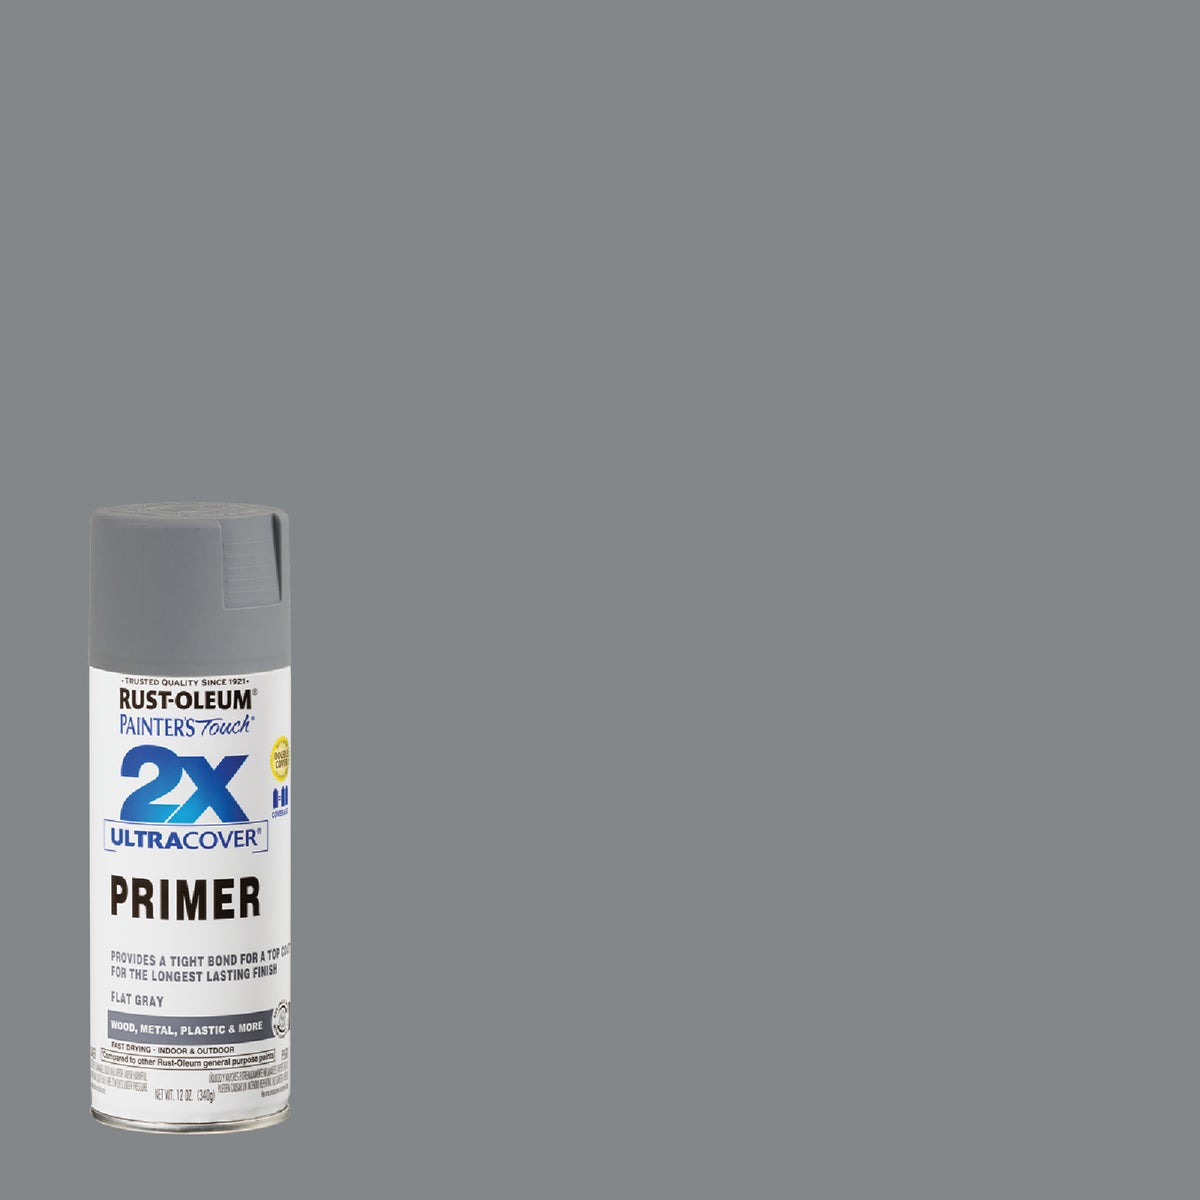
Paint is the part of this hobby a hardware store cannot help with — we do not stock acrylic hobby paint, brushes for miniatures, or model kits. Everything before and around the paint, we do. The prep stage decides how a mini looks far more than brush skill does: scrape the mold lines before priming, because primer makes them more visible rather than less; fill the seams with spot putty rather than trying to sand a gap closed; and prime in thin coats of flat gray, which is the same rattle can the auto aisle sells for a third of what a hobby-branded primer costs. A pin vise for pinning joints and a lit magnifier for seeing what you are doing are the two bench upgrades people wish they had bought first.
The Prep Bench Kit
What you need before the first drop of paint: cut it off the sprue, clean the seams, fill, prime, and be able to see it. These 7 items run about $68.23 all in.

Sprue, Mold Lines & Cleanup
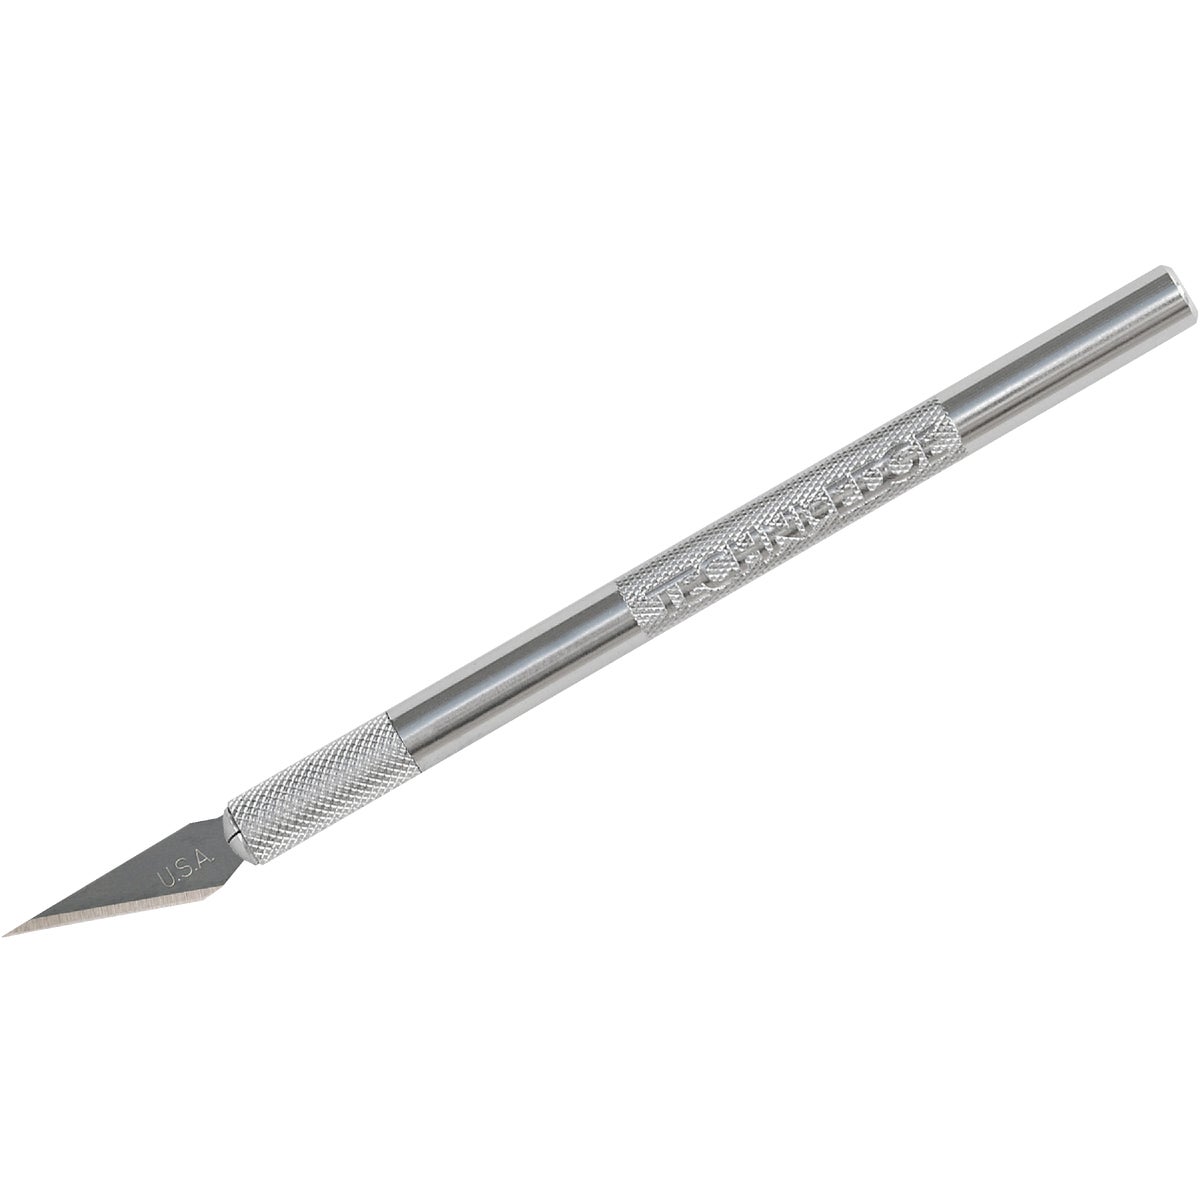
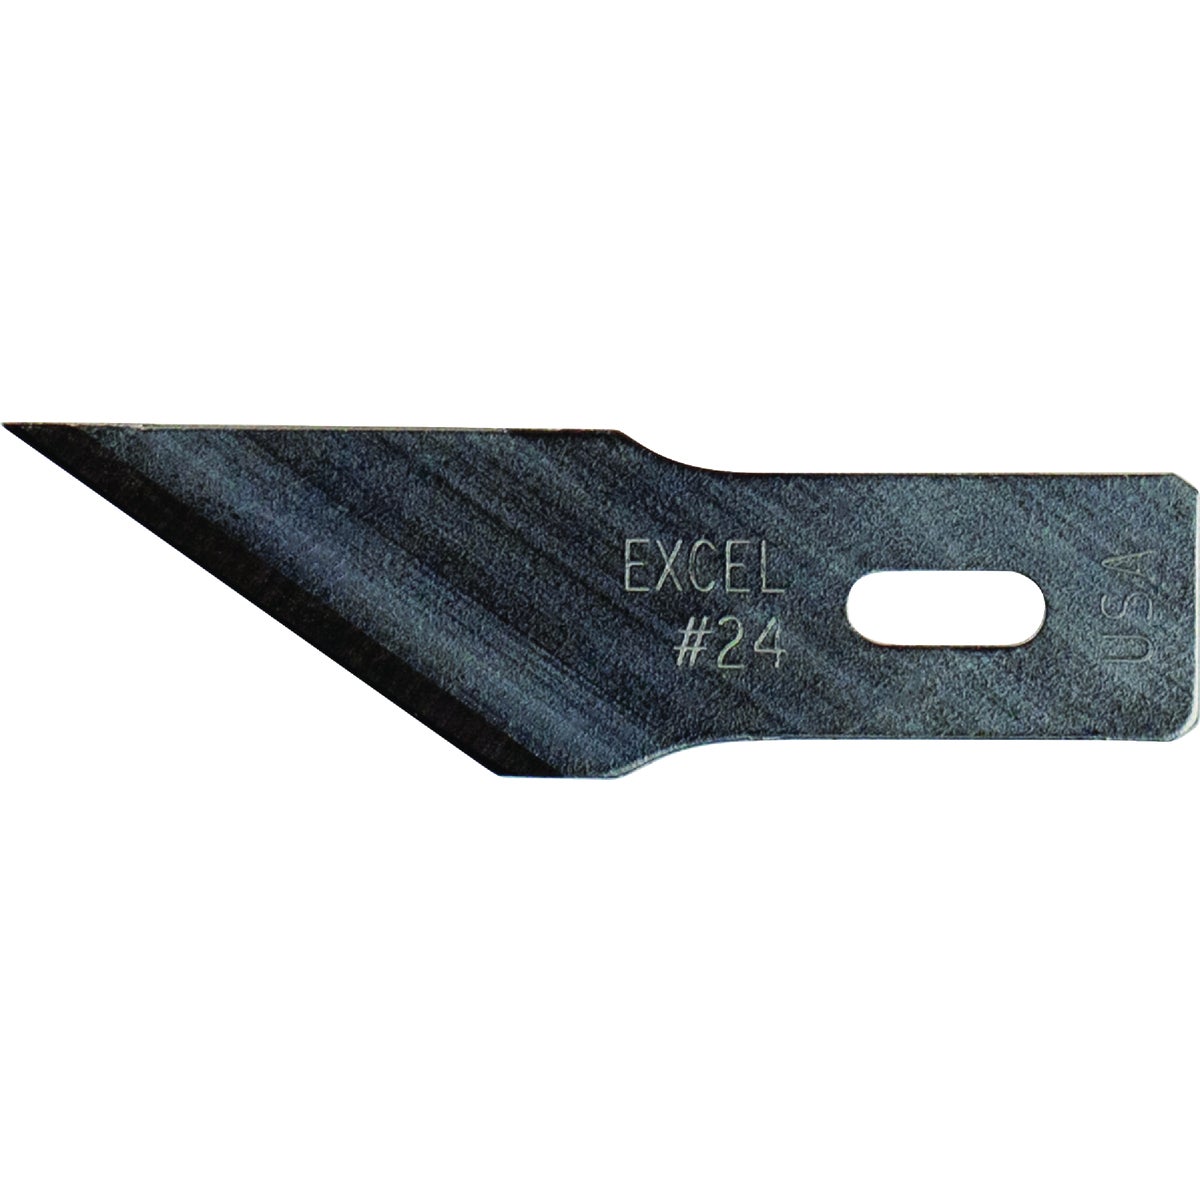
Every plastic and resin miniature comes with mold lines, and primer makes them more obvious rather than less. Scraping beats sanding on a curved surface — drag a blade edge along the line at 90 degrees and it shears the raised seam off without flattening the detail underneath.
Filling Seams & Smoothing
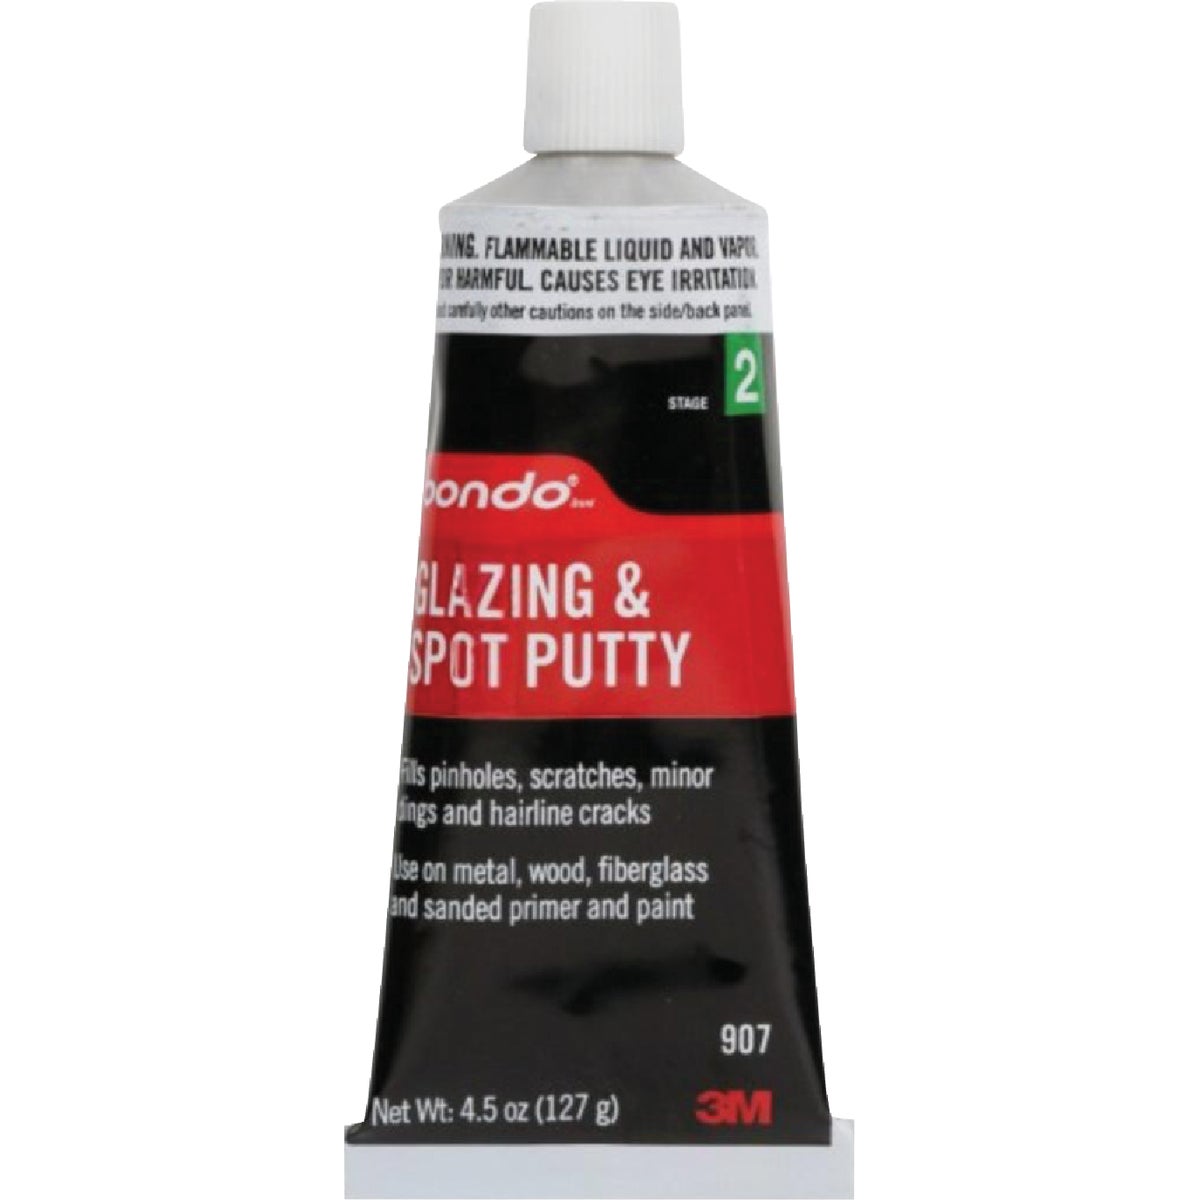
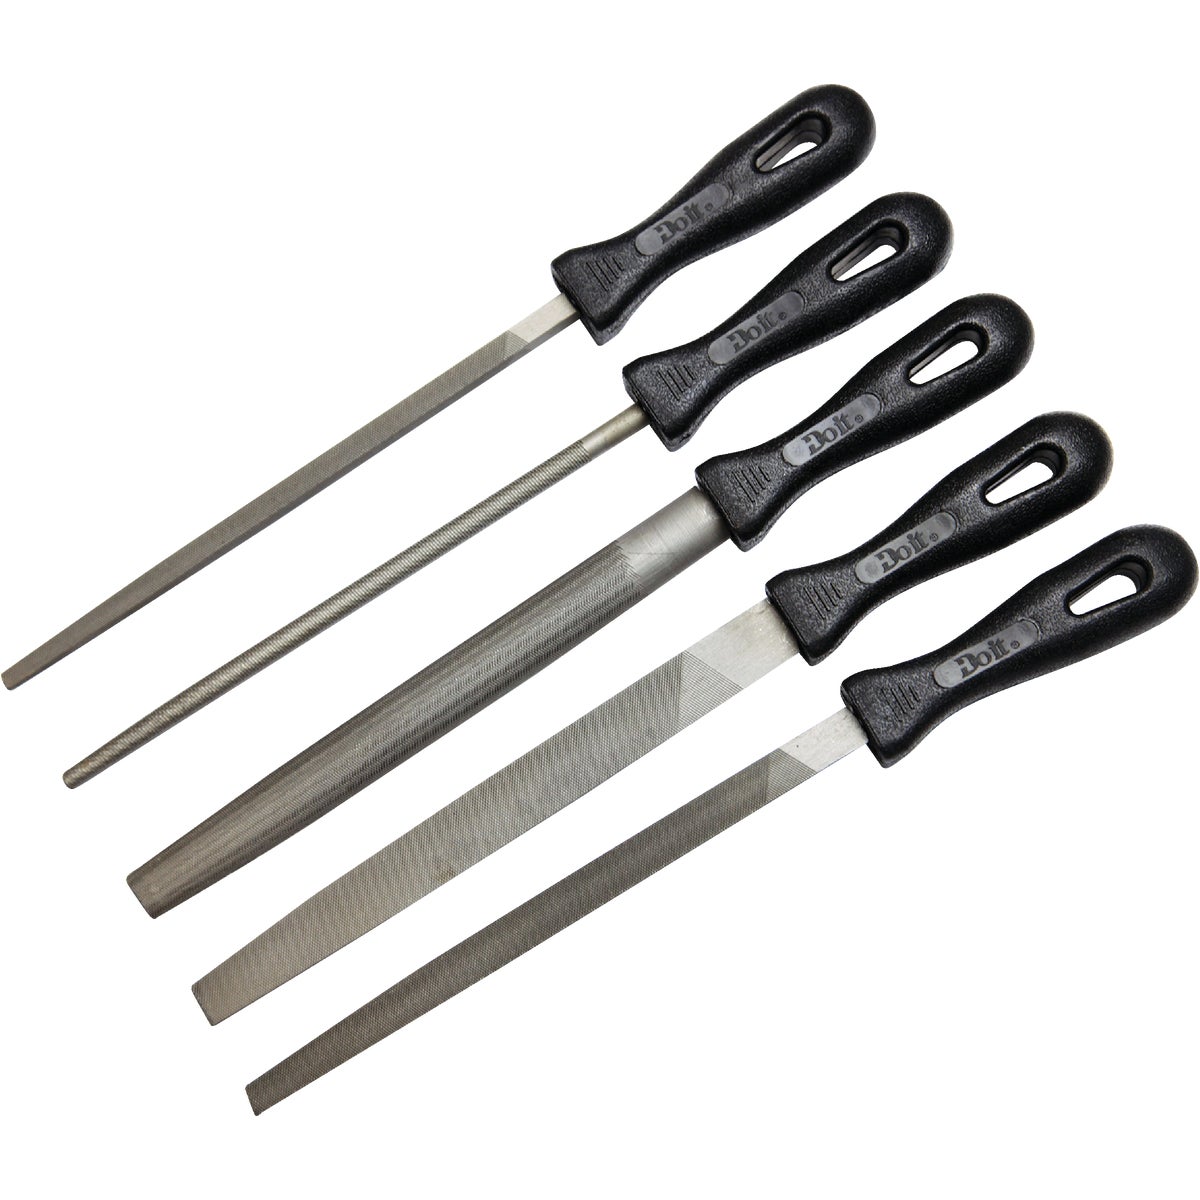
Multi-part kits leave gaps, and a gap that is still visible under primer is visible in every photograph afterward. Fill it, sand it flush, prime, and check again — the second look is what separates a clean build from a rushed one.
Washing & Priming
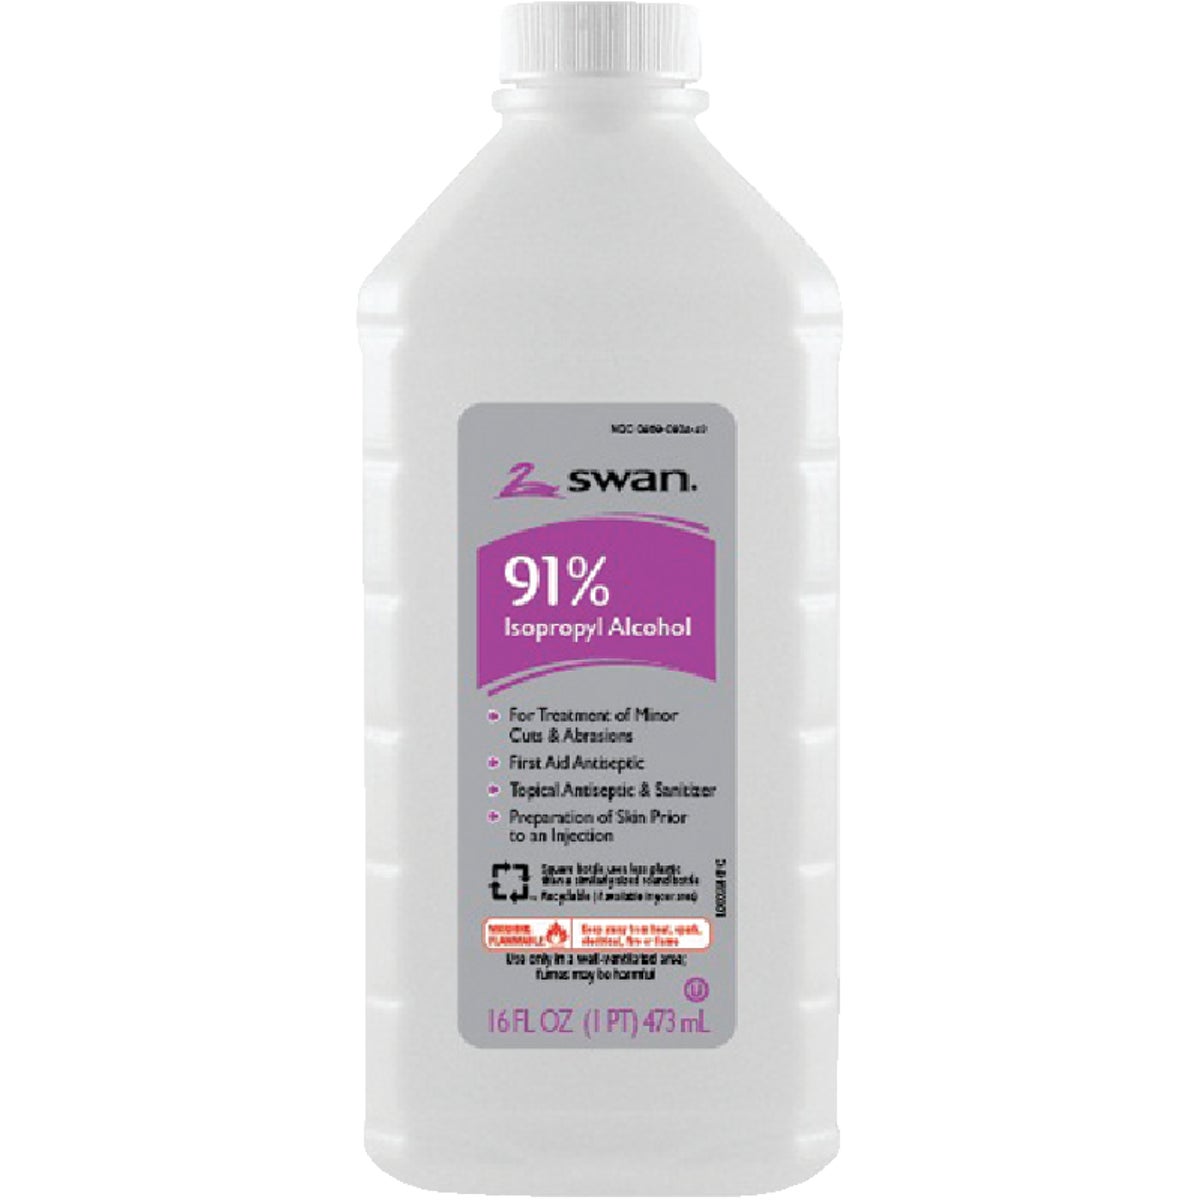
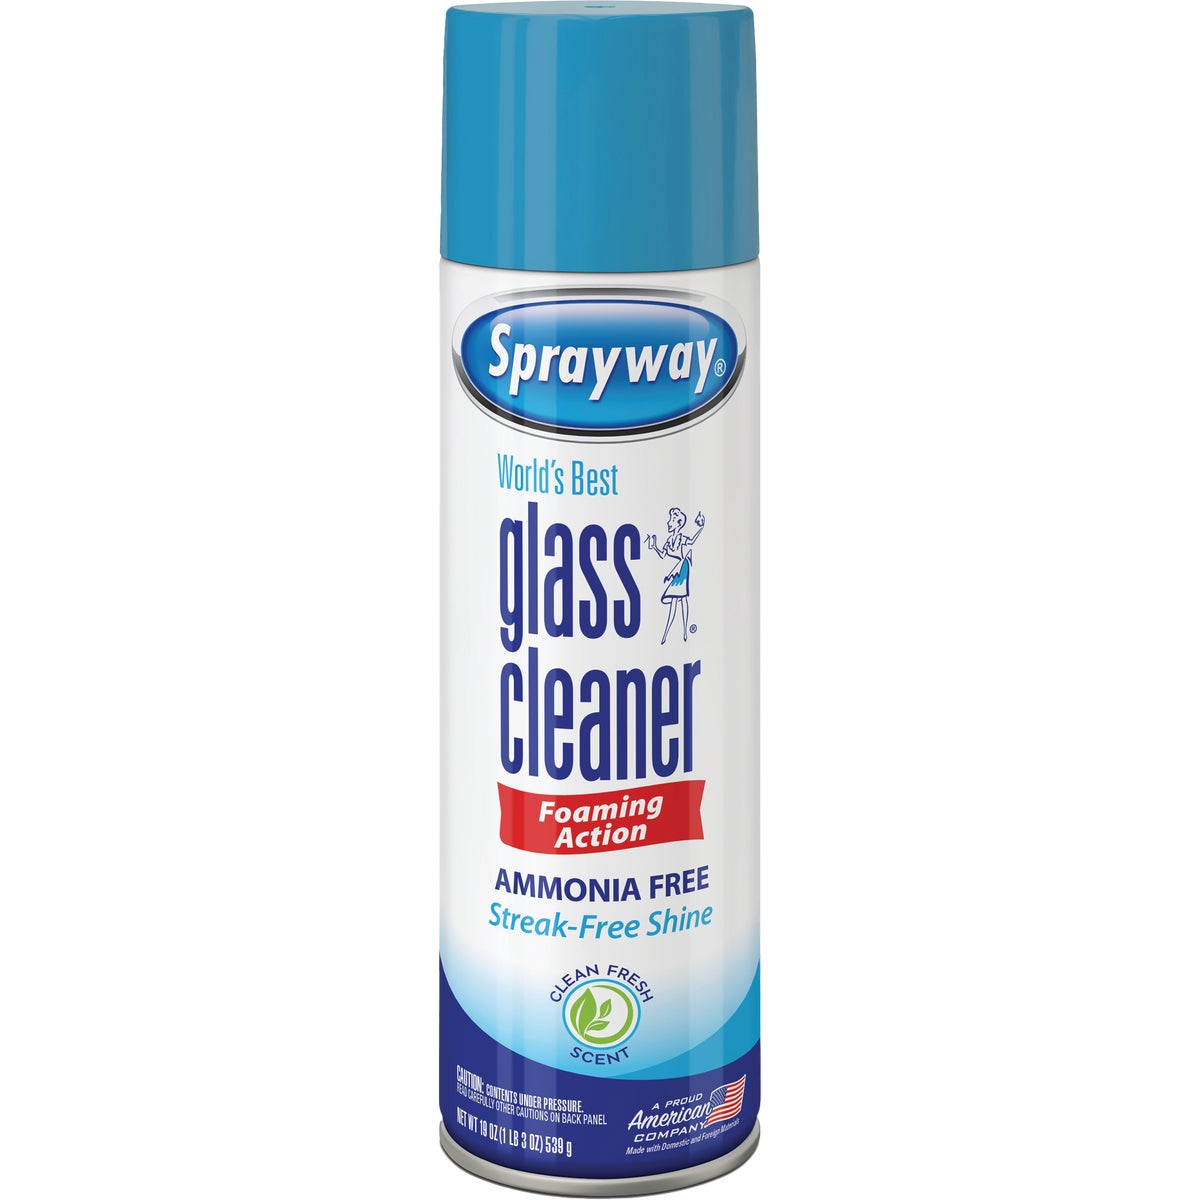
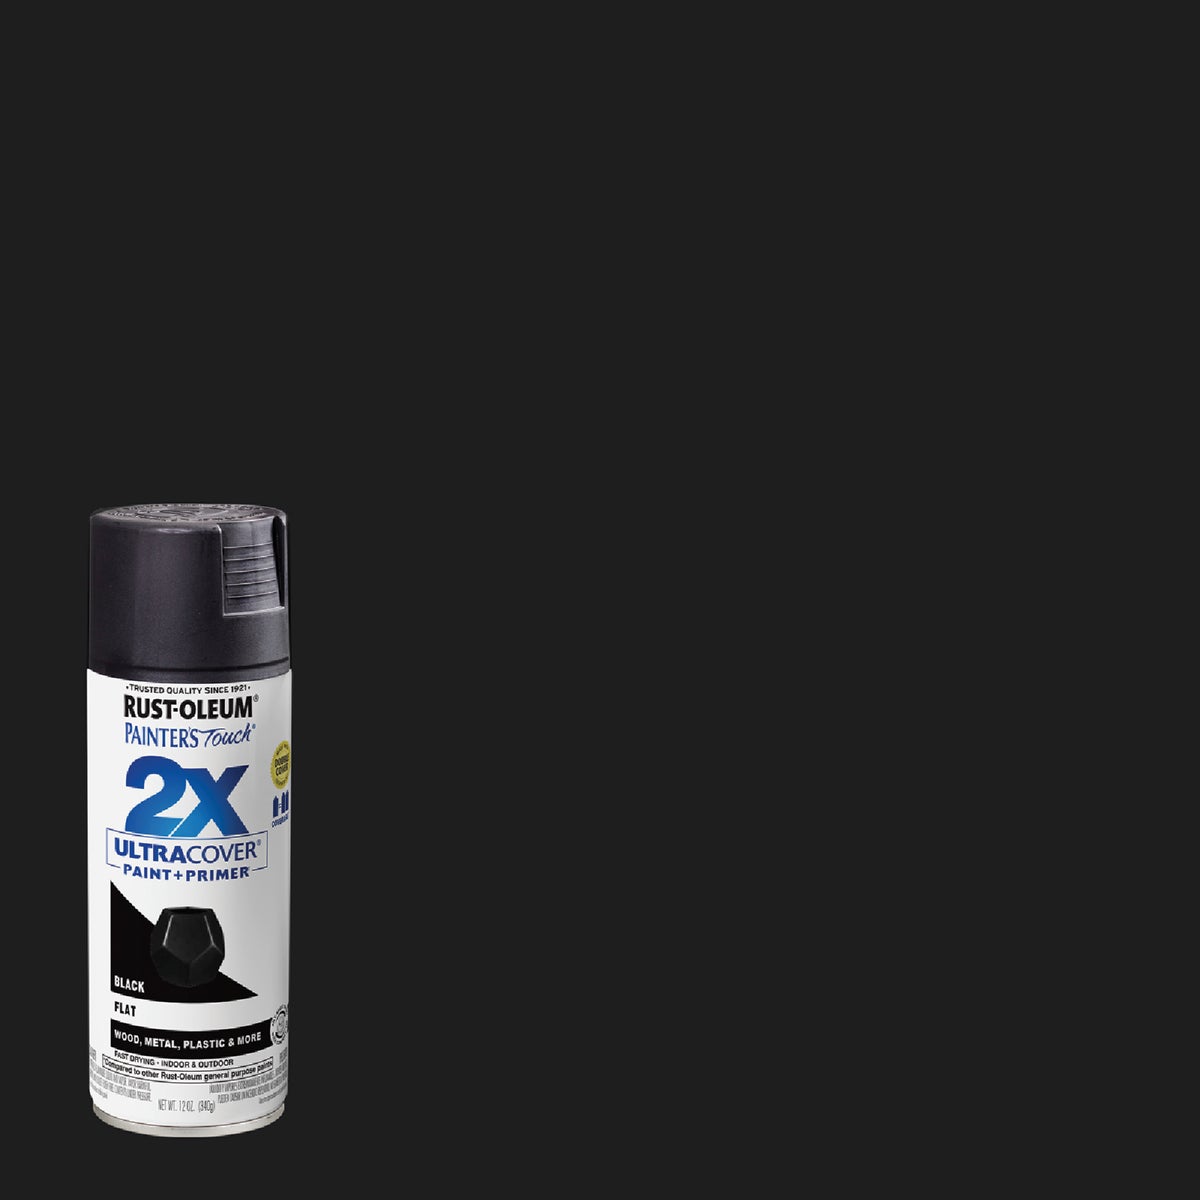
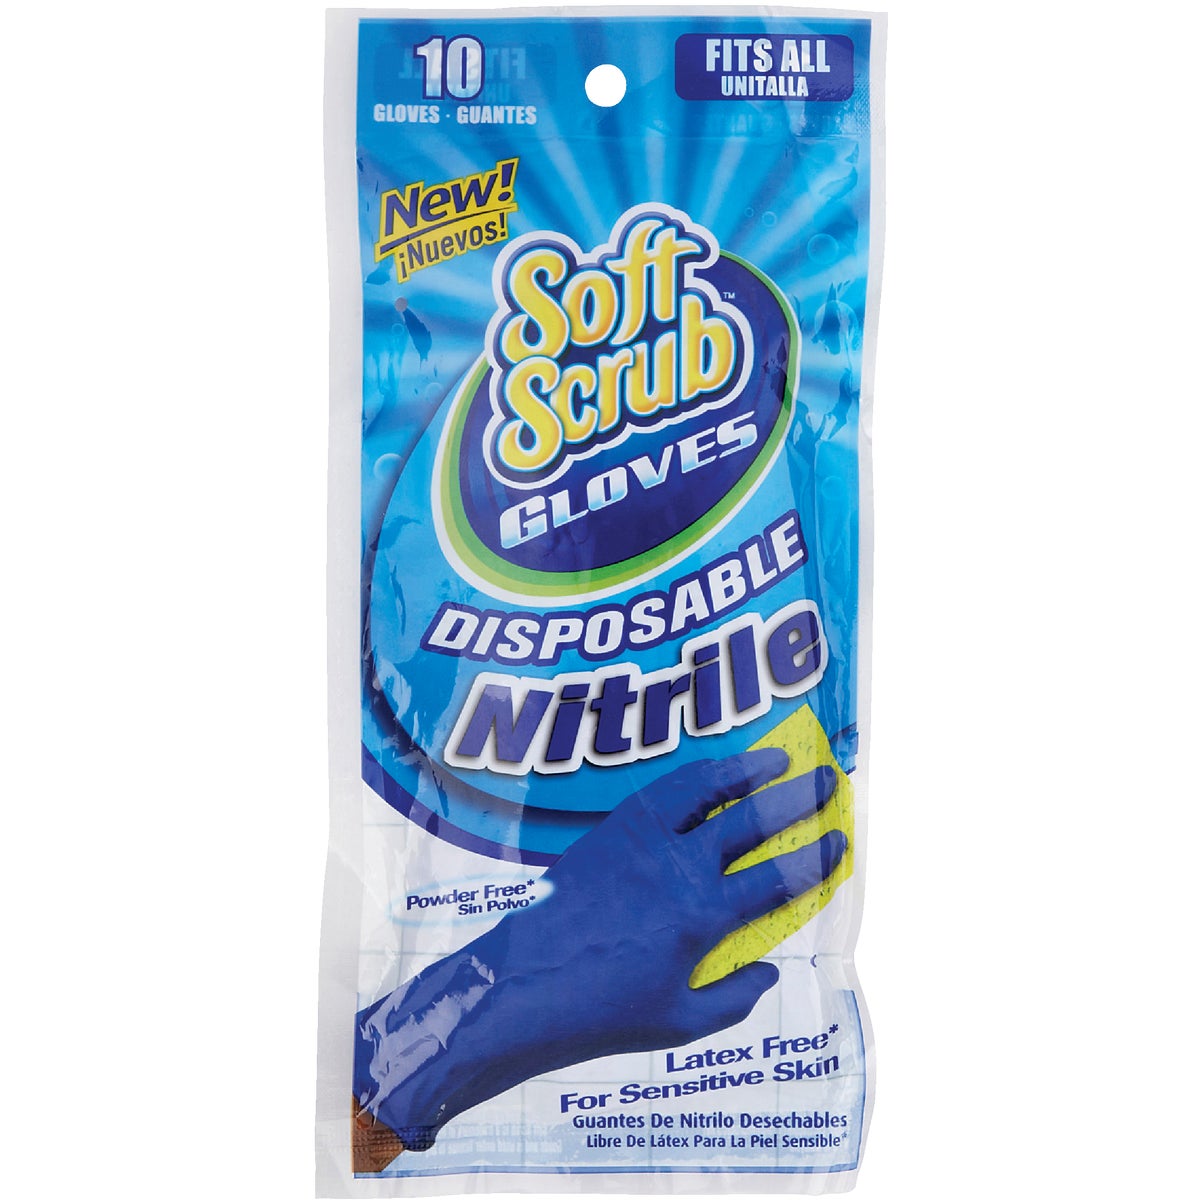
Resin casts carry mold release, and 3D prints carry uncured resin or plate residue — both make primer flake off in sheets weeks later. Wash first, handle by the base afterward, and prime in several thin coats rather than one wet one, which is how detail gets drowned.
Pinning & Assembly
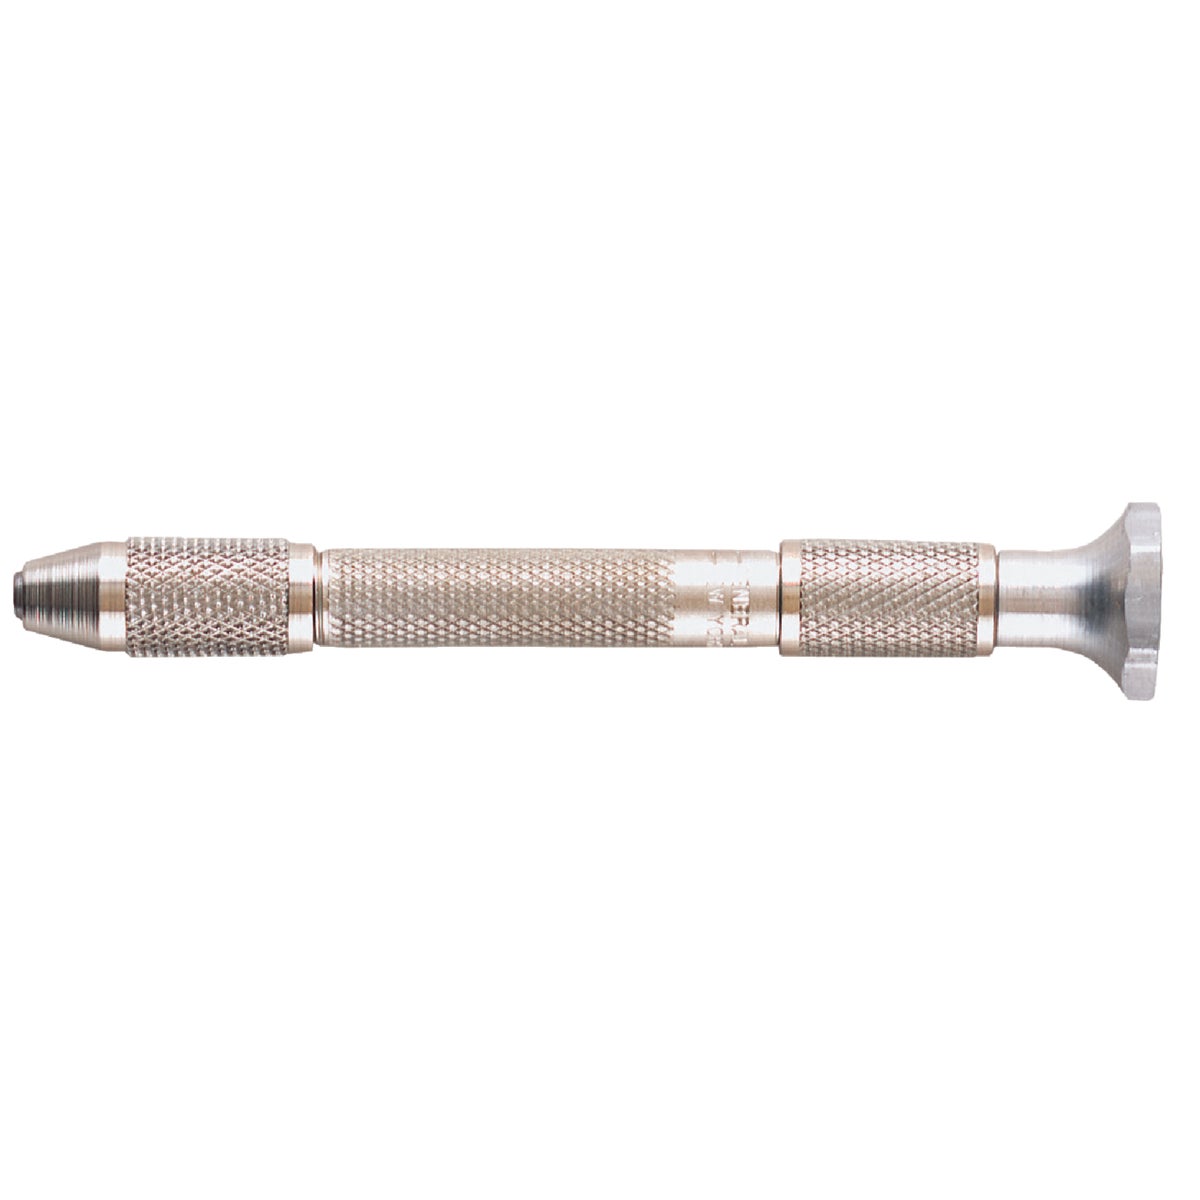
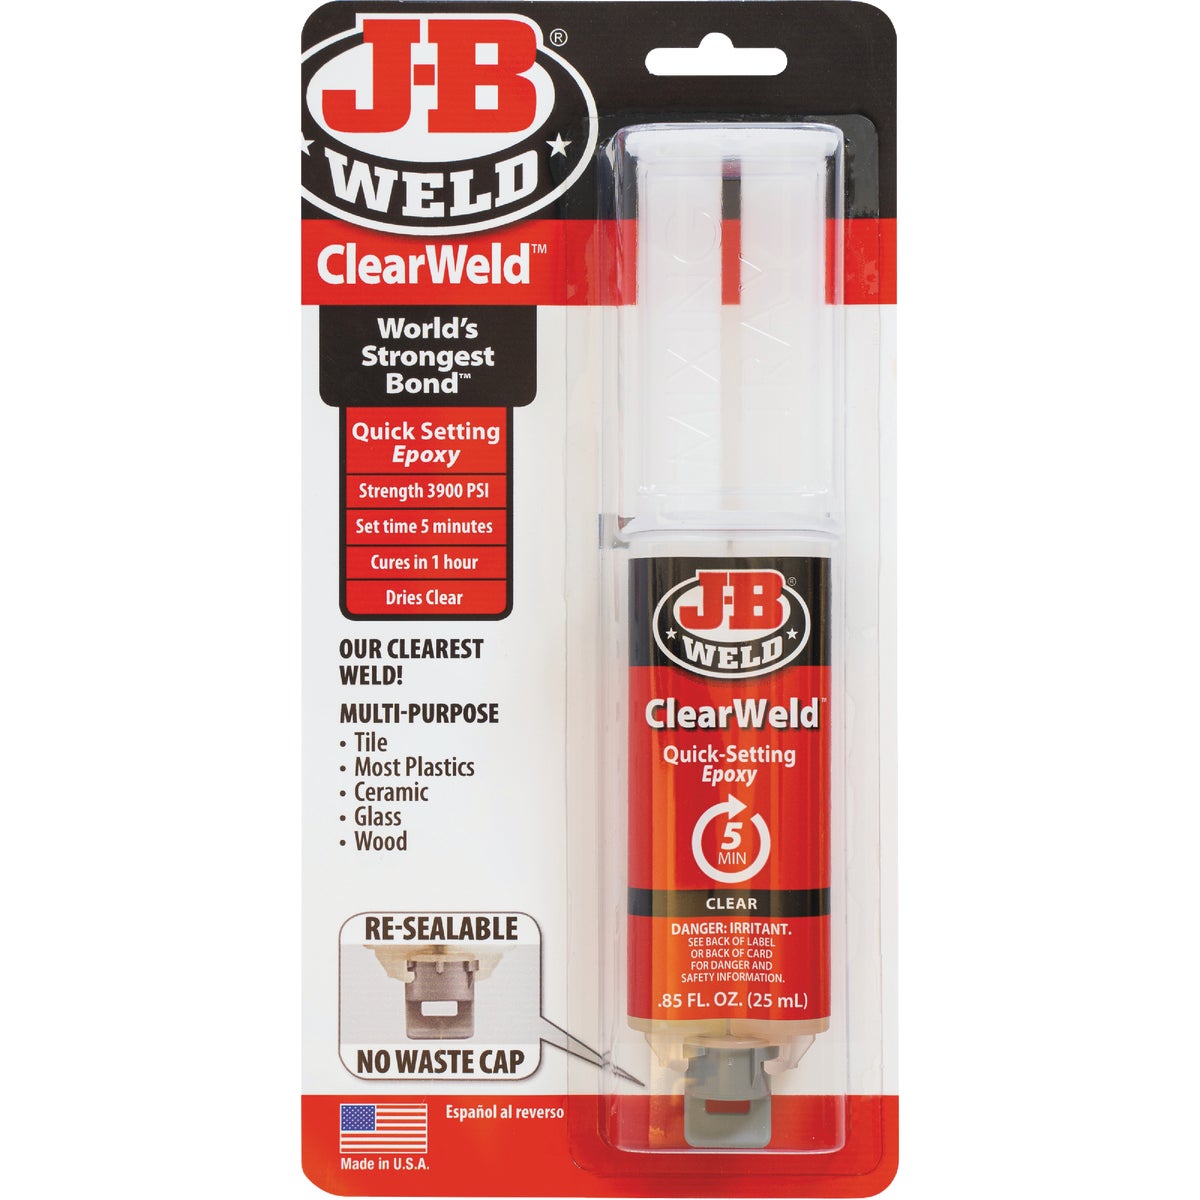
Any joint carrying weight — an outstretched arm, a wing, a sword — wants a pin. Drill both faces, glue a short length of wire in, and the joint stops being a butt joint held by surface tension. This is why pin vises exist and why a pinned model survives being dropped.
Bench, Light & Storage
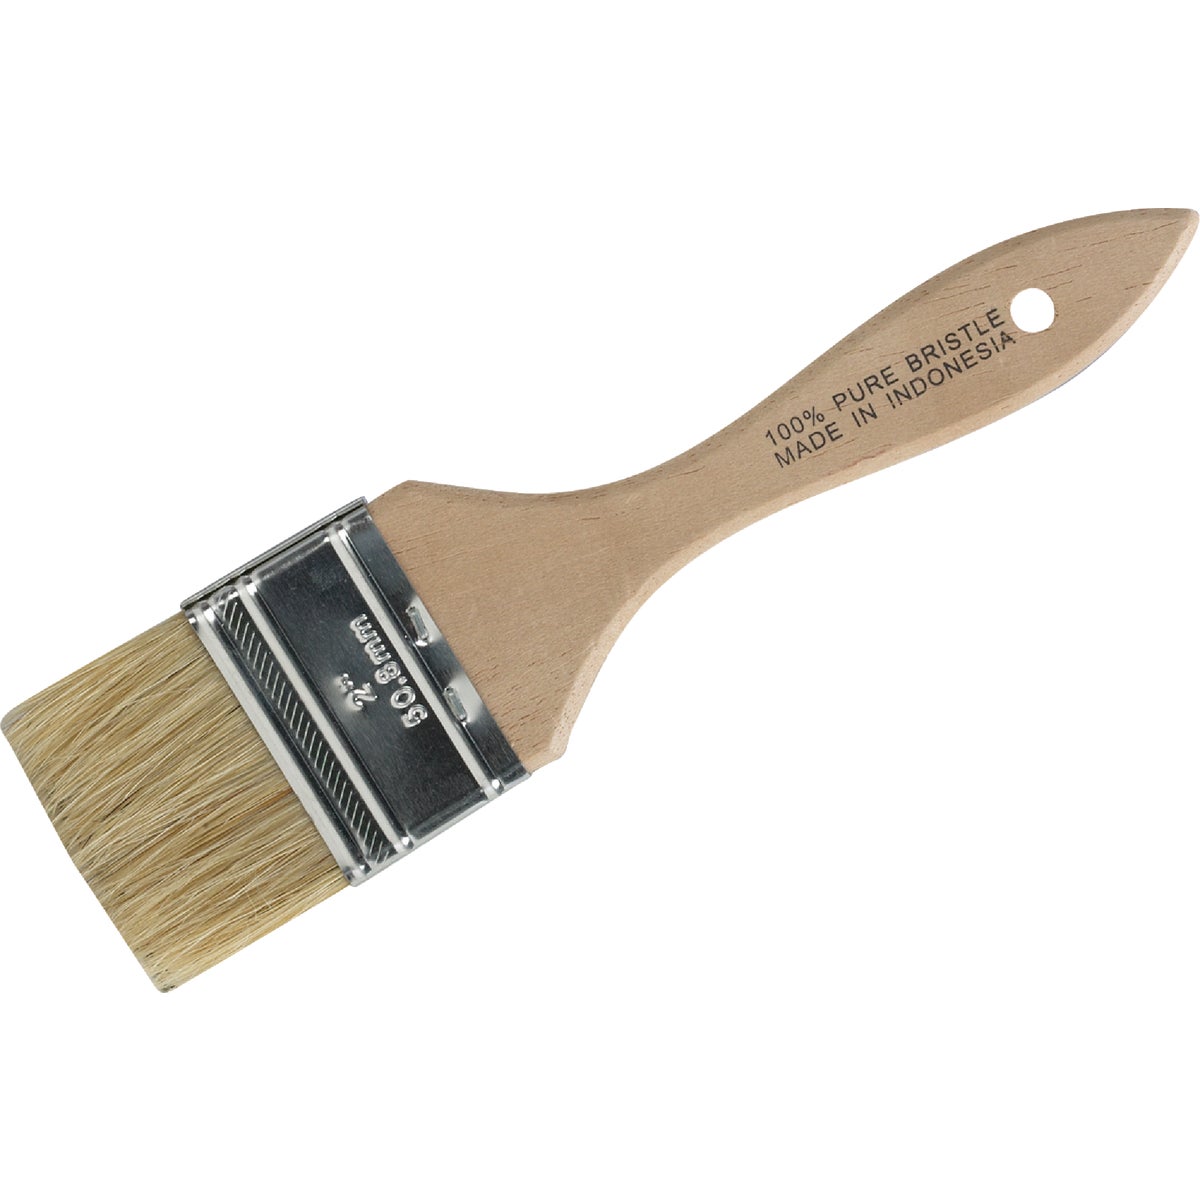
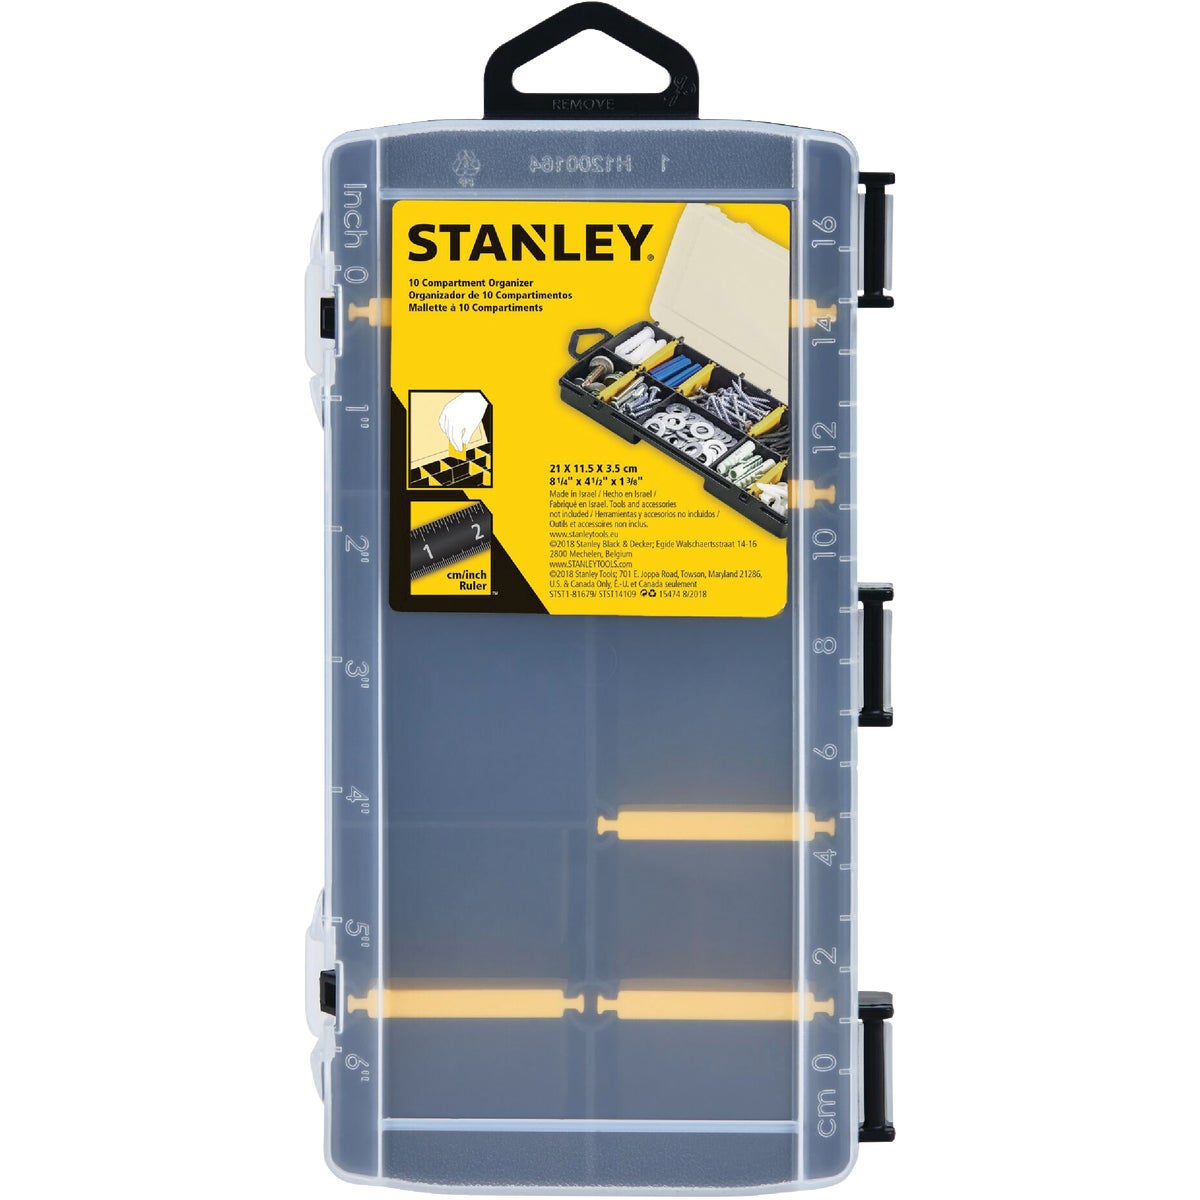
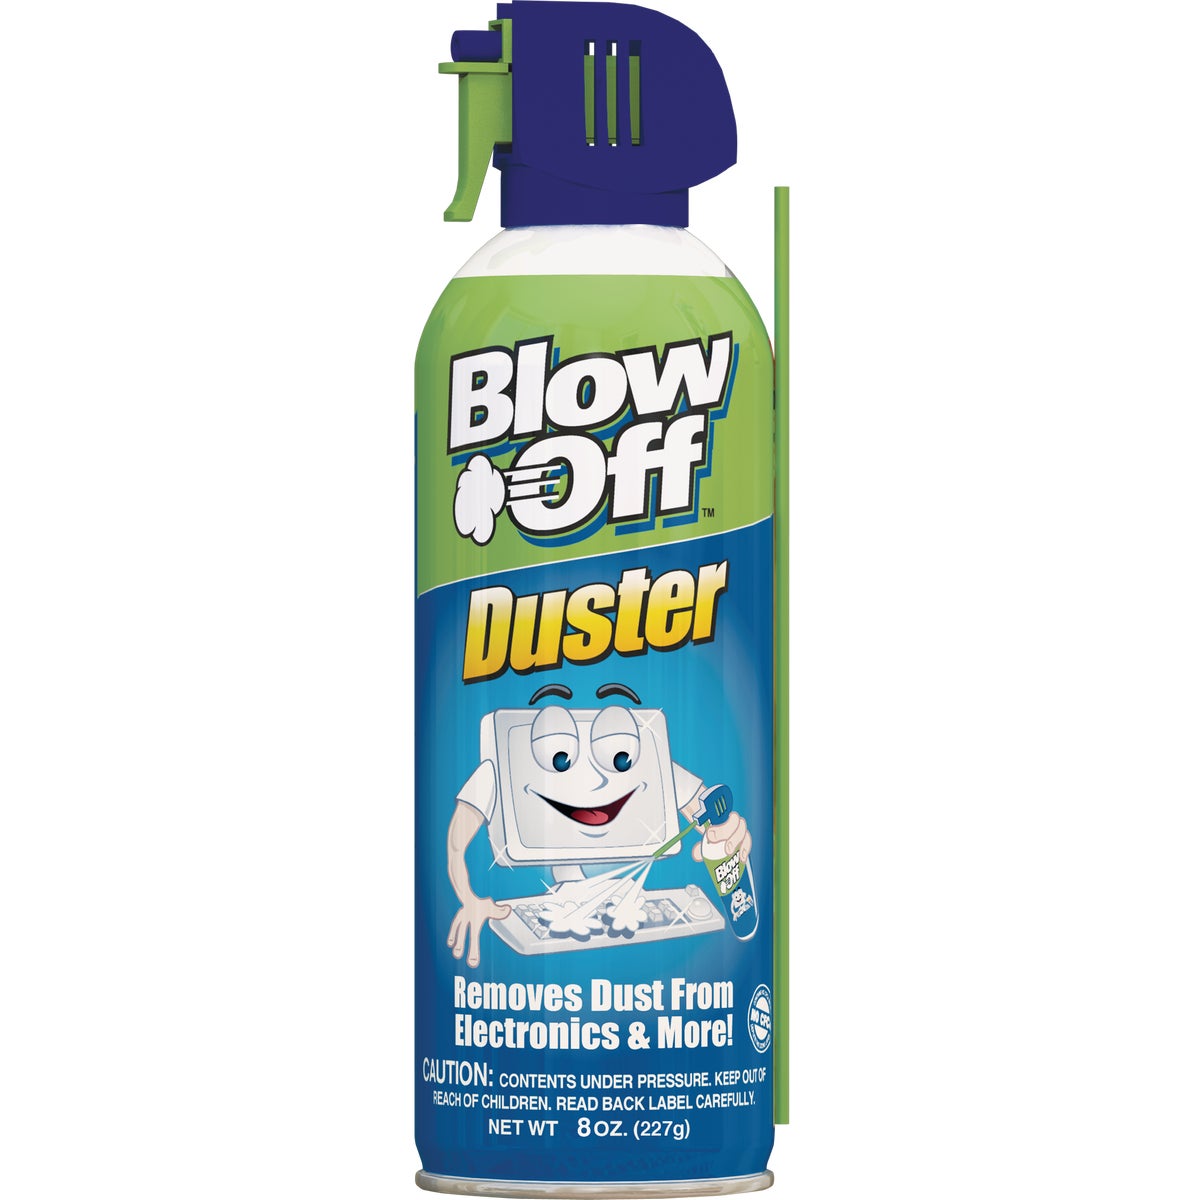
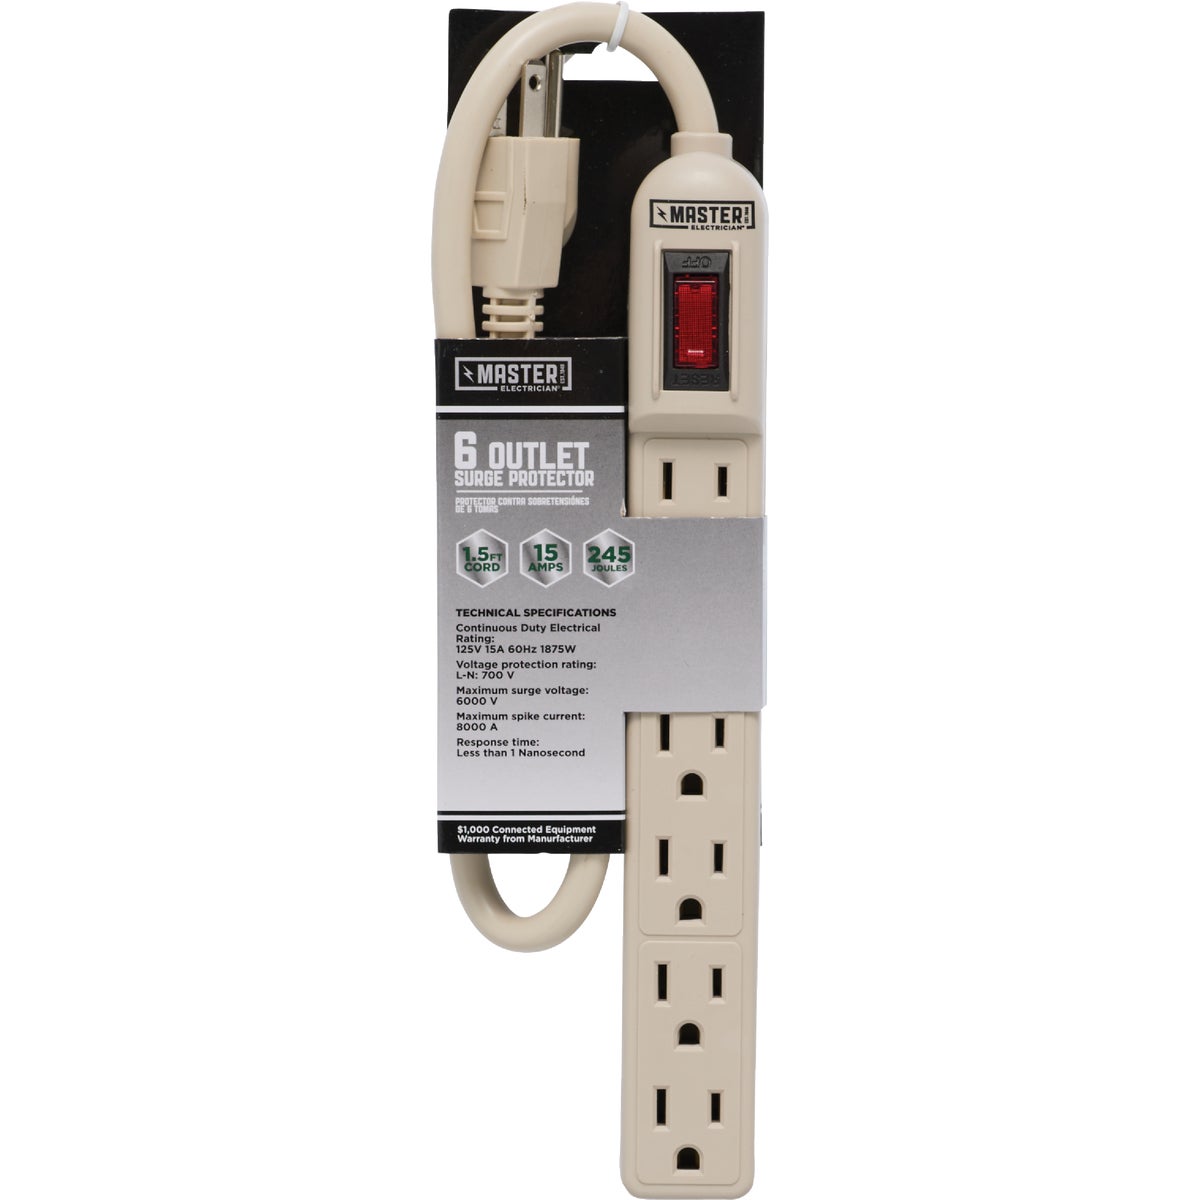
At this scale, most mistakes are things you could not see. Magnification and light do more for results than another brush does, and somewhere to put the bits stops the slow attrition of small parts into carpet.
Safety
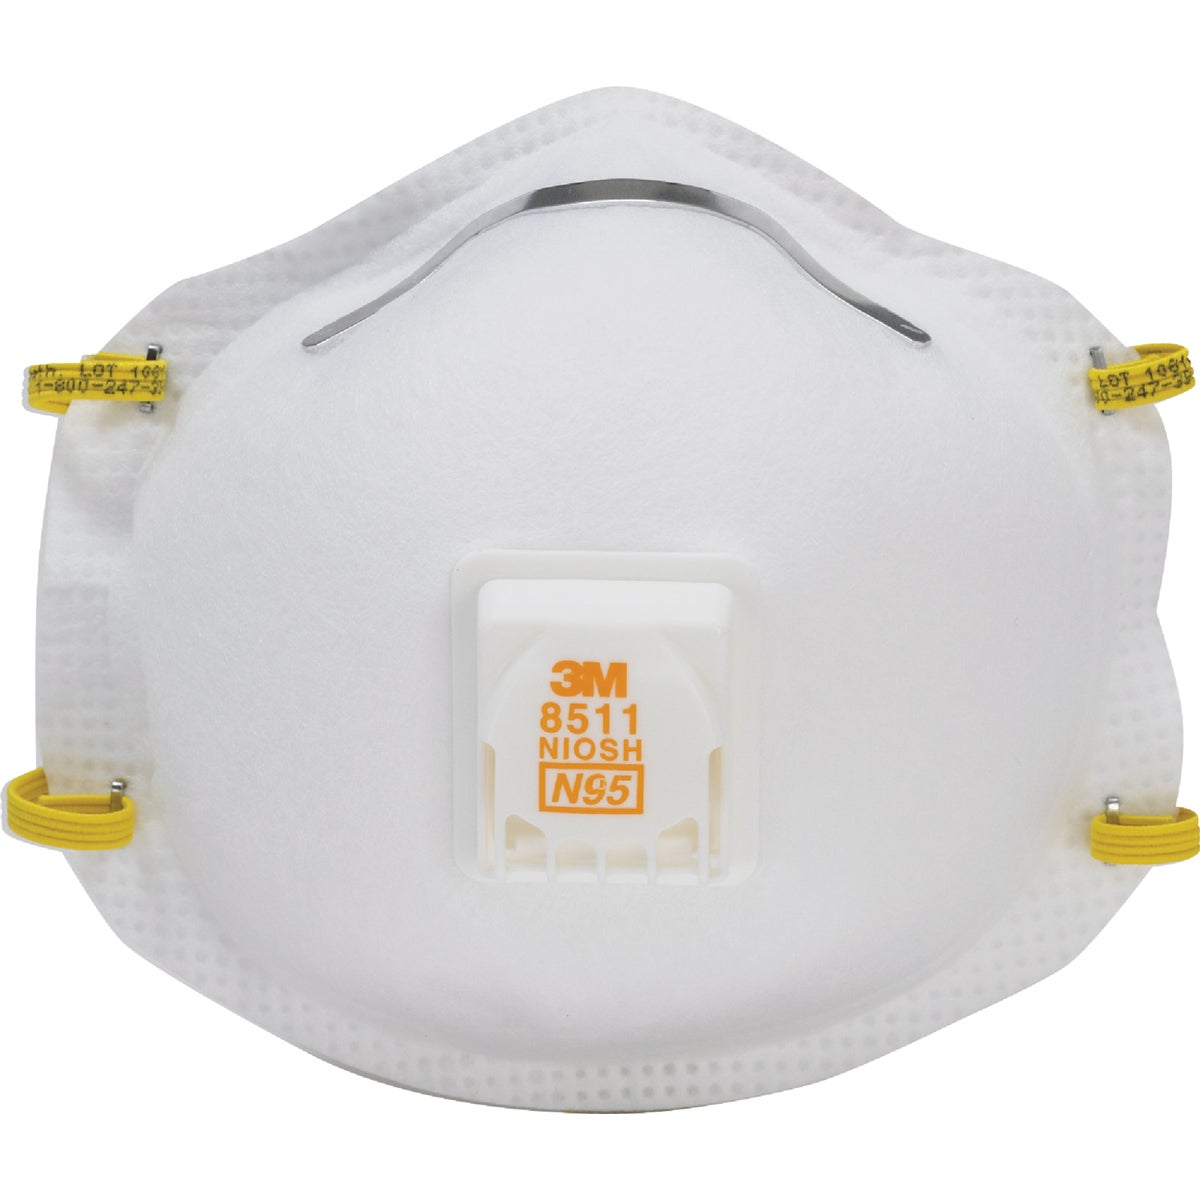
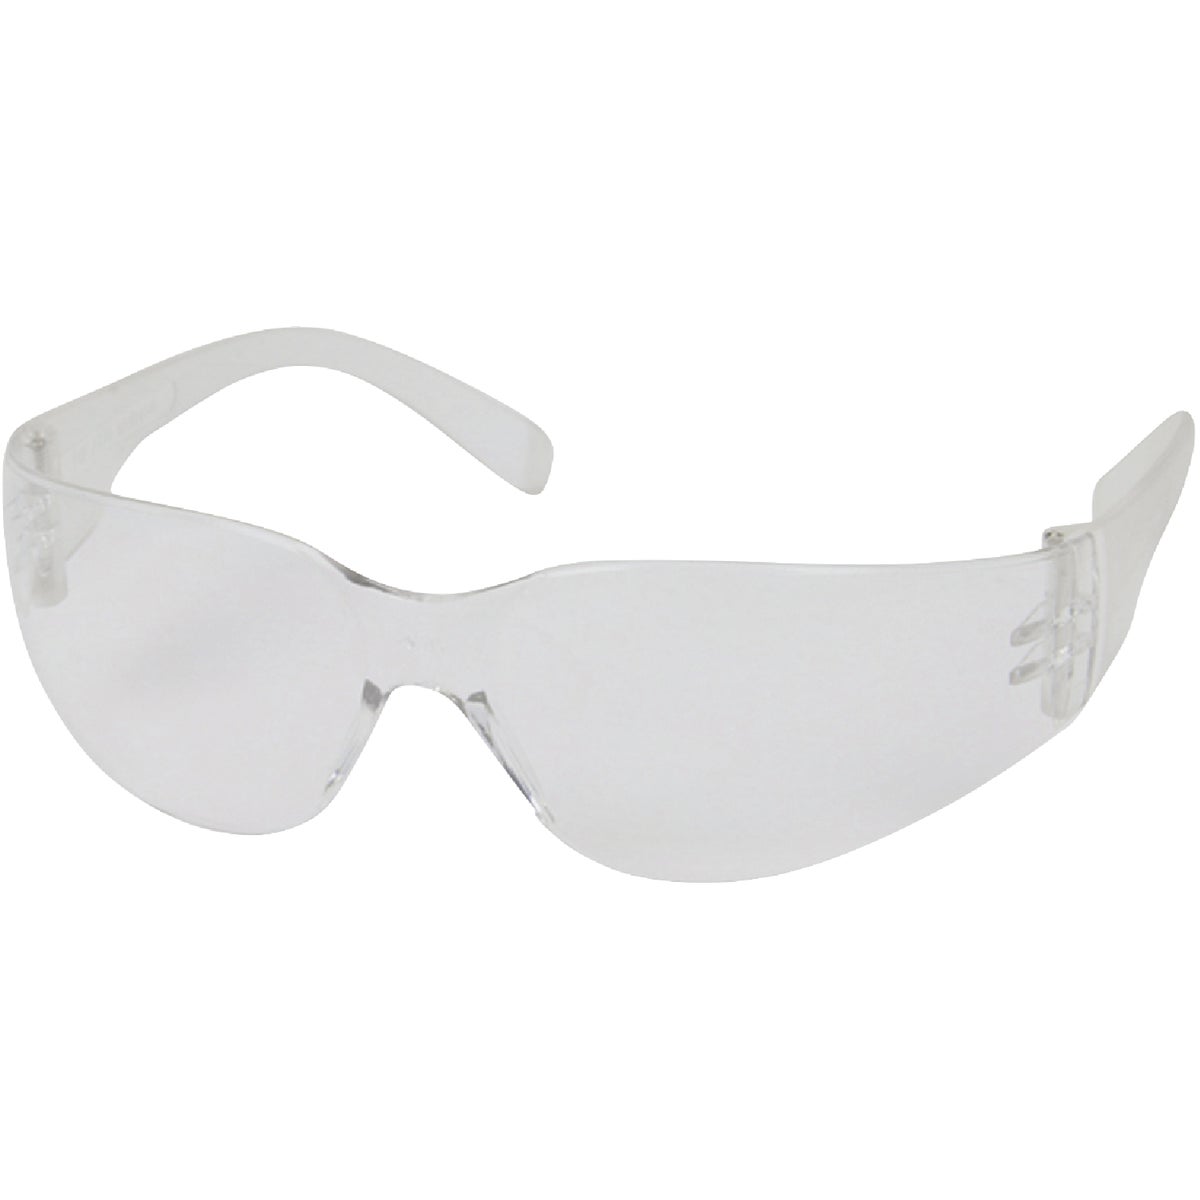
Rattle-can priming, sanding resin, and airbrush work. Ventilation first, then these.
How to Remove Mold Lines From a Miniature
Mold lines are the reason a well-painted miniature can still look wrong. Primer makes them more visible, not less, so this is a job for before the rattle can — and it is a scraping job, not a sanding job.
Find them under raking light
Hold the model under a lamp at a shallow angle and turn it. Mold lines run along the parting plane of the mold — usually straight down the sides, through the middle of arms and legs, and around a base. Raking light throws a shadow off them; overhead light hides them.
Scrape, do not sand
Hold a fresh #11 blade perpendicular to the surface — edge at 90 degrees, not slicing — and drag it along the line. It shears the raised seam off flush. Sandpaper on a curved surface flattens the curve and dulls the detail either side; scraping does not.
Fill anything that is a gap, not a line
A parting line scrapes away. A gap between two glued halves has to be filled: work spot putty in with a blade tip, let it dry, and sand flush with a fine sponge. Superglue gel works too and sands harder.
Check under magnification, then wash
Go back over it with a lit magnifier — this is where you find the third of them you missed. Then wash the model to remove mold release, sanding dust and finger oil, and let it dry fully. Handle it by the base from here on.
Prime in several thin coats
Flat gray, from 8–10 inches, in two or three light passes with a minute between, turning the model between passes. One heavy wet coat pools in the recesses and drowns exactly the detail you just spent an hour protecting. Then look again — primer shows you every line you missed, while you can still fix it.
Miniature & Model Painting Questions, Answered
Scrape them, do not sand them. Hold a fresh hobby knife blade perpendicular to the surface — edge at 90 degrees rather than slicing — and drag it along the seam. It shears the raised line off flush while leaving the detail either side intact. Sandpaper on a curved surface flattens the curve. Find the lines first under raking light, because they are nearly invisible under overhead light and very visible once primed.
A flat gray automotive rattle-can primer does the job most miniature painters need, and costs roughly a third of hobby-branded equivalents for a much larger can. What matters is application, not brand: several light passes from 8–10 inches, turning the model between passes, rather than one wet coat. A heavy coat pools in the recesses and destroys detail. Black primer under metallics, or a zenithal prime — black from below, gray or white from above — gives you free shading.
Yes. Plastic and resin miniatures take standard rattle-can primer fine as long as it is applied in thin coats and the model has been washed first. Prime on a dry, moderate day — spraying in high humidity, which is most of the Southwest Florida summer, is what causes a chalky or frosted finish. If it does frost, a light coat of gloss varnish will usually rescue it.
Mold release. Resin casts are pulled out of silicone molds using a release agent that stays on the surface, and primer bonds to the release rather than the model — then flakes off in sheets weeks later. Wash resin parts with warm soapy water or wipe them with isopropyl alcohol before priming, and handle them by the base afterward. The same applies to 3D printed resin parts, which carry uncured resin on the surface.
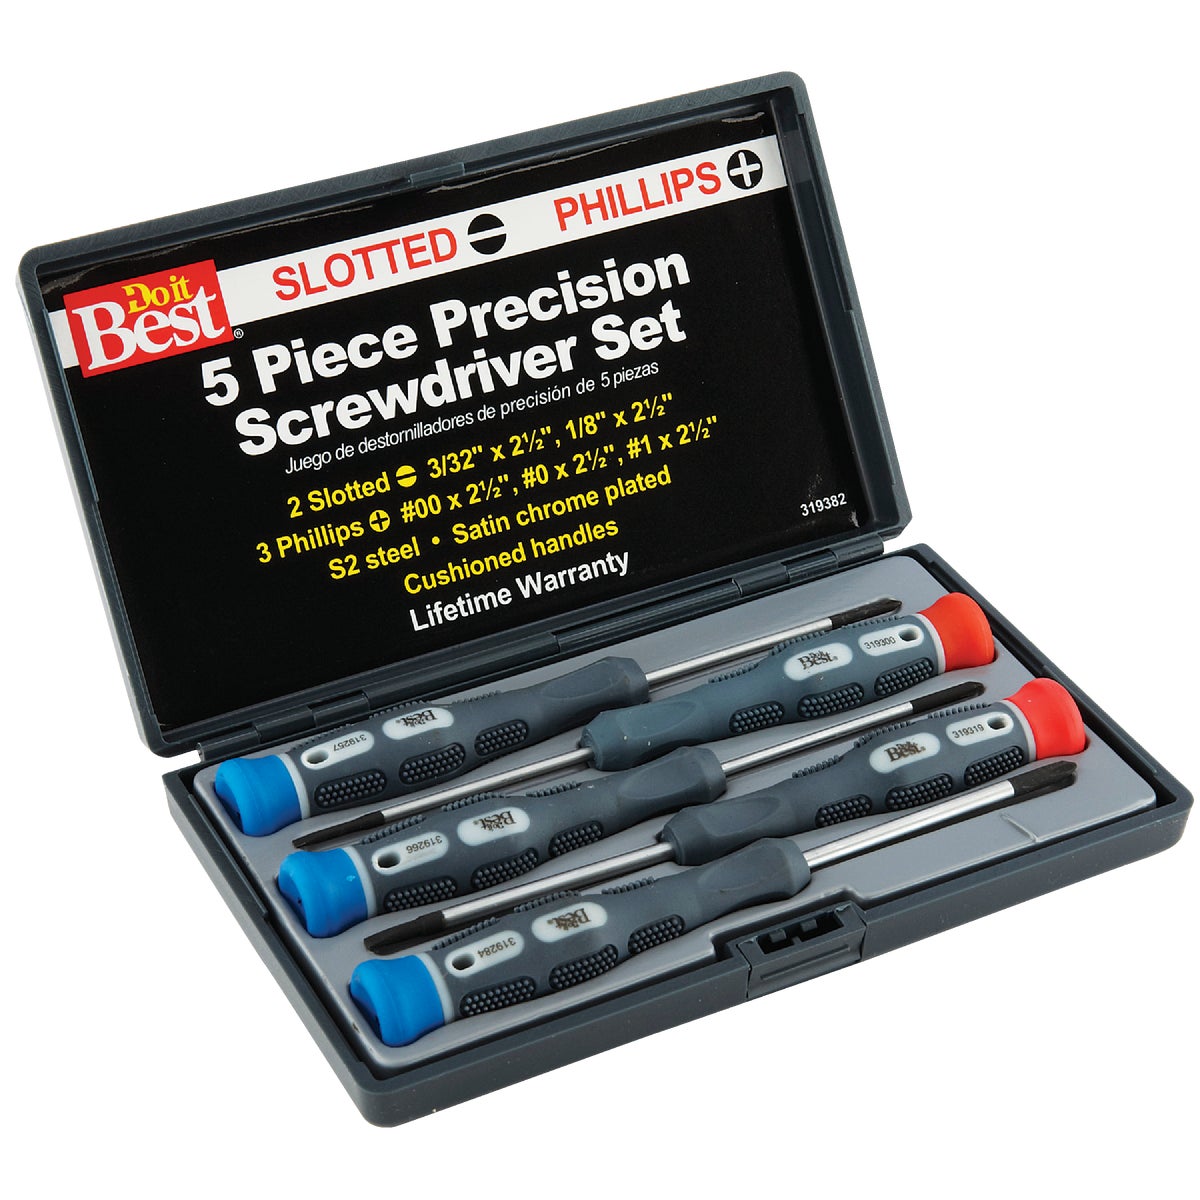
Hand-drilling small holes. The two main jobs are pinning — drilling both halves of a weight-bearing joint and gluing in a short length of wire so an outstretched arm or a wing does not snap off — and drilling out gun barrels, which is one of the highest-impact small details you can add to a model. It also drills seats for magnets so weapon options can be swapped. It is the tool most people do not own and wish they had bought first.
Glazing and spot putty for anything wider than a hairline: work it into the gap with a blade tip, let it dry a few minutes, and sand flush with a fine sanding sponge. For very fine seams, gel superglue works and sands harder than putty. Either way, prime afterward and look again — an unfilled seam is invisible on bare plastic and obvious under primer, which is exactly the wrong order to discover it.
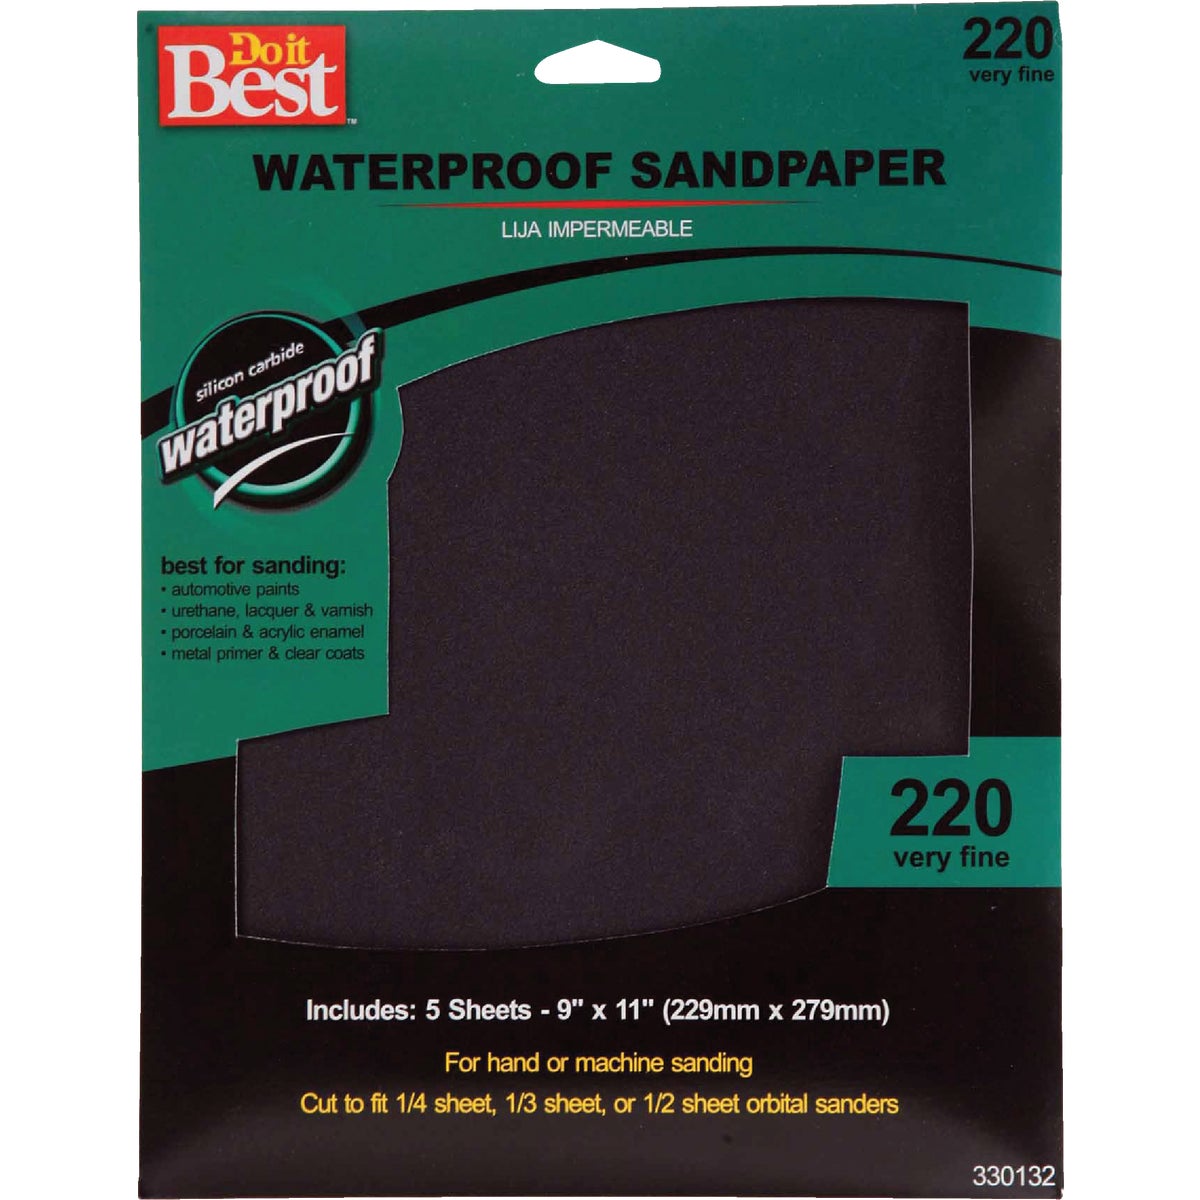
Start at 180 on a sanding sponge for filled seams and heavy cleanup, move to 220, and finish with fine wet sanding where you want the repair to disappear entirely. Sponges beat flat sticks on miniatures because they follow curves instead of flattening them. Wet sanding keeps the plastic dust out of the air and stops the paper glazing over.
No — no acrylic hobby paints, no miniature brushes, no kits or models. Those belong at a game or hobby store, and we would rather say so than waste your trip. What we stock is everything around them: cutters, blades, files, sanding sponges, spot putty, primer, pin vises, epoxy, magnifiers, bench storage and safety gear. It is the prep and bench half of the hobby, at hardware-store prices.
Family Hardware carries the full list on this page at both stores. Cape Coral: 622 SE 47th Terrace — (239) 542-6365. Fort Myers: 13101 McGregor Blvd — (239) 933-1744. Open Mon–Sat 7 AM–6 PM and Sun 8 AM–3 PM. Order online for free in-store pickup, usually ready within 2 hours, or ship anywhere in the continental US with free shipping over $99.
Related Guides
These overlap with this list more than you would expect — often the same shopper, and frequently the same aisle.
Pick It Up Today in Cape Coral or Fort Myers
Order online for free in-store pickup — usually ready within 2 hours — or just come in. Prices shown are our everyday shelf prices at both stores; stock on any single item is on its product page.
622 SE 47th Terrace, Cape Coral, FL 33904
Mon–Sat 7 AM–6 PM | Sun 8 AM–3 PM
Departments, services and directions for our Cape Coral store →
13101 McGregor Blvd, Fort Myers, FL 33919
Mon–Sat 7 AM–6 PM | Sun 8 AM–3 PM
Departments, services and directions for our Fort Myers store →
Free shipping on orders over $99 • Free in-store pickup • Online customer service: 877-755-2005
About Family Hardware
Store Locations
About Us
Hurricane Prep Guide
Hobby Supply Guides
Employment
Customer Service
Contact Us
Returns
Shipping & Tracking
Gift Card Balance
Rewards
Promotions
Credit Application
Tax Exempt Purchases
Terms of Service
Privacy Policy
Locations
Cape Coral
Fort Myers
All Store Locations
Grills
Grill Store — All Grills
Alfa Pizza Ovens
Big Green Egg
Napoleon
Challenger Designs
Delta Heat
Tagwood BBQ
Twin Eagles
Replacement Parts
Warranty
Services
All Services
Saw Blade Sharpening
Saw Blade Shop
Key Cutting
Screen Repair
Propane Exchange
Lamp Repair
Key Fob Batteries
Freud
Lamello P-System
Popular Tools Saw Blades
Diablo
Tenryu
© 2026 Family Hardware. Family Hardware and the Family Hardware logo are registered trademarks of Family Hardware Corporation. All rights reserved.