
Cosplay & Prop Making Supplies
EVA foam armor, weathered props and full builds run on hardware-store materials: contact cement, a heat gun, a fresh blade, spackle, primer and rattle cans. The cosplay shop sells you the same things in smaller bottles with a costume on the label.
Short answer
Almost the entire EVA foam workflow is hardware-store stock. Weldwood contact cement is the glue foam armor is actually built with — not hot glue, which peels at the seam the first time the costume flexes. A heat gun is what shapes flat foam into curved plate and seals the surface. A fresh blade matters more than an expensive knife: foam tears on a dull edge, and the fix is a new blade every few cuts, not more pressure. Spackle or flexible filler hides the seams, filler primer turns the whole piece one color so you can see what still needs work, and rattle-can paint finishes it. Buy the blades and the cement in the big size — you will use both faster than you expect.
The First Foam Build Kit
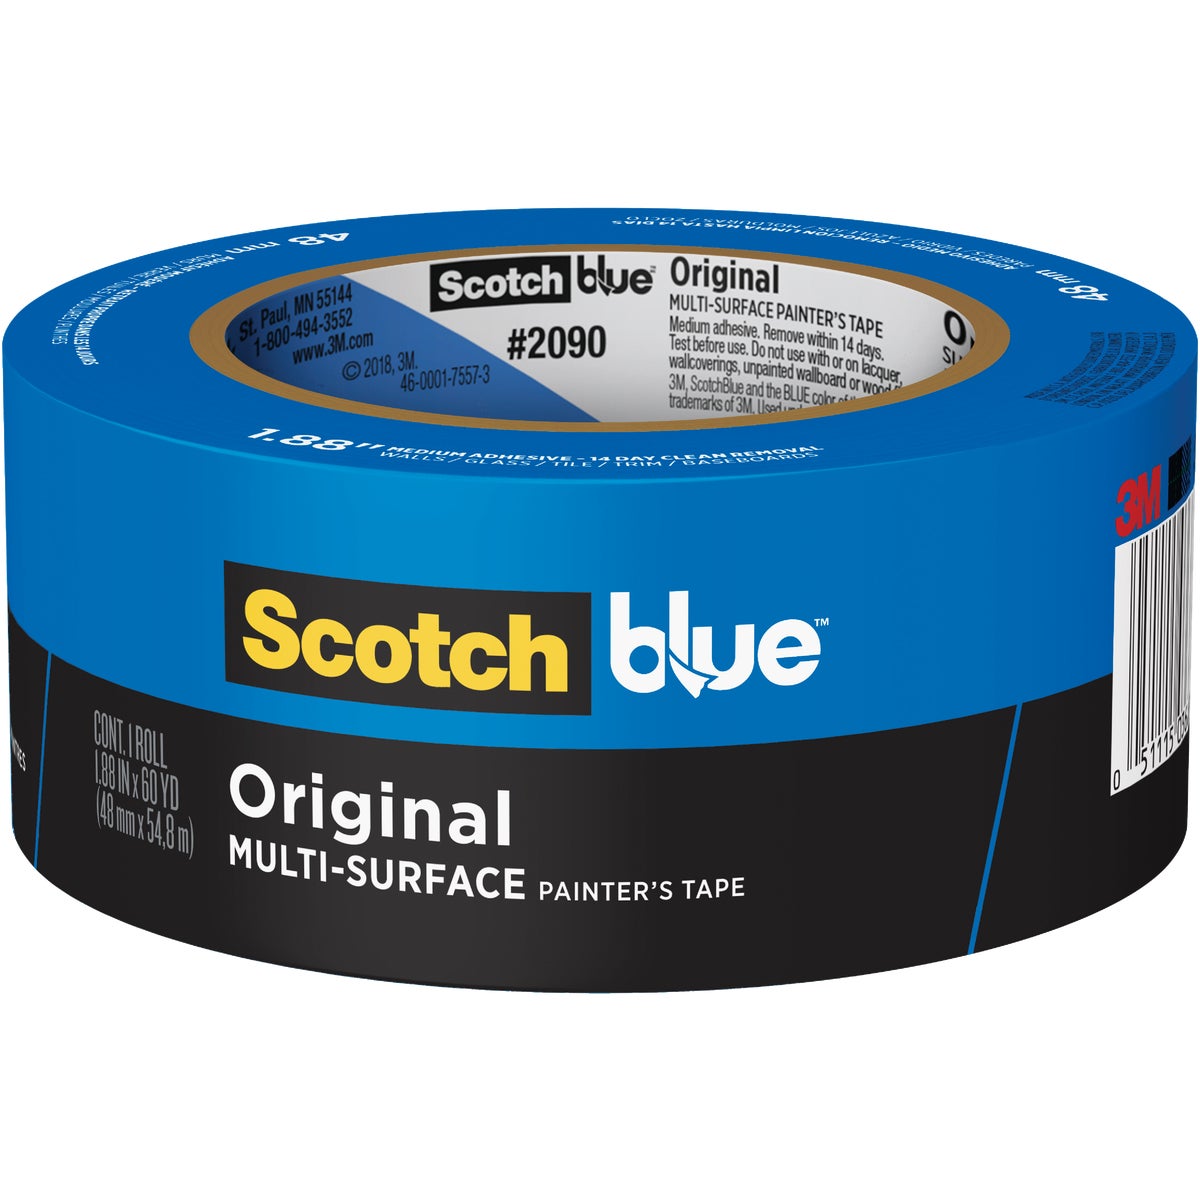
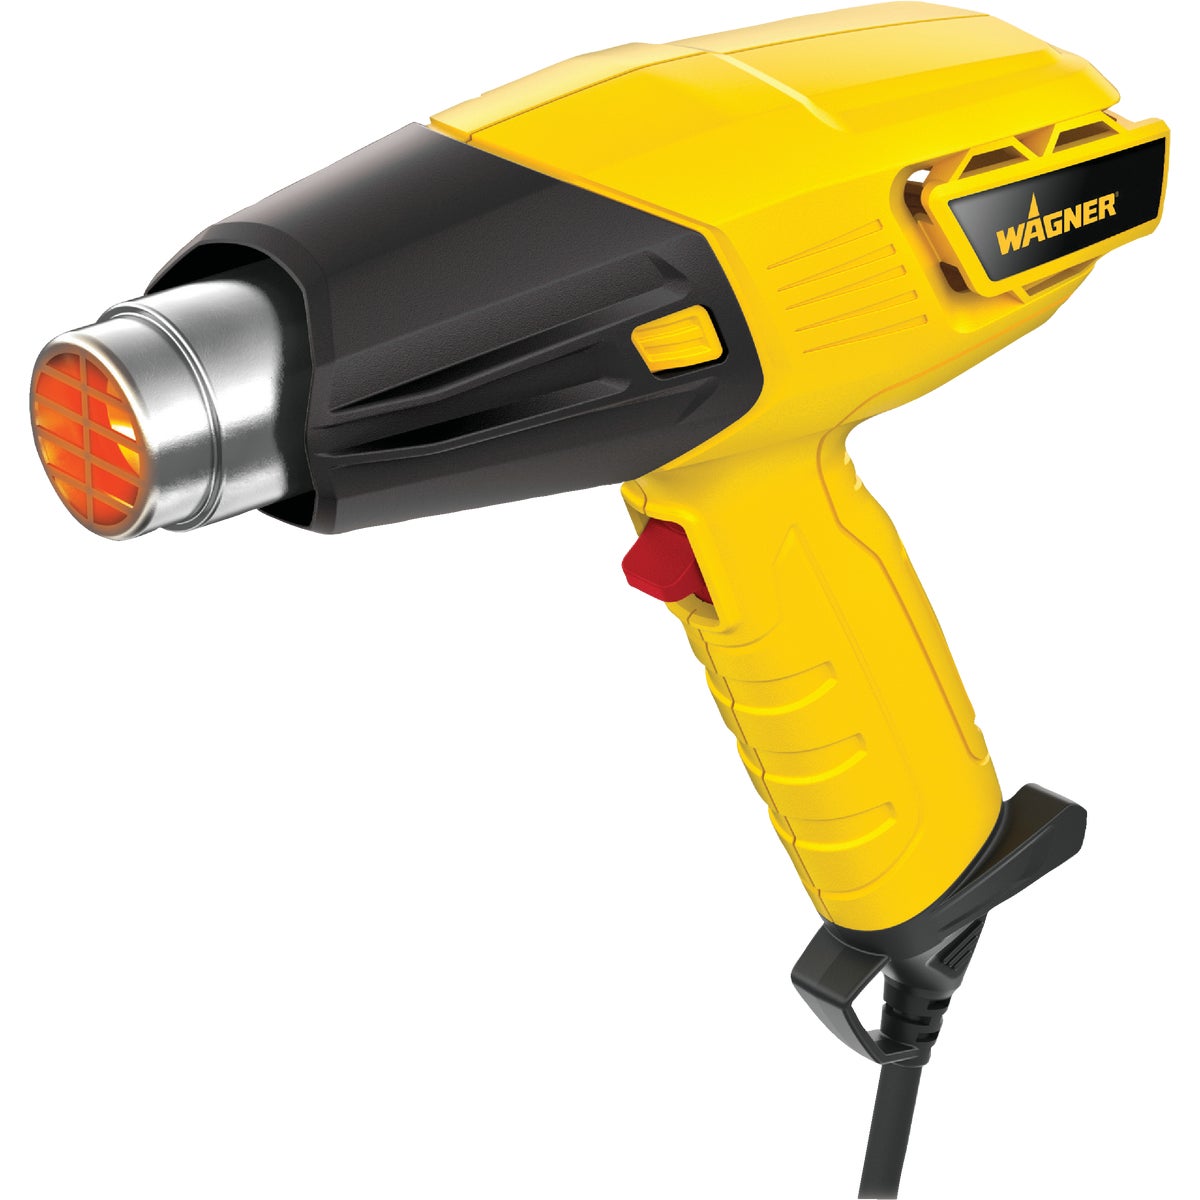
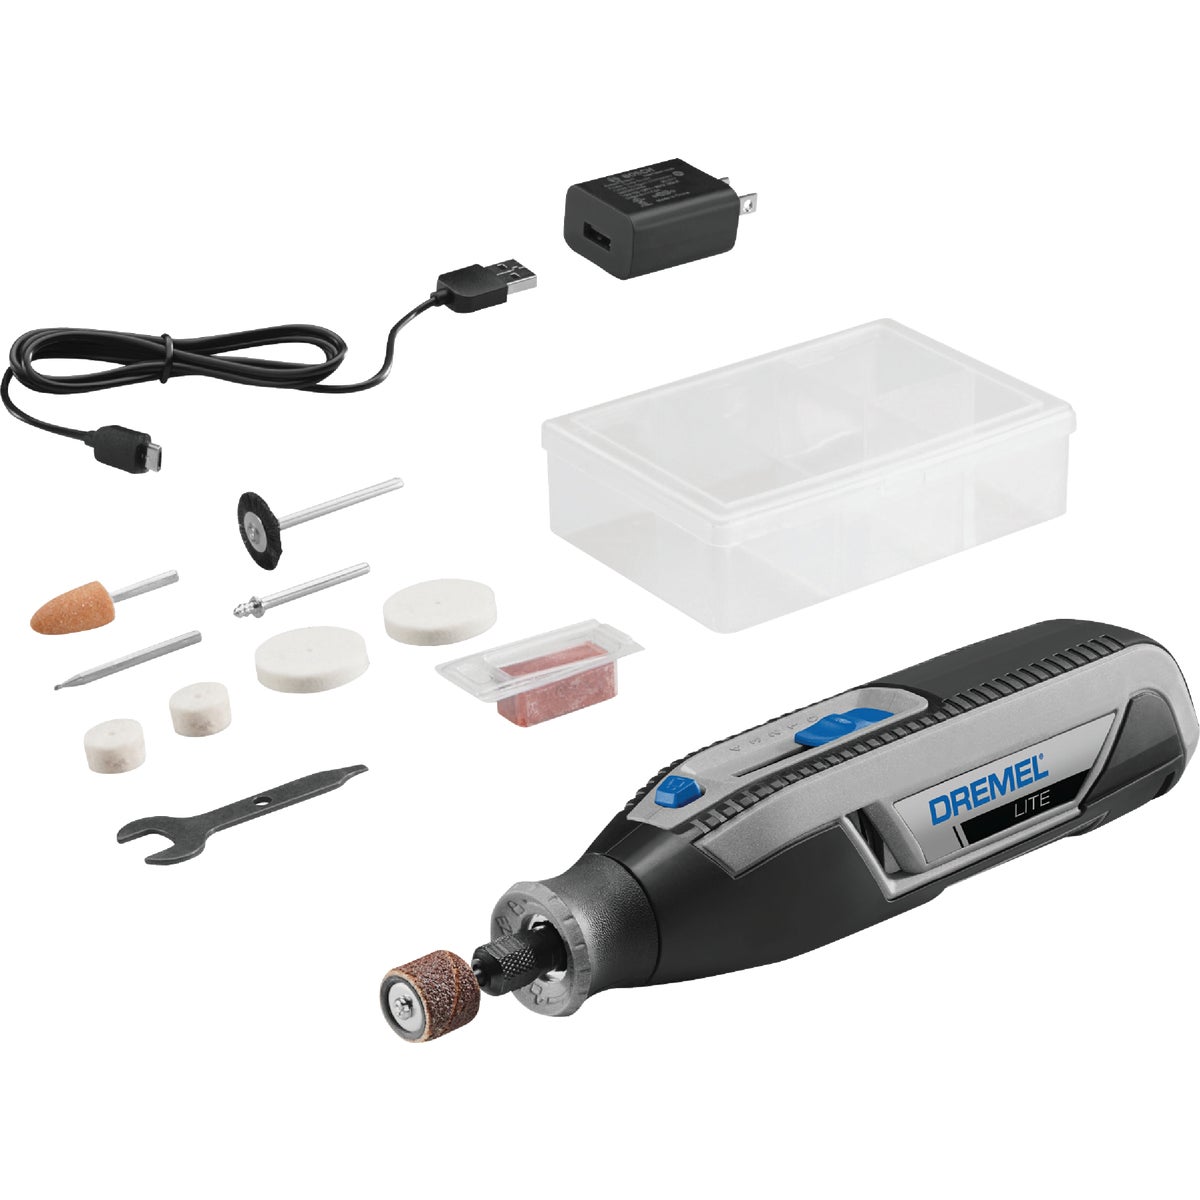
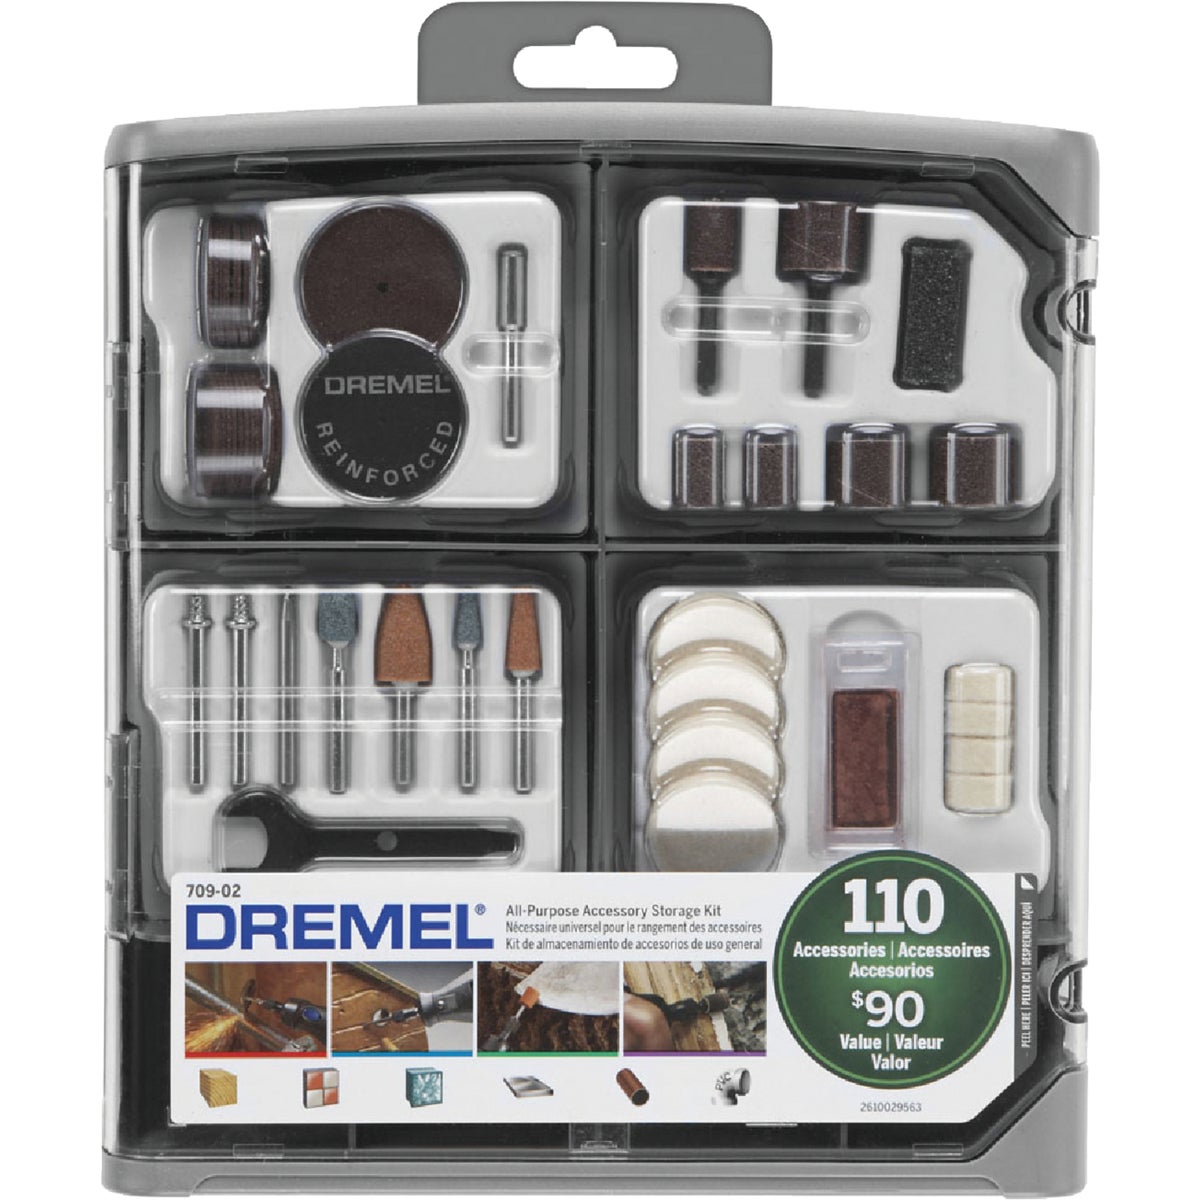
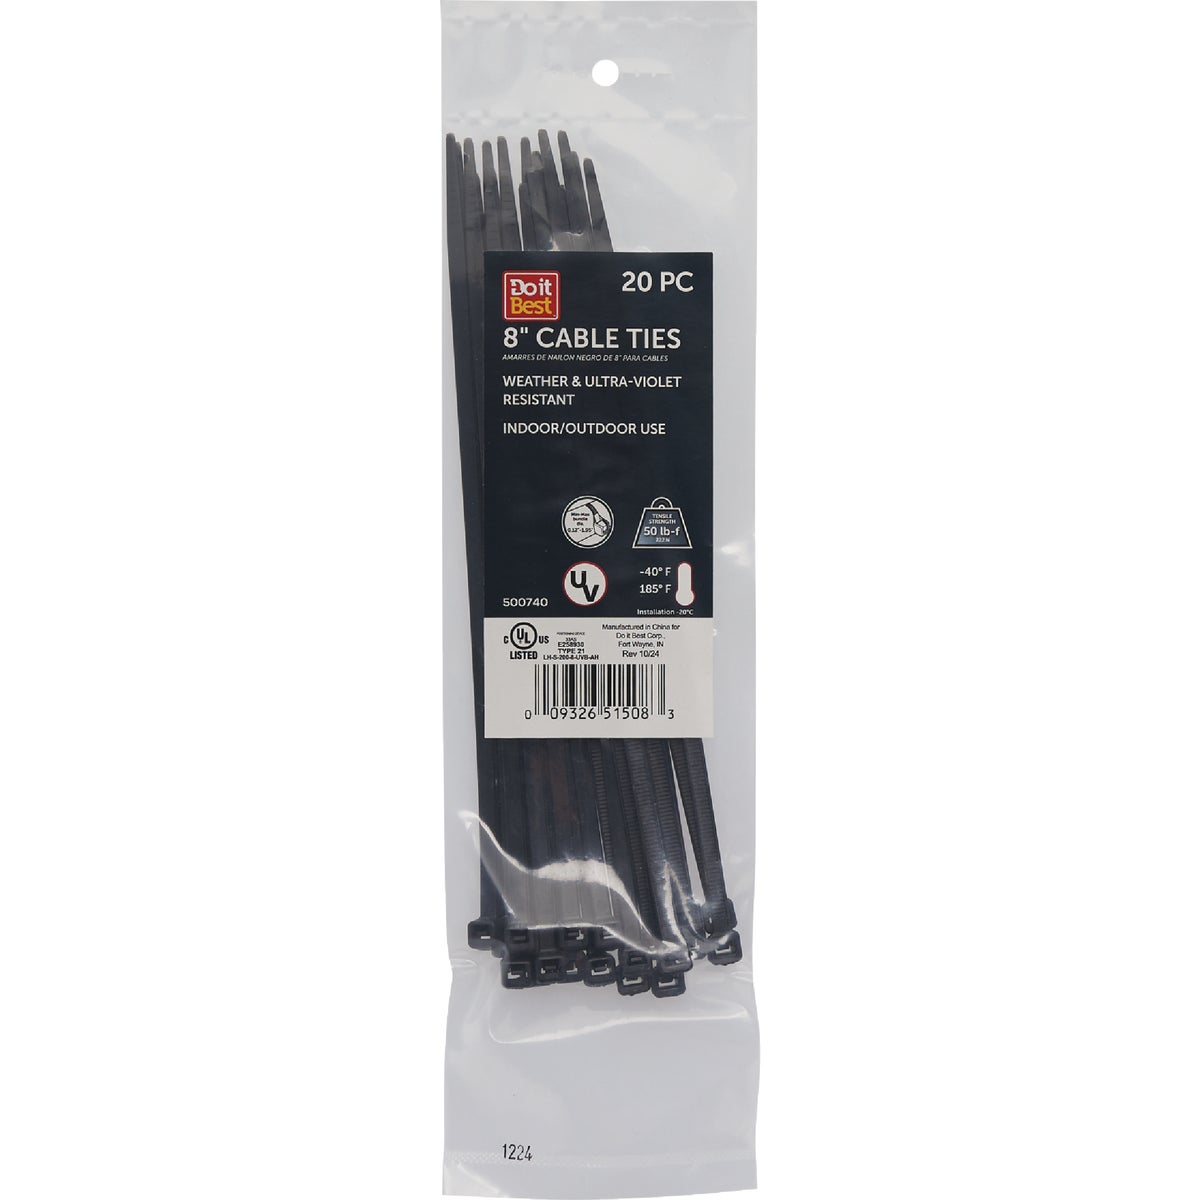
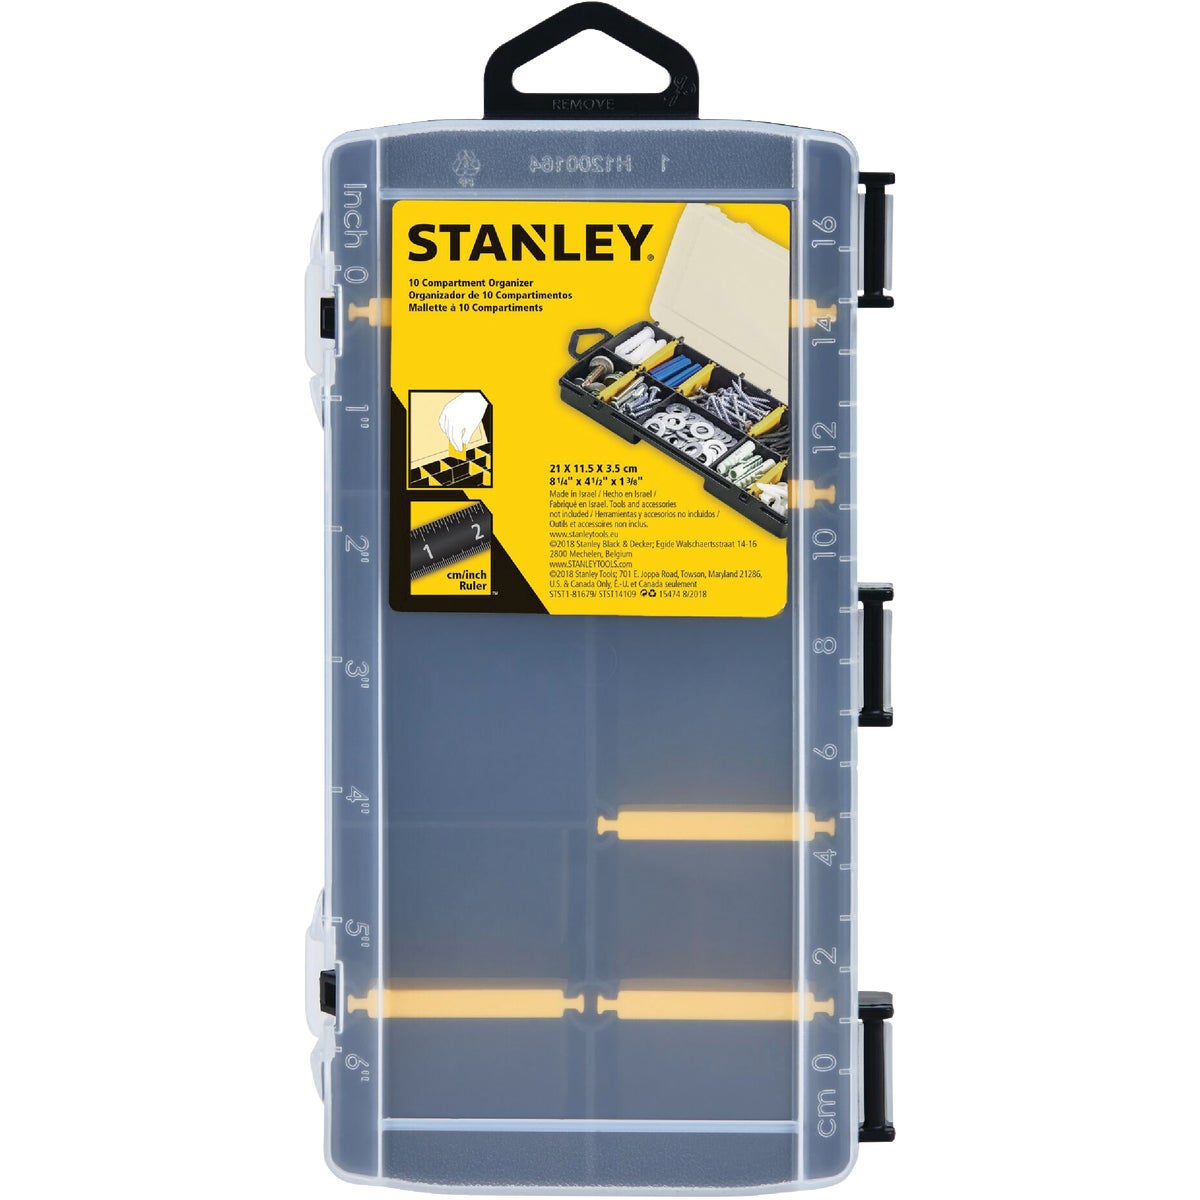
The short list for a first set of foam armor: something to cut with, something to shape with, something to glue with, and something to seal it. These 6 items run about $73.84 all in.
Cutting & Patterning Foam
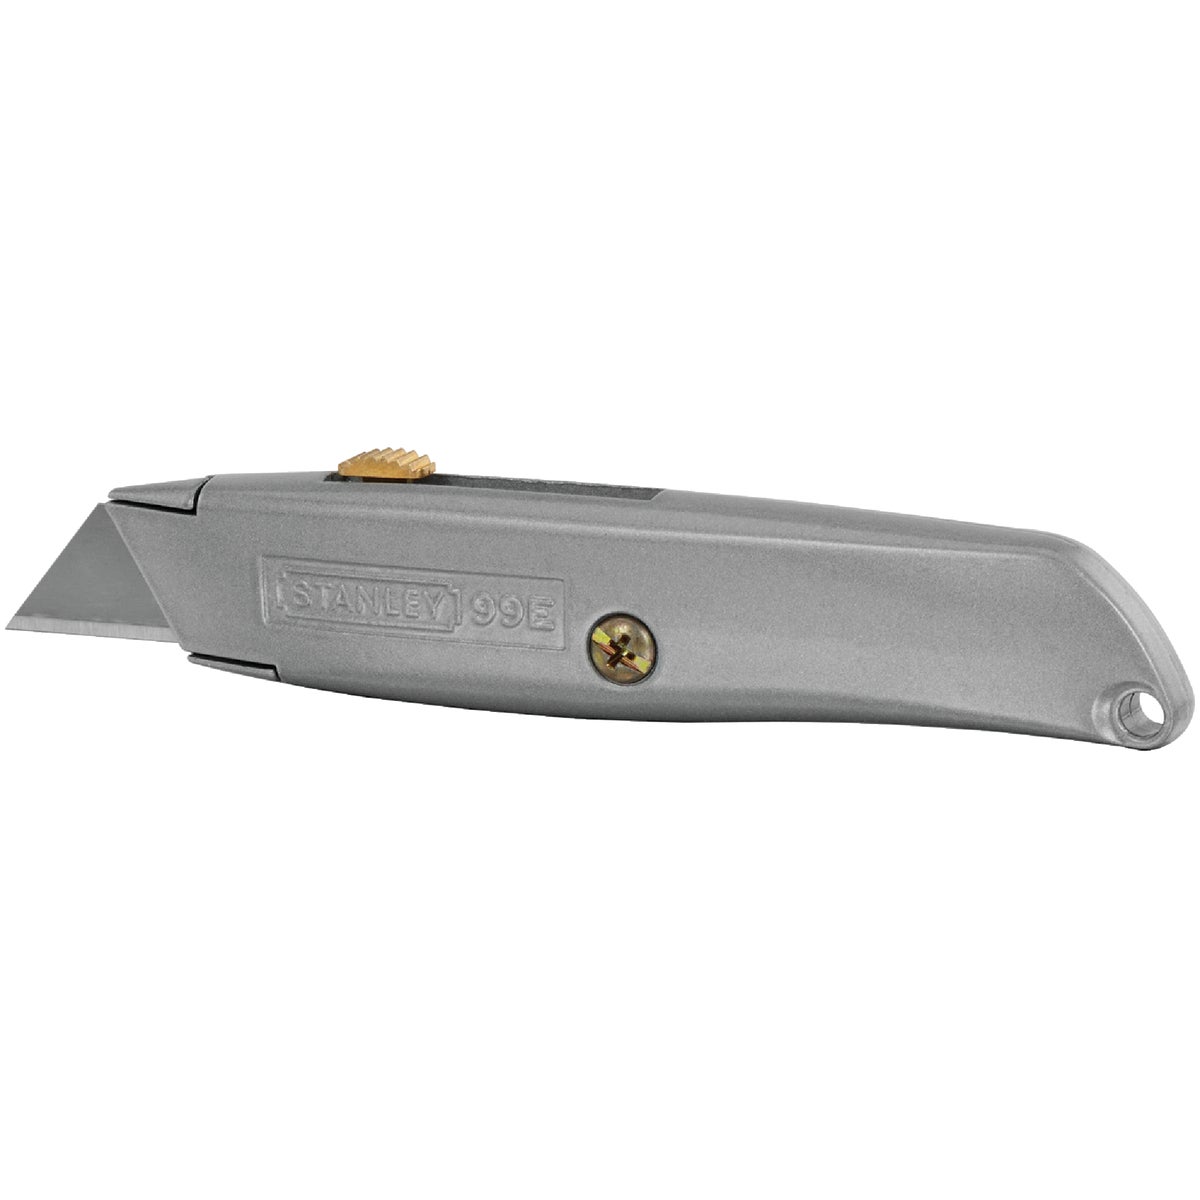
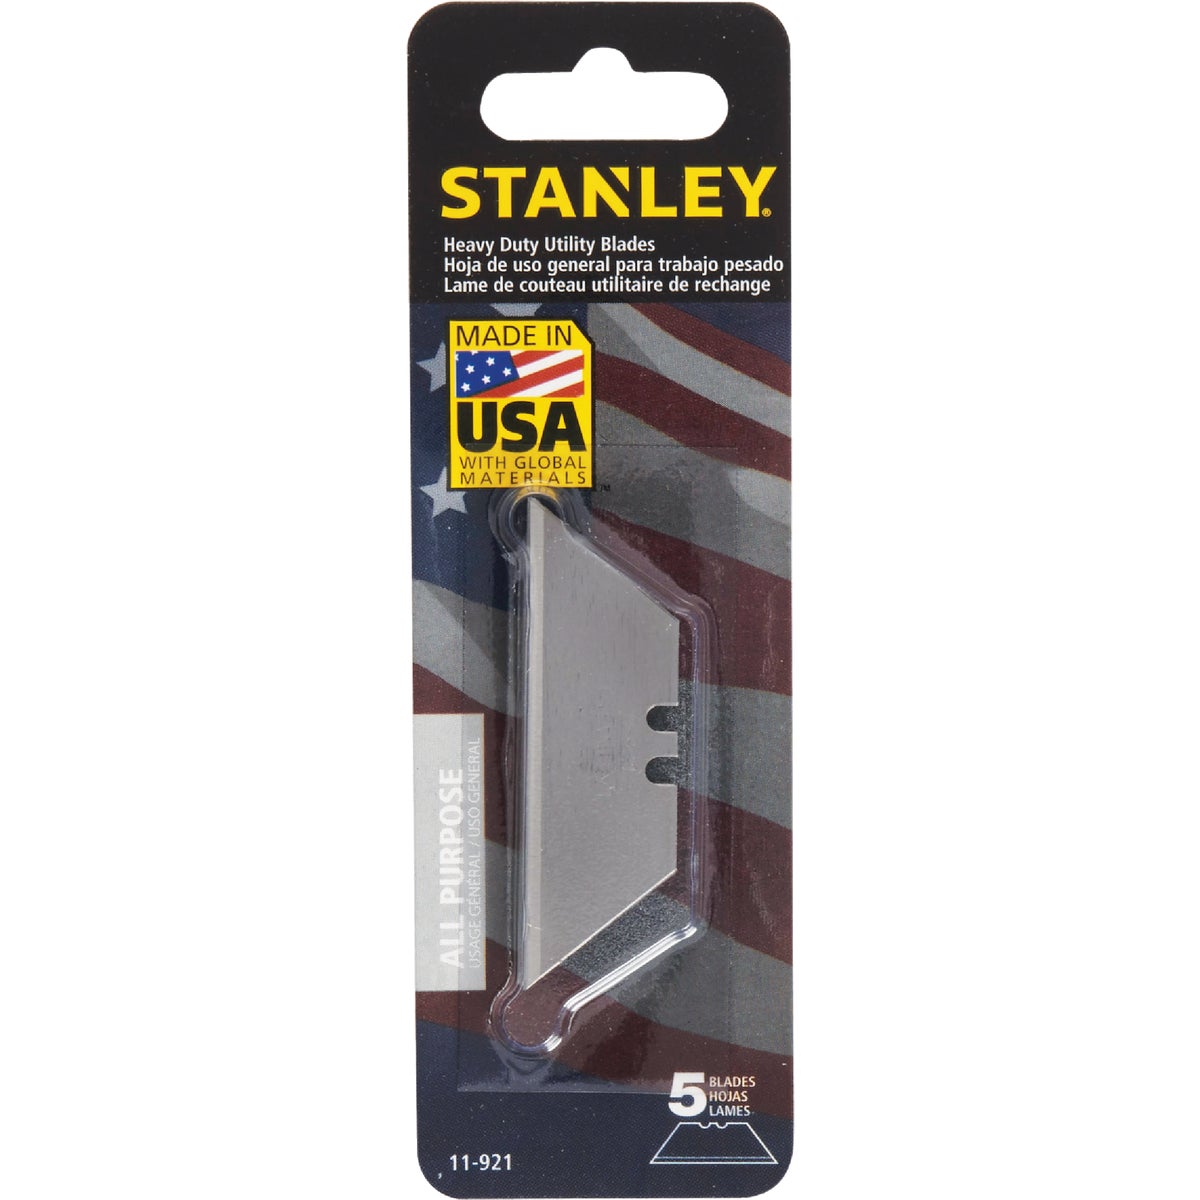
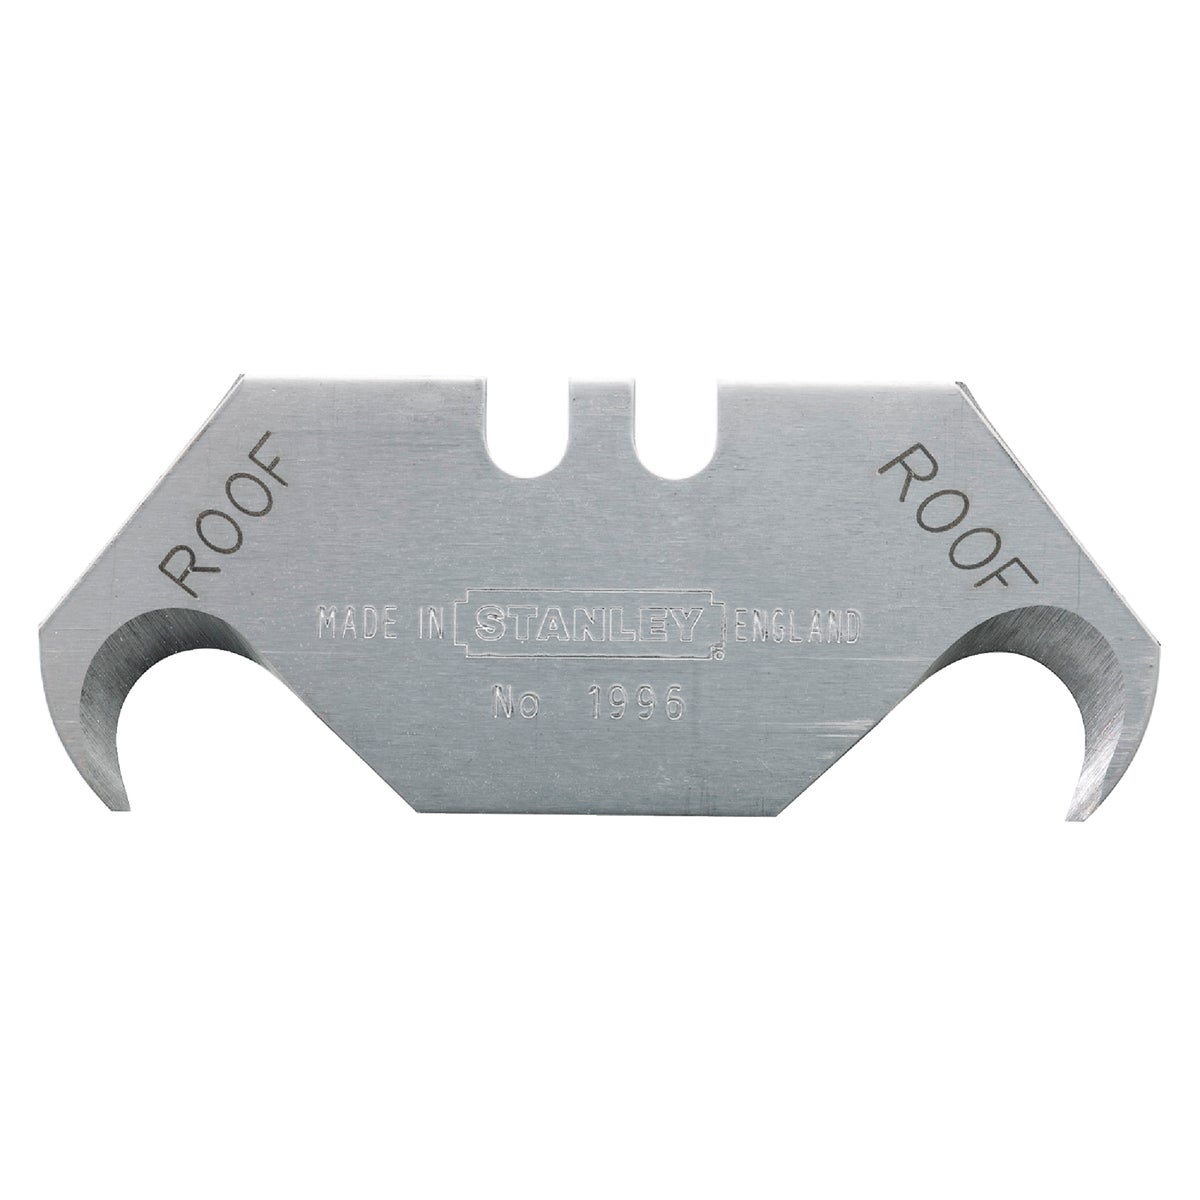
Foam does not cut, it tears — until the blade is sharp enough. Every clean bevel you have ever admired on someone's armor came off a blade that was changed far more often than felt reasonable. Buy blades by the pack and treat them as consumable, because they are.
Heat Shaping & Detailing
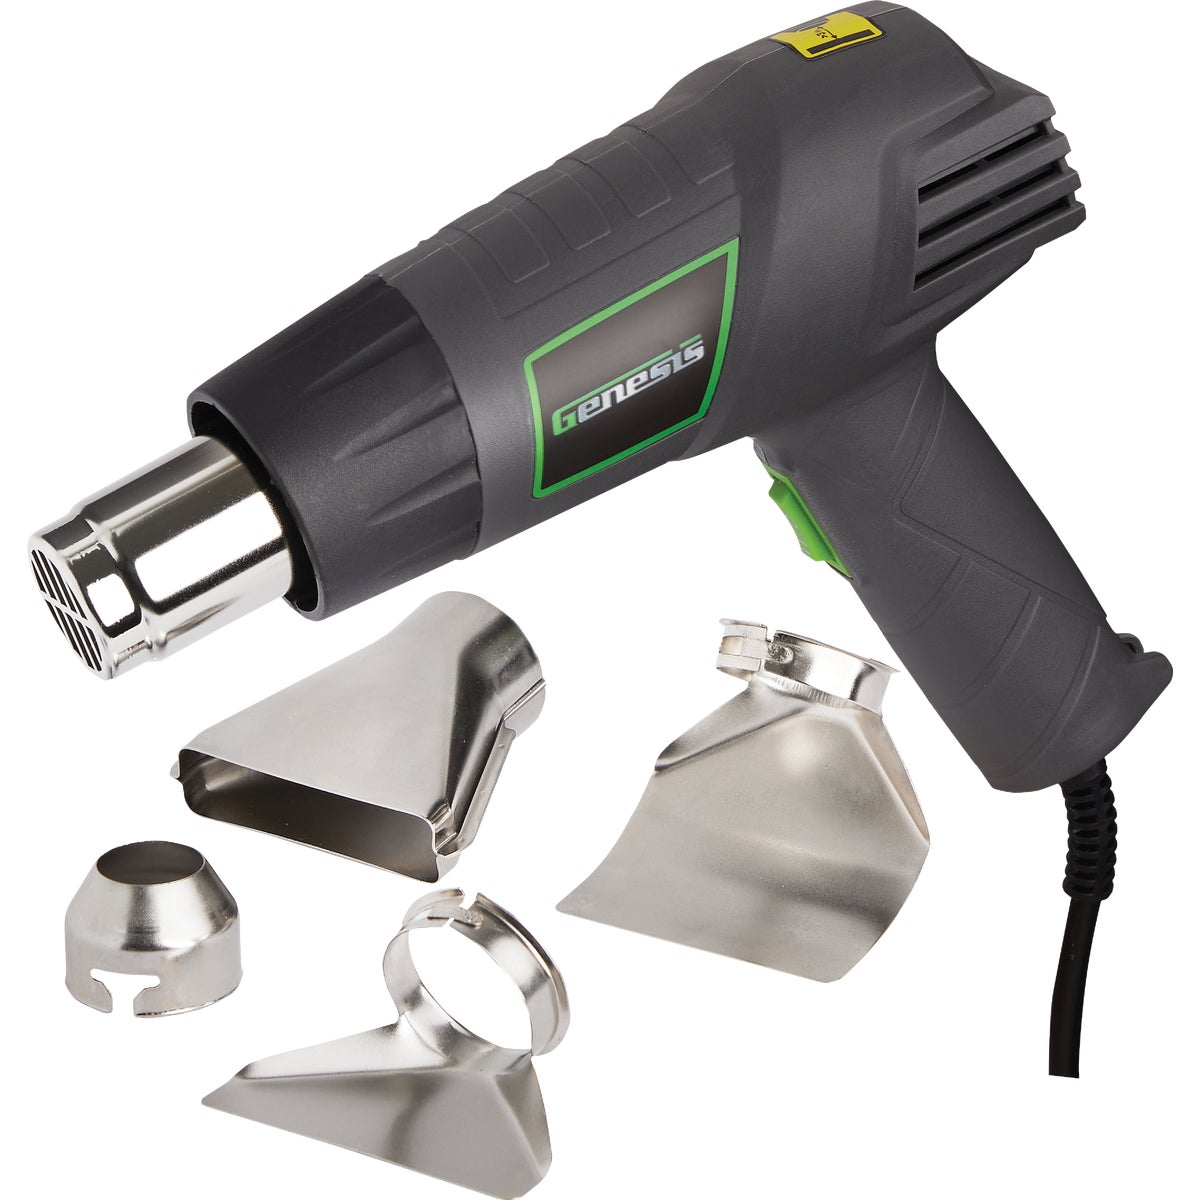
Heat is what turns a flat sheet into a curved pauldron, and it is also what seals the open cells on the surface so primer stops soaking in. A rotary tool does the rest: bevels, engraved detail, and the battle damage that makes a prop read as real rather than new.
Gluing Foam & Armor
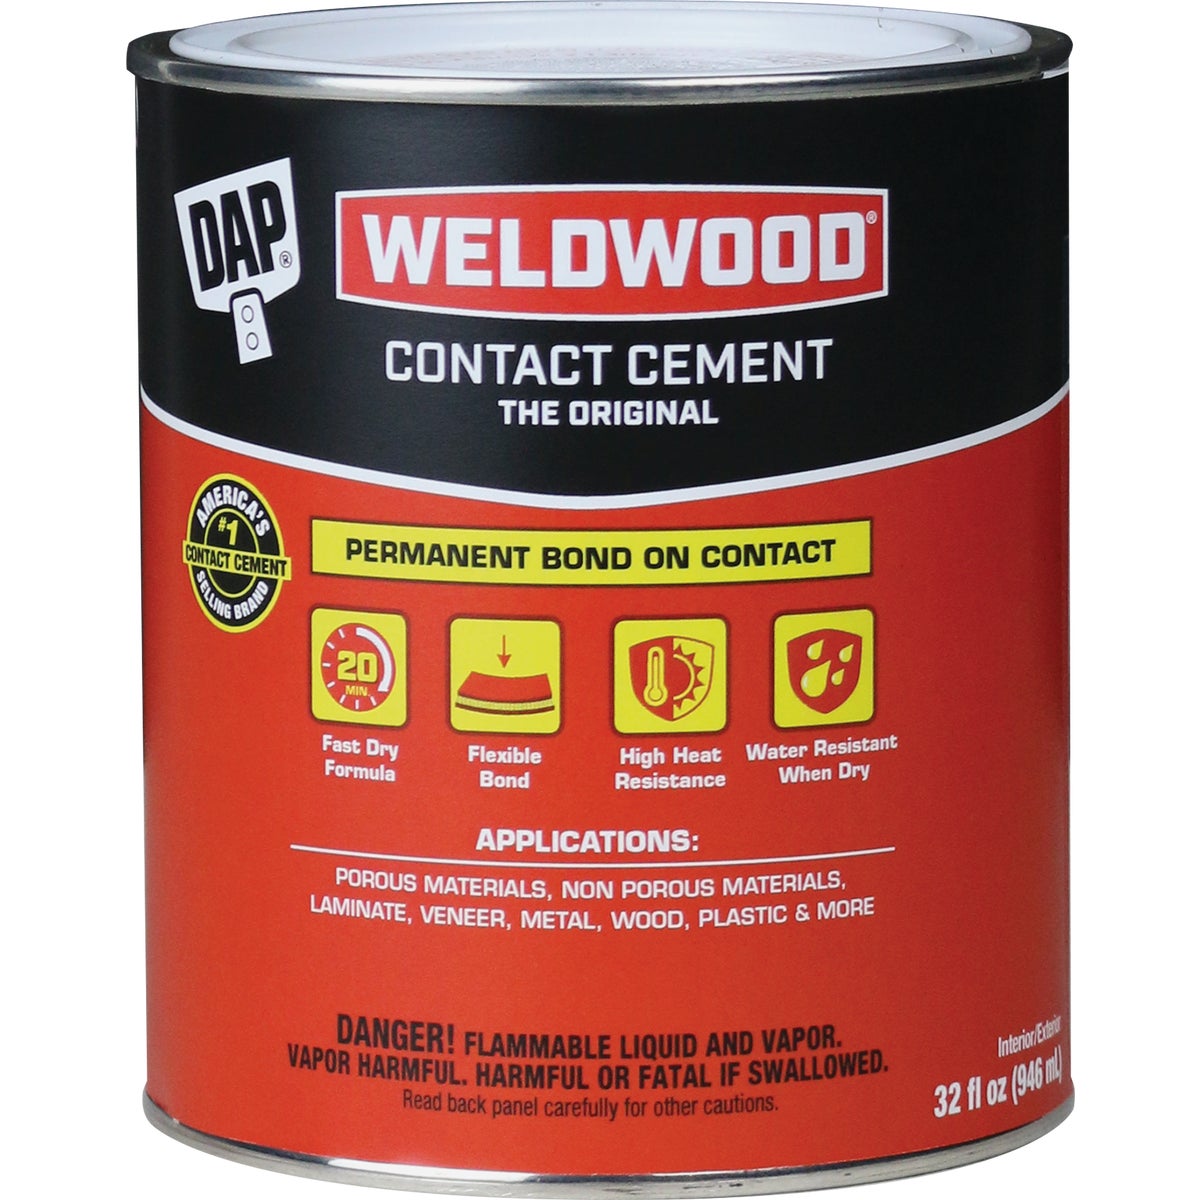
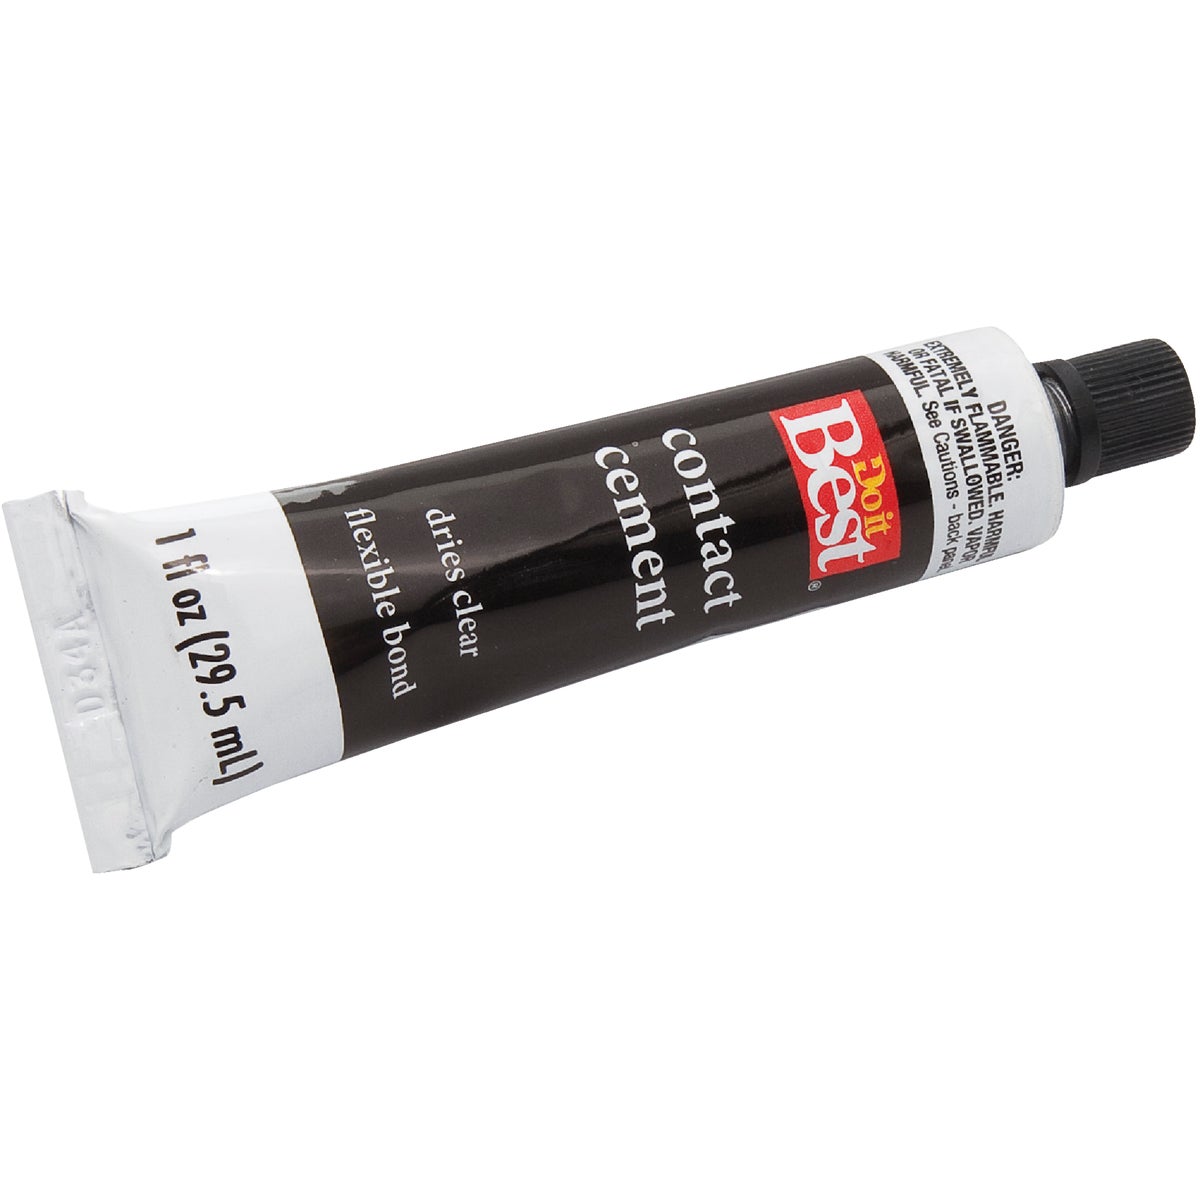
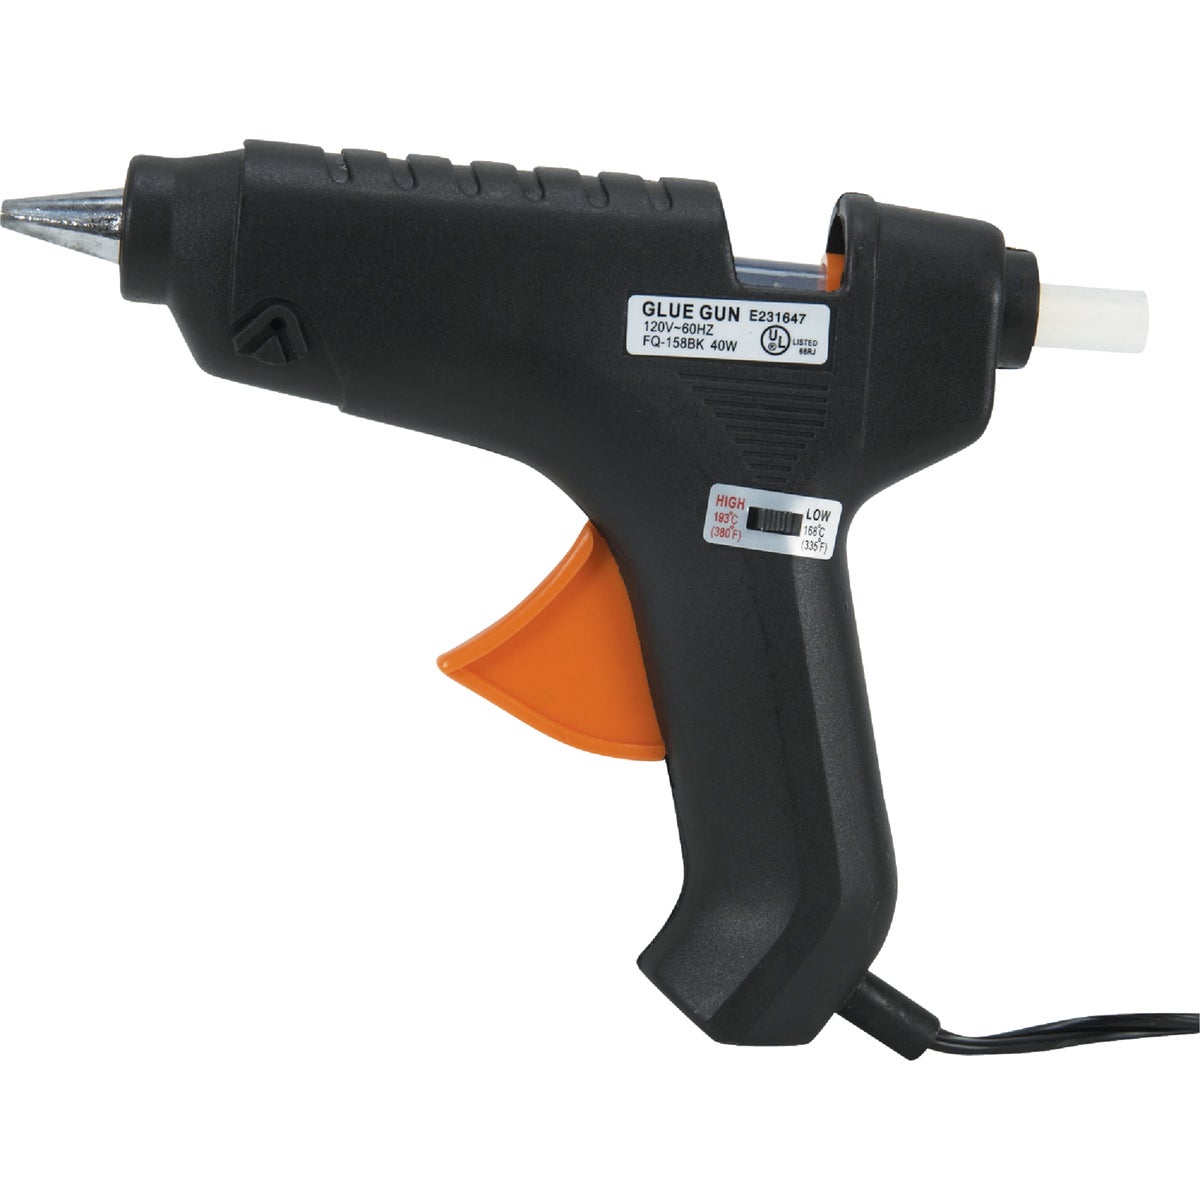
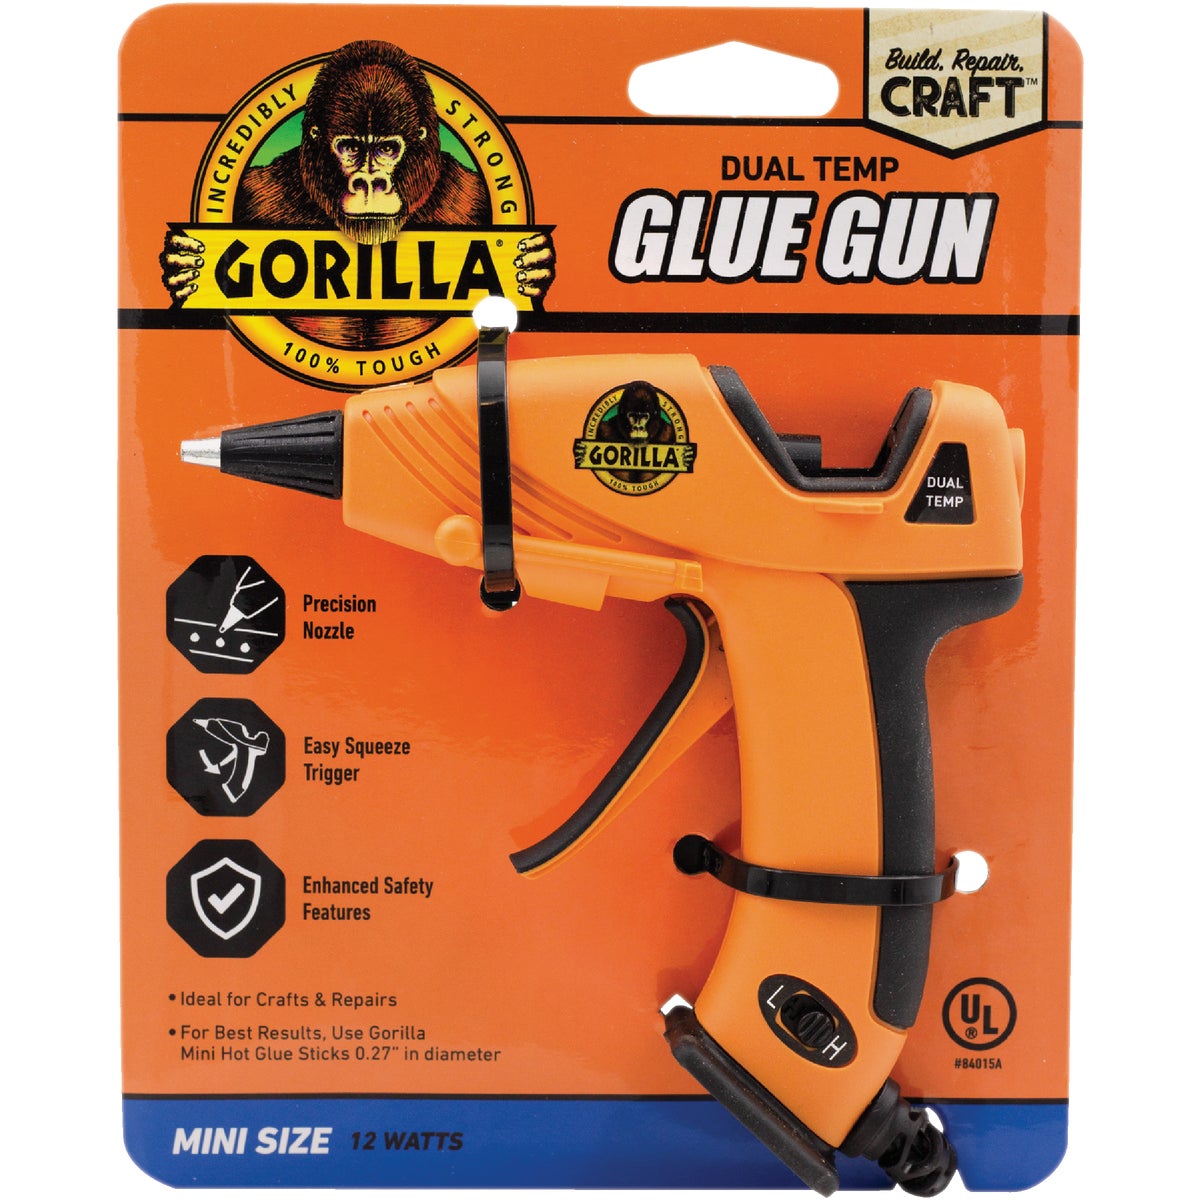
Contact cement is the answer, and it is not close. Brush a thin coat on both faces, let it flash off until it is tacky rather than wet, then press — the bond is instant and permanent, and it flexes with the foam instead of cracking off it. Hot glue has its place for tacking and for parts you may want to redo, but a seam that has to survive a convention wants cement.
Sealing, Filling & Priming
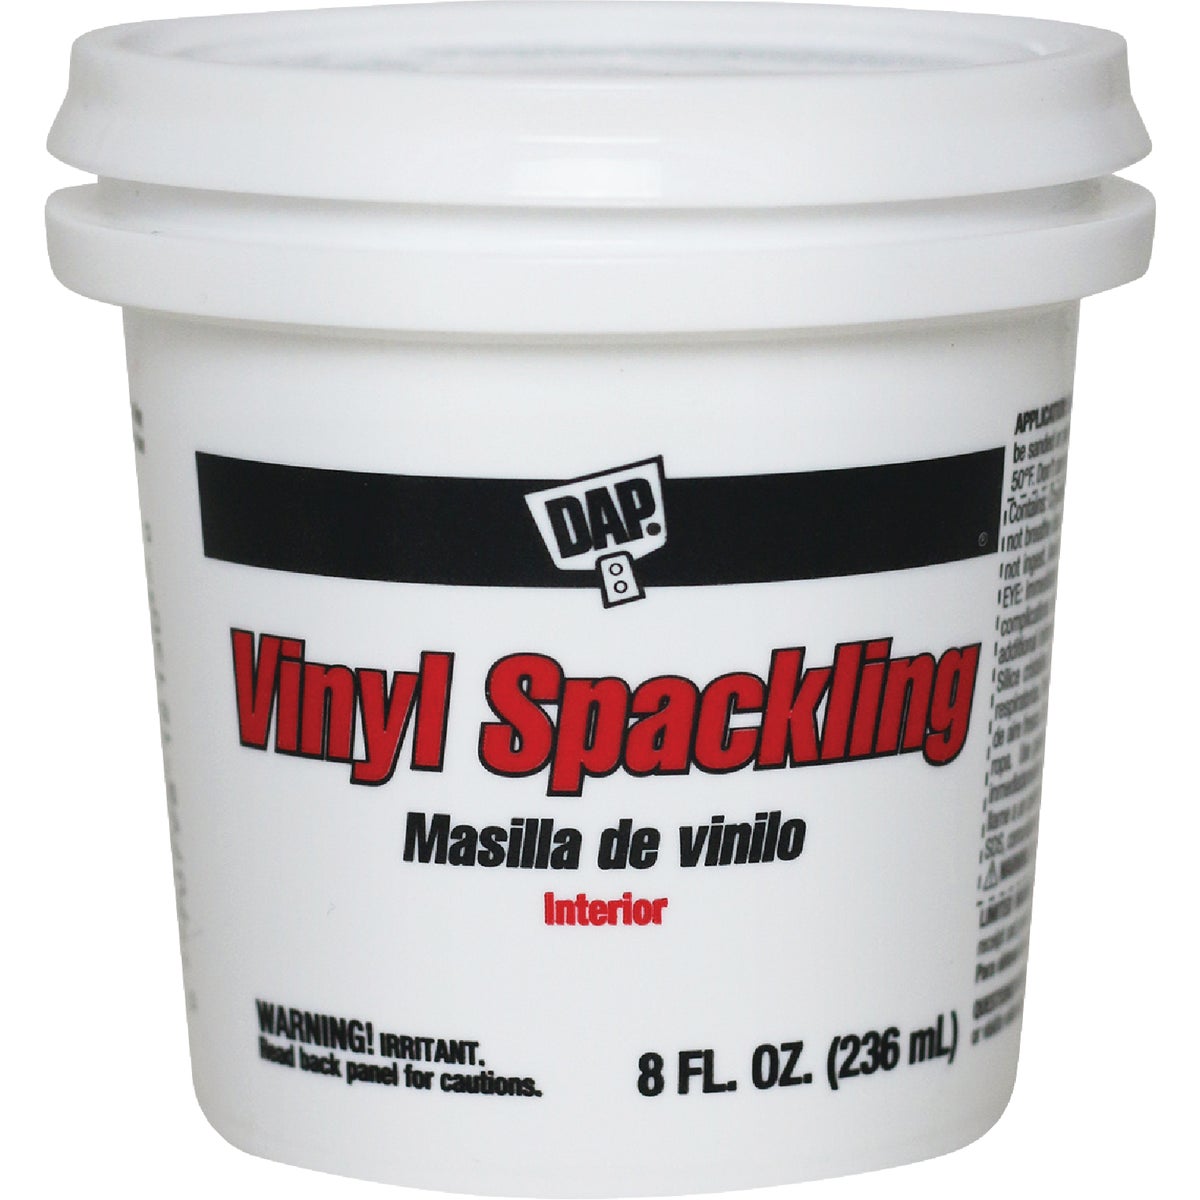
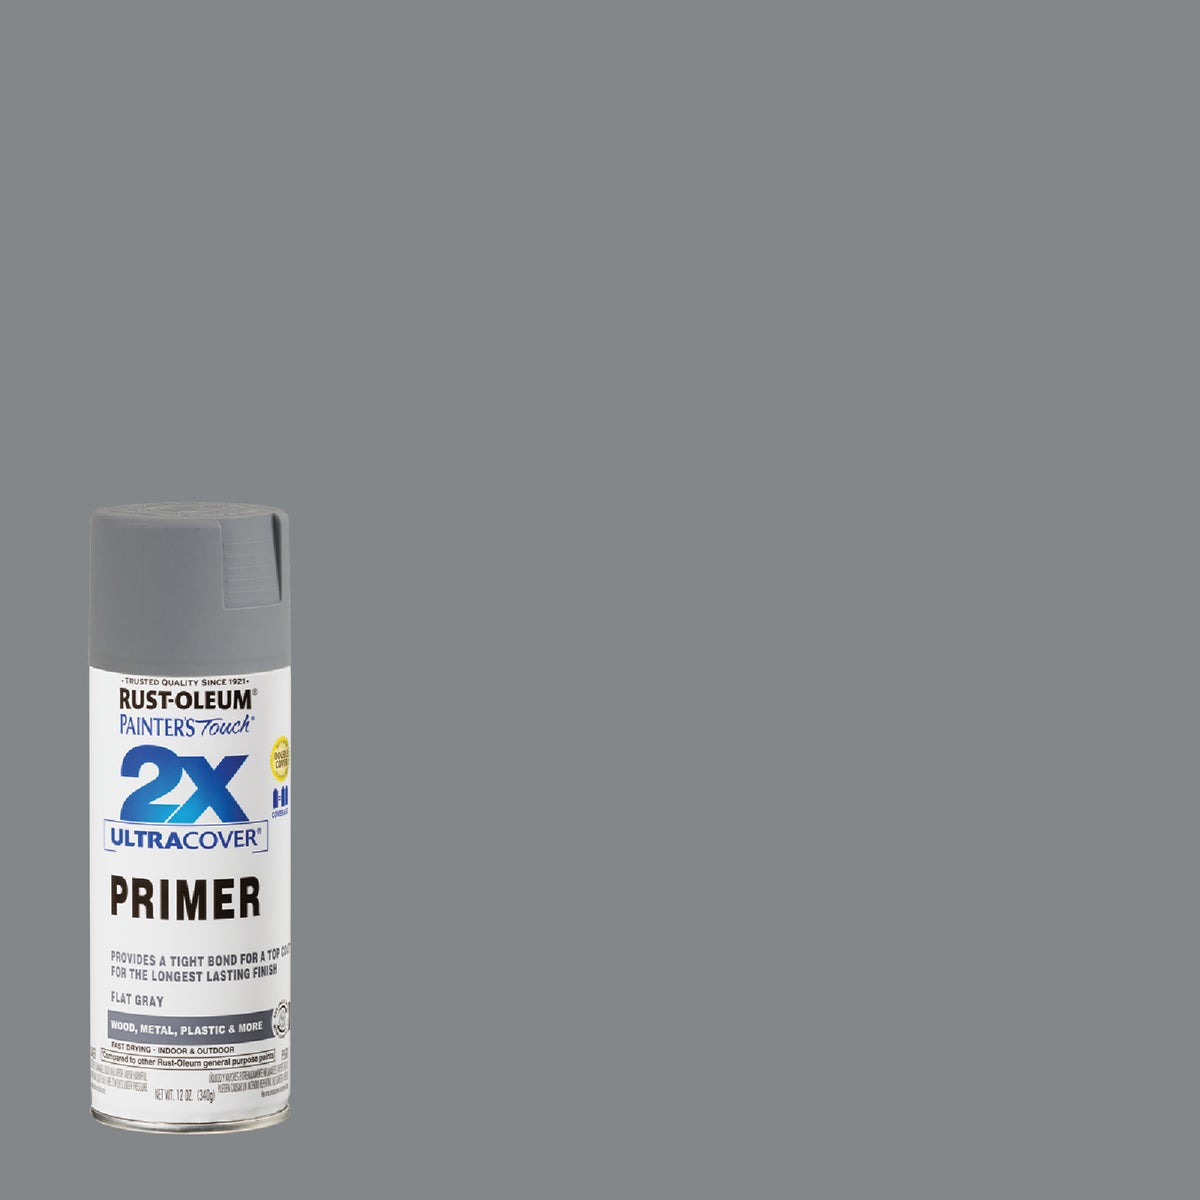
Raw EVA is a sponge. Skip this stage and the first coat of paint disappears into the foam, the seams stay visible, and the whole piece reads as craft-store rather than forged. Fill, seal, prime, look at what the primer shows you, then do it again on the spots it found.
Painting & Weathering
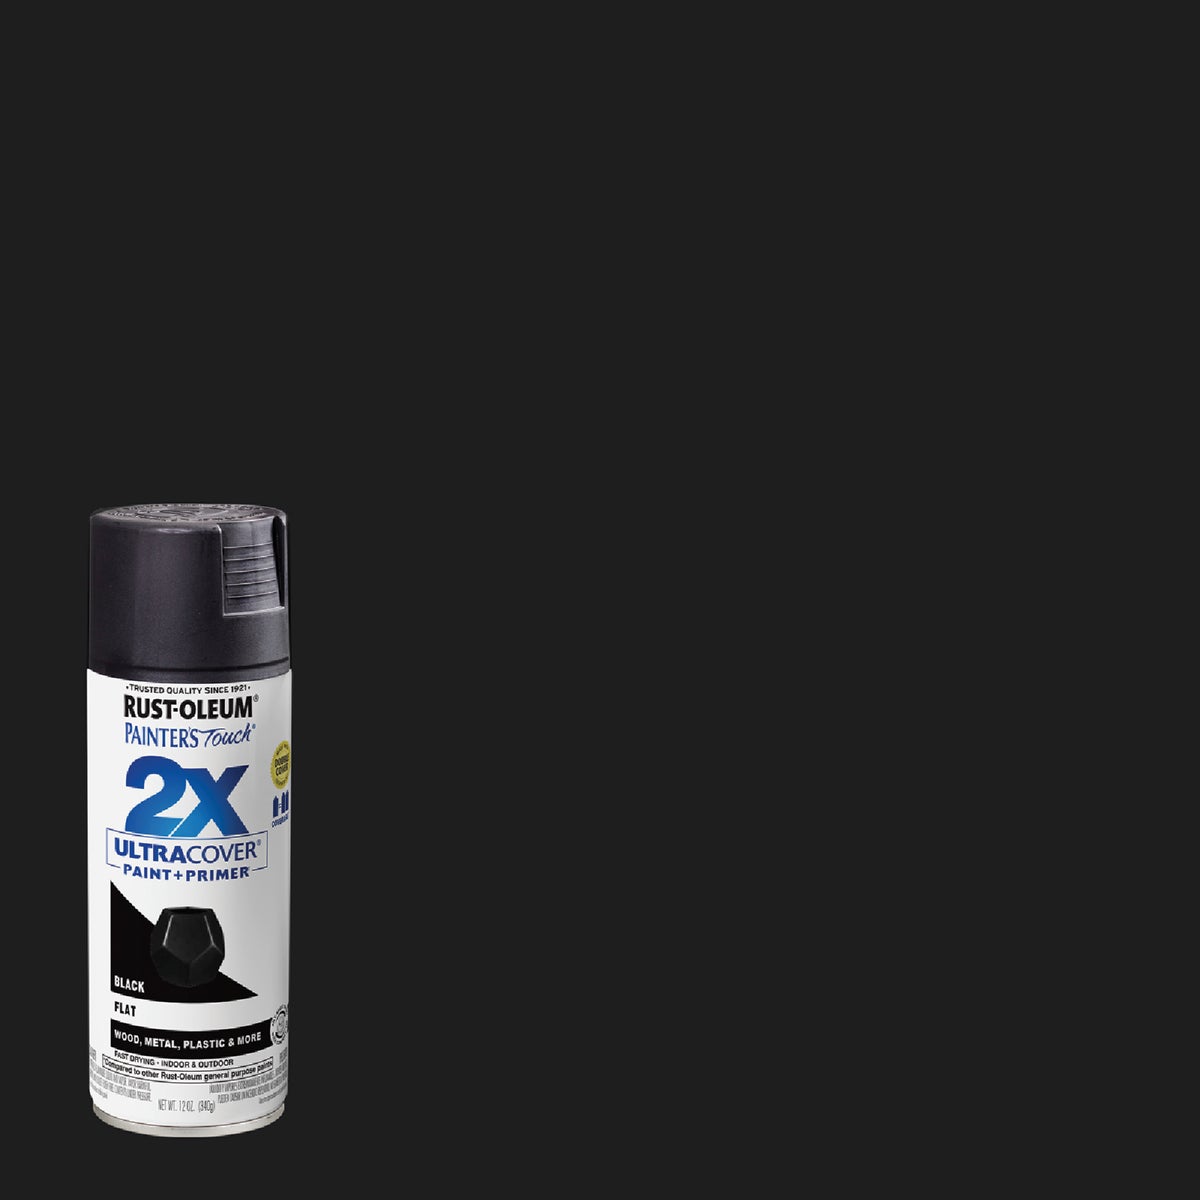
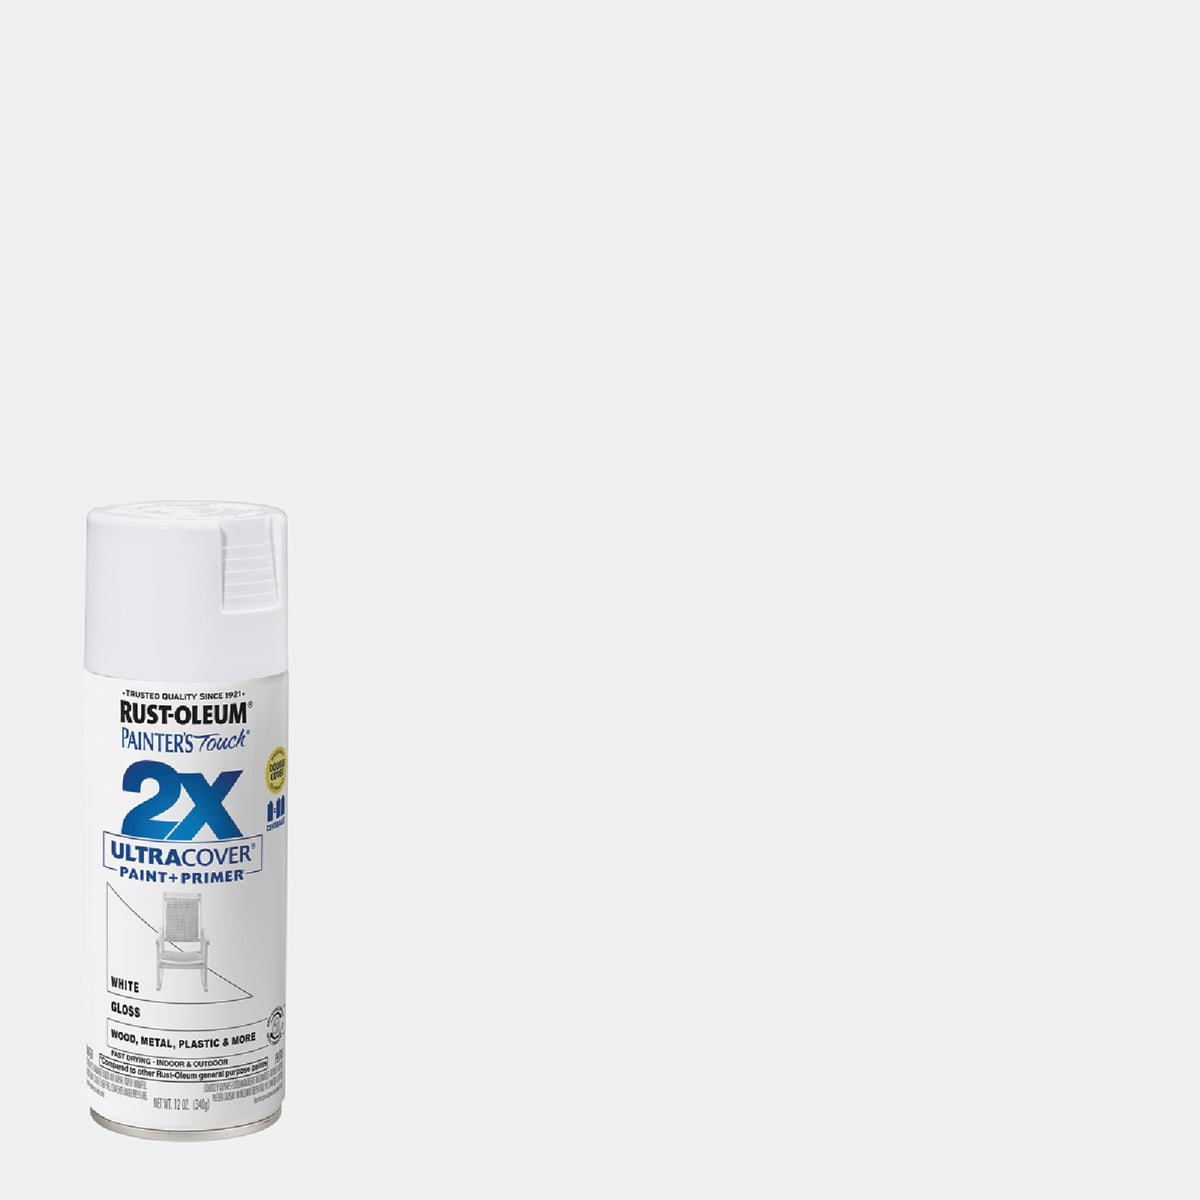
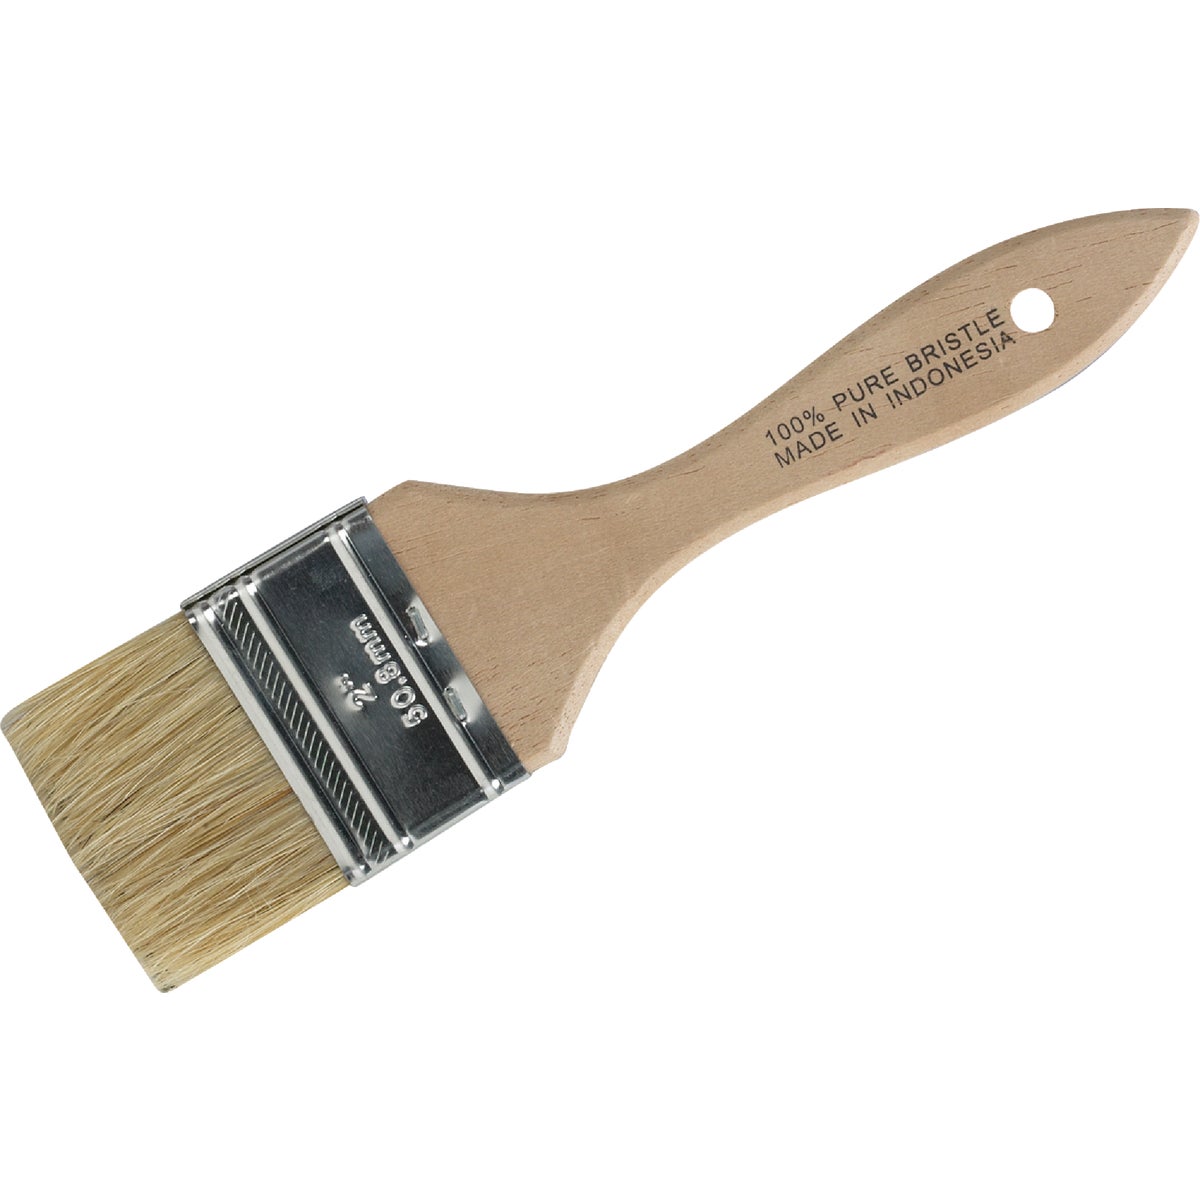
Flat black under a metallic is the oldest trick in prop making and still the best one — it kills the plastic sheen and gives the highlight somewhere to sit. Rattle cans and a chip brush get you further than an airbrush does at this stage.
Straps, Rivets & Wearability
The difference between a costume and a costume you can wear for eight hours is entirely in the parts nobody photographs. Rivets, ties and anchor points, planned before you paint rather than after.
Shop Safety
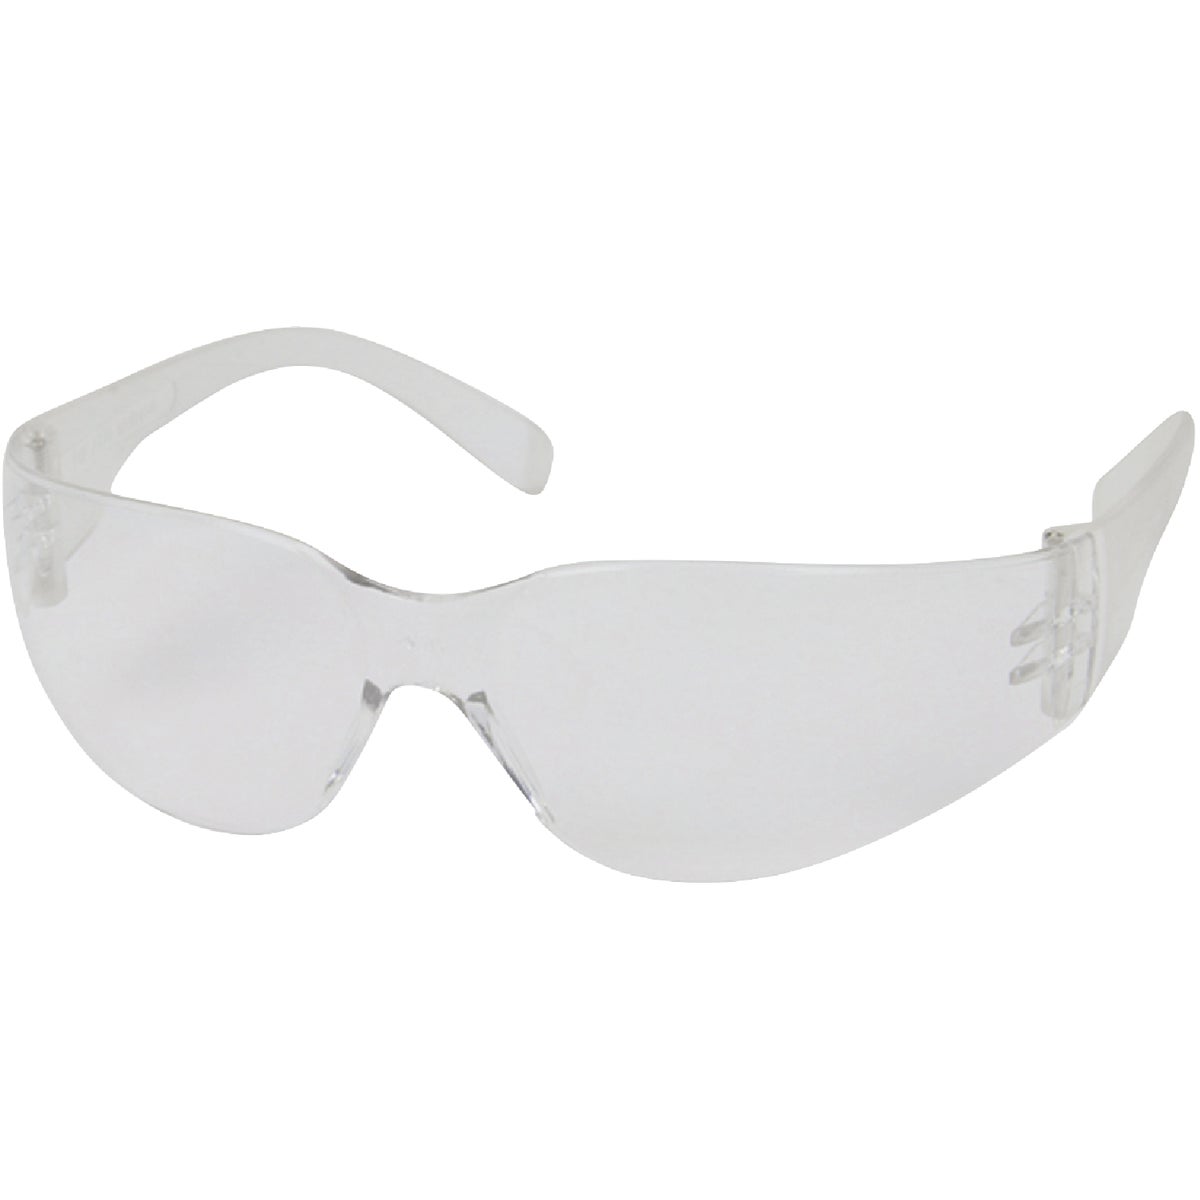
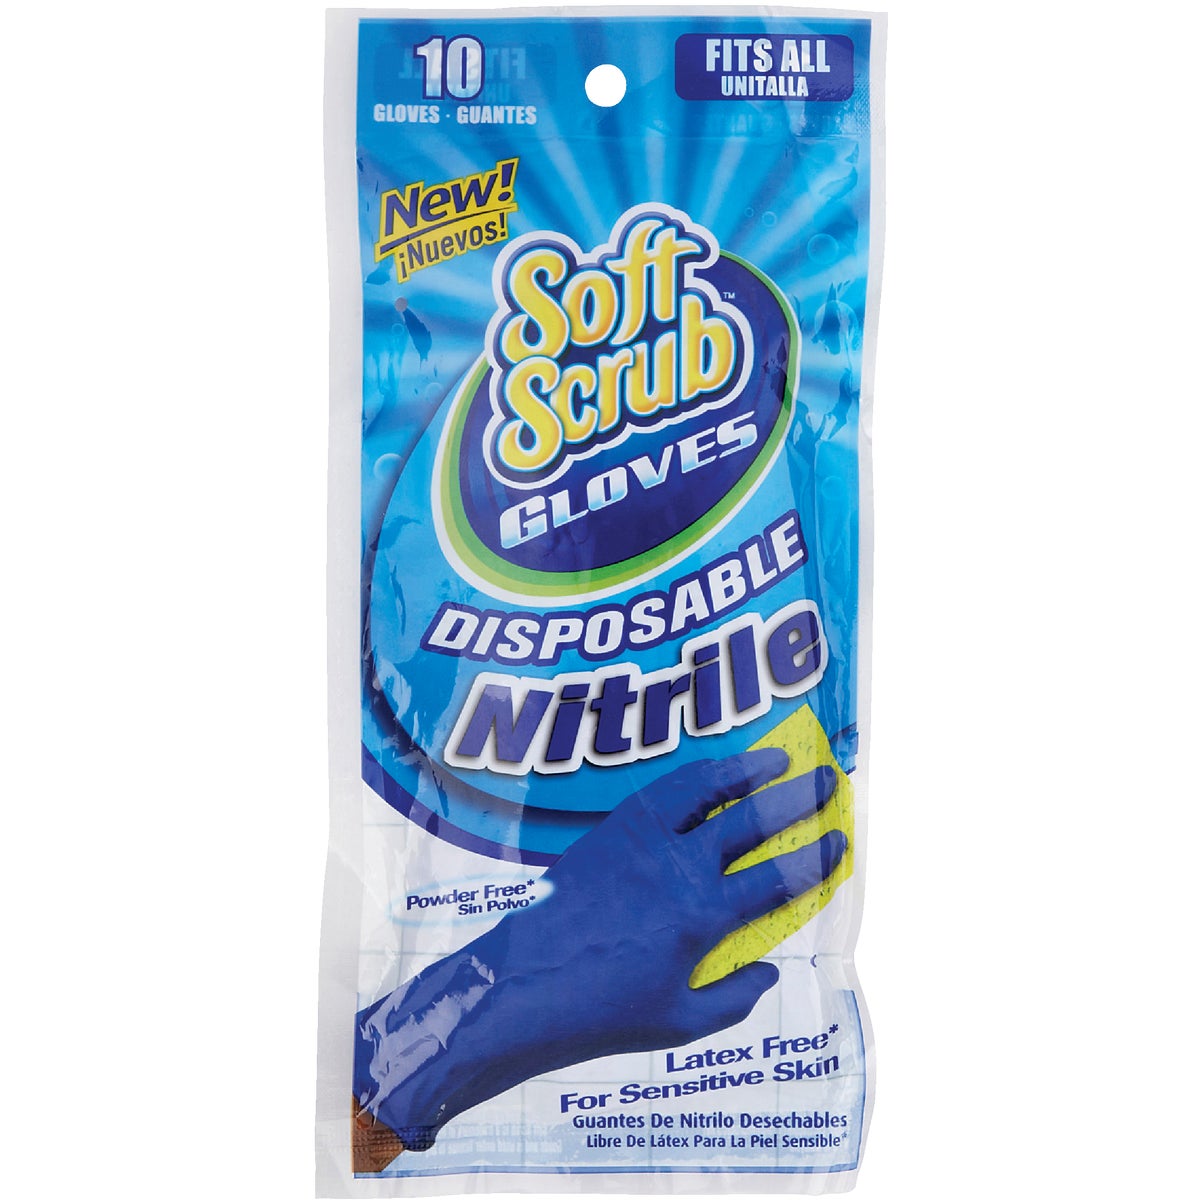
Contact cement is a solvent adhesive, heat guns run hotter than a hair dryer by a wide margin, and sanding cured filler makes dust you should not breathe. None of this is dangerous with ventilation and the right two items.
How to Glue EVA Foam With Contact Cement
Contact cement is the difference between armor that survives a convention and armor that comes apart in the parking lot. It is also unforgiving of one specific mistake — pressing while the cement is still wet — so the timing below matters more than the technique.
Bevel and dry-fit first
Cut your bevels and hold the pieces together before any glue comes out. Contact cement grabs instantly and does not reposition, so every fit problem has to be solved now. Mark the alignment with a pencil tick across the seam.
Scuff both mating faces
Pass a sanding sponge lightly over both edges. Heat-sealed or skinned foam is slick, and cement bonds far better to a scuffed surface than a glossy one.
Brush a thin coat on BOTH surfaces
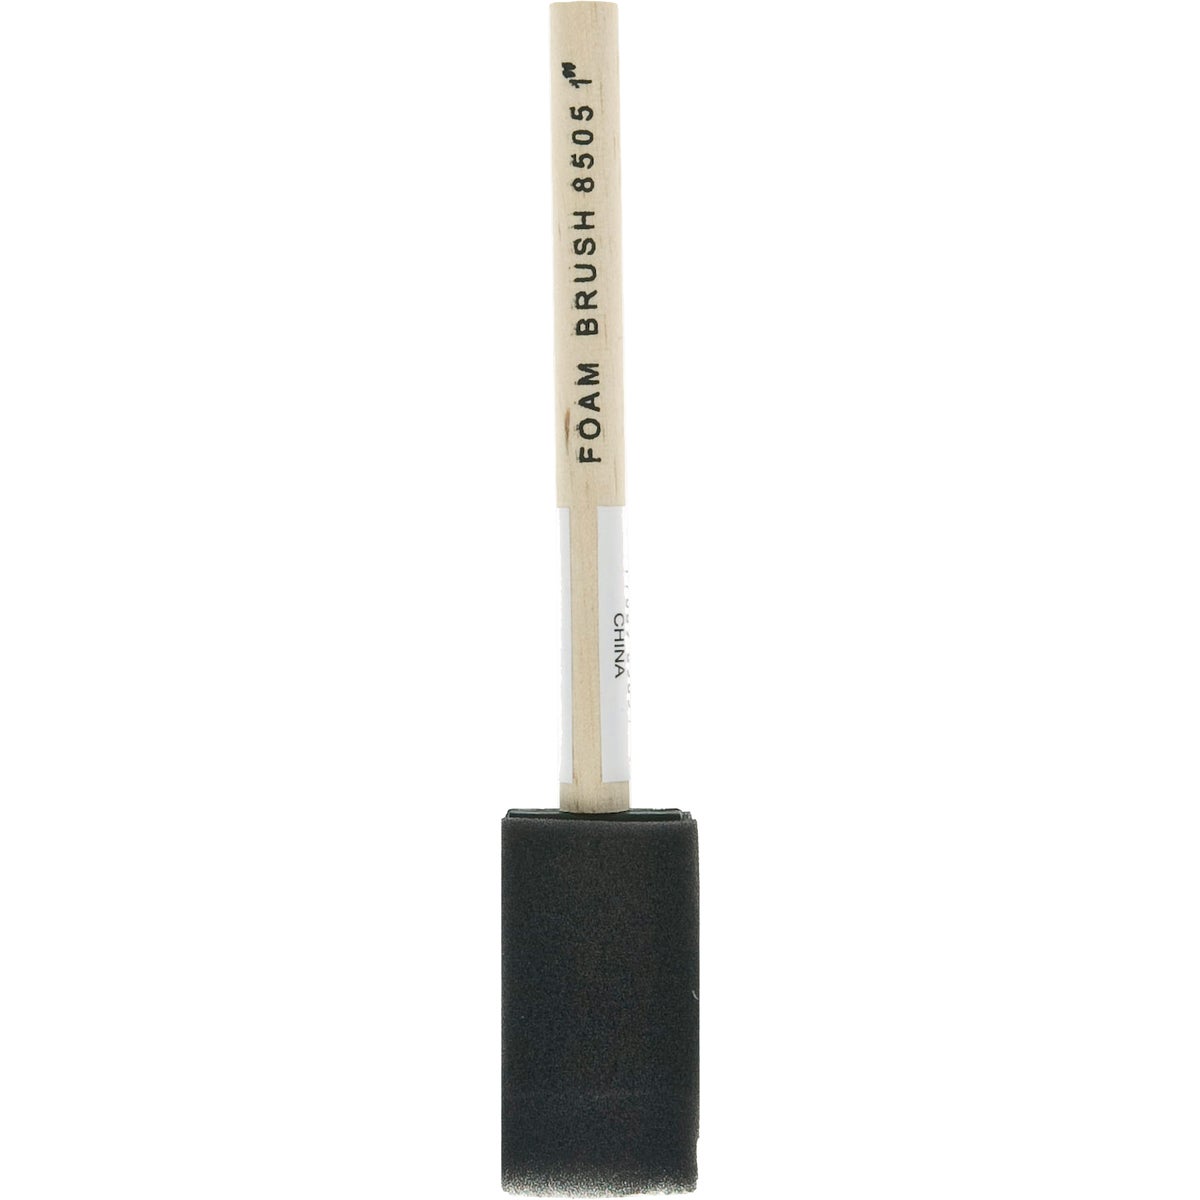
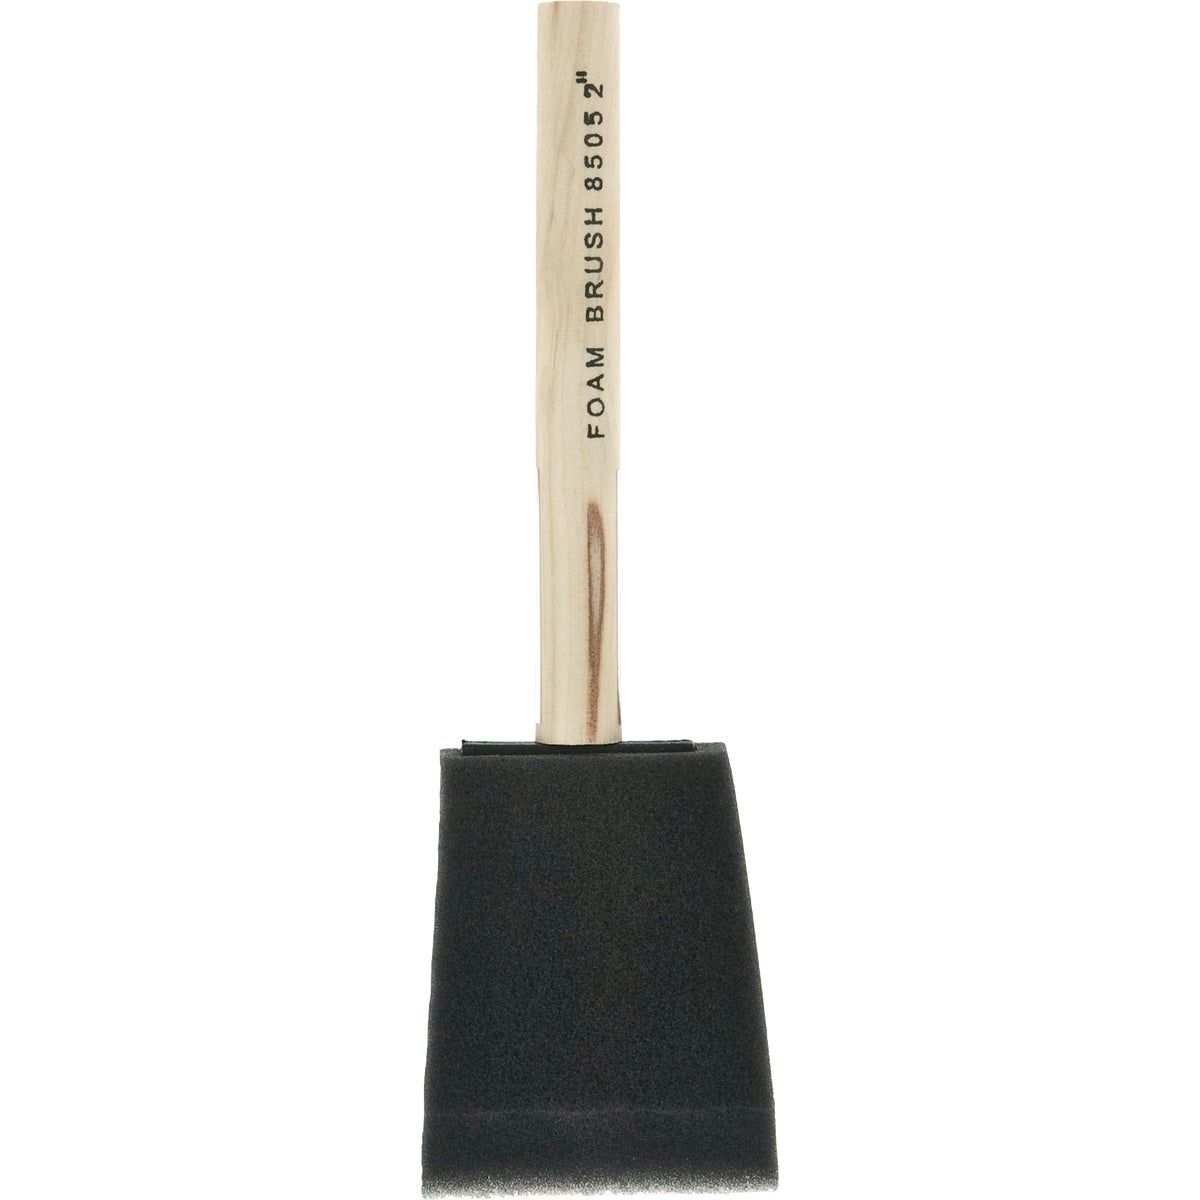
Both faces, every time — cement bonds to itself, not to the foam, so a single-sided coat is just a mess. Use a cheap foam brush and keep the coat thin; a heavy coat takes longer to flash and leaves a ridge you will feel through the paint.
Wait until it is tacky, not wet
Give it several minutes, until the surface is dull and tacky and a knuckle comes away clean rather than stringy. This is the step people rush. Pressing wet cement together traps solvent and gives you a seam that peels a week later.
Align once and press hard
Line up your pencil marks, start at one end and roll the seam together so you do not trap air. Press firmly along the whole joint. The bond is at full strength immediately — if it is wrong, it is wrong permanently, which is why step one exists.
Cosplay & Prop Making Questions, Answered
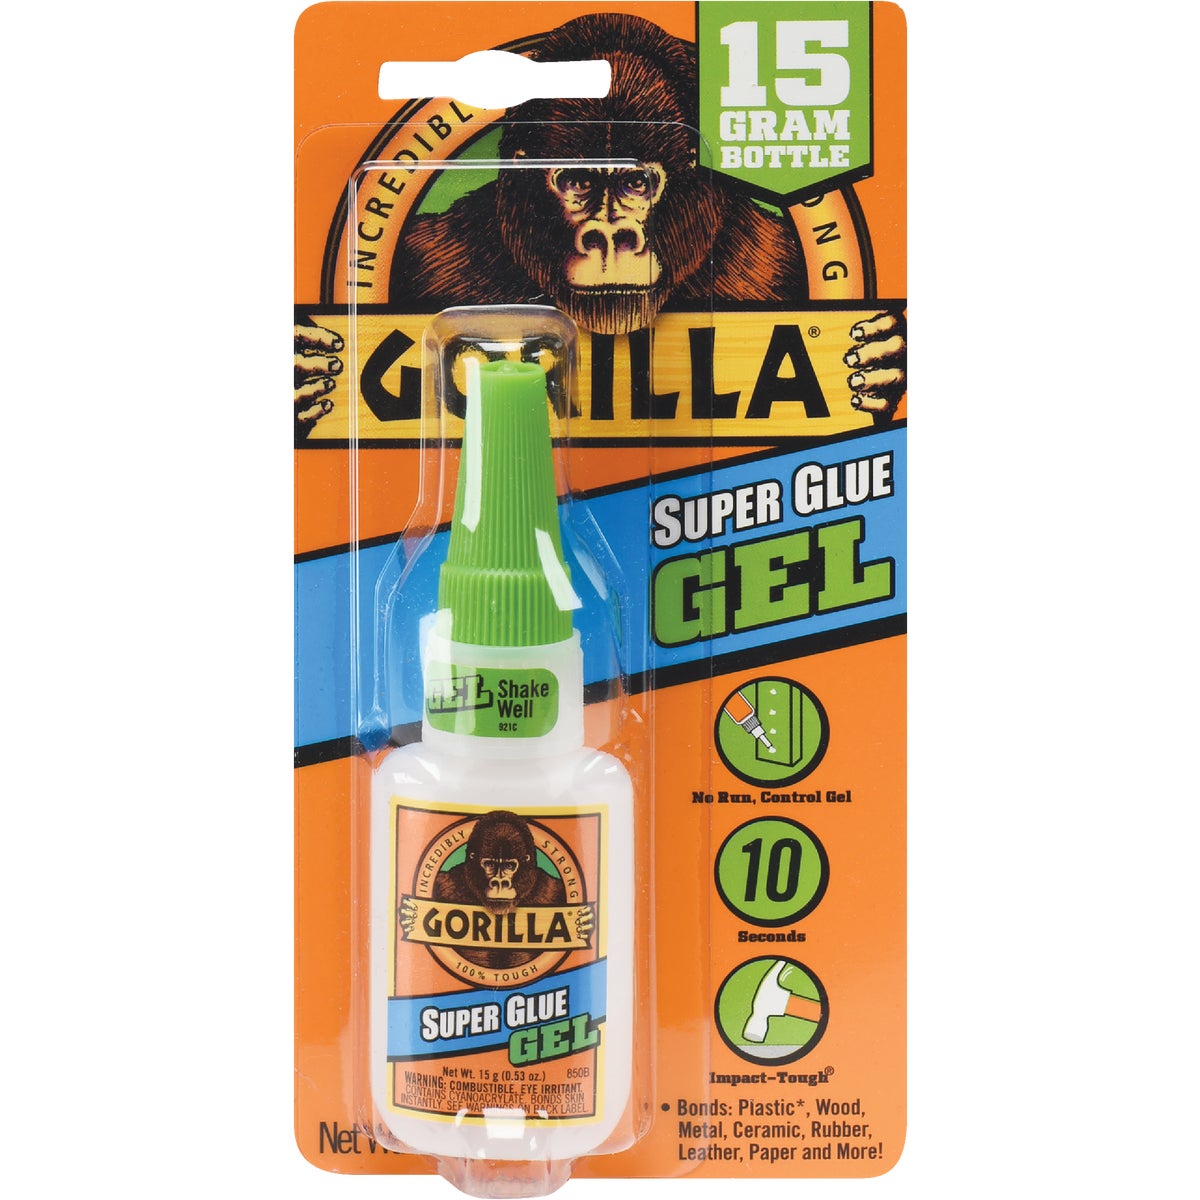
Contact cement, and it is not a close call. Brush a thin coat on both mating faces, let it flash off until tacky rather than wet, then press once — the bond is immediate, permanent, and flexes with the foam instead of cracking off it. Hot glue is useful for tacking pieces while cement cures and for parts you may want to remove later, but a hot-glued seam on wearable armor tends to peel the first time the costume flexes. Super glue gel is for bonding rigid parts like 3D prints or magnets to foam, where cement has nothing to grab.
Yes, for two separate jobs. Heat is what shapes flat foam into curves — warm the surface until it looks slightly glossy, bend it over a form, hold until cool, and it keeps the shape. Heat also seals the open cells on the cut surface so primer and paint sit on top rather than soaking in. A hair dryer does not get hot enough for either. A basic dual-temperature heat gun is all you need.
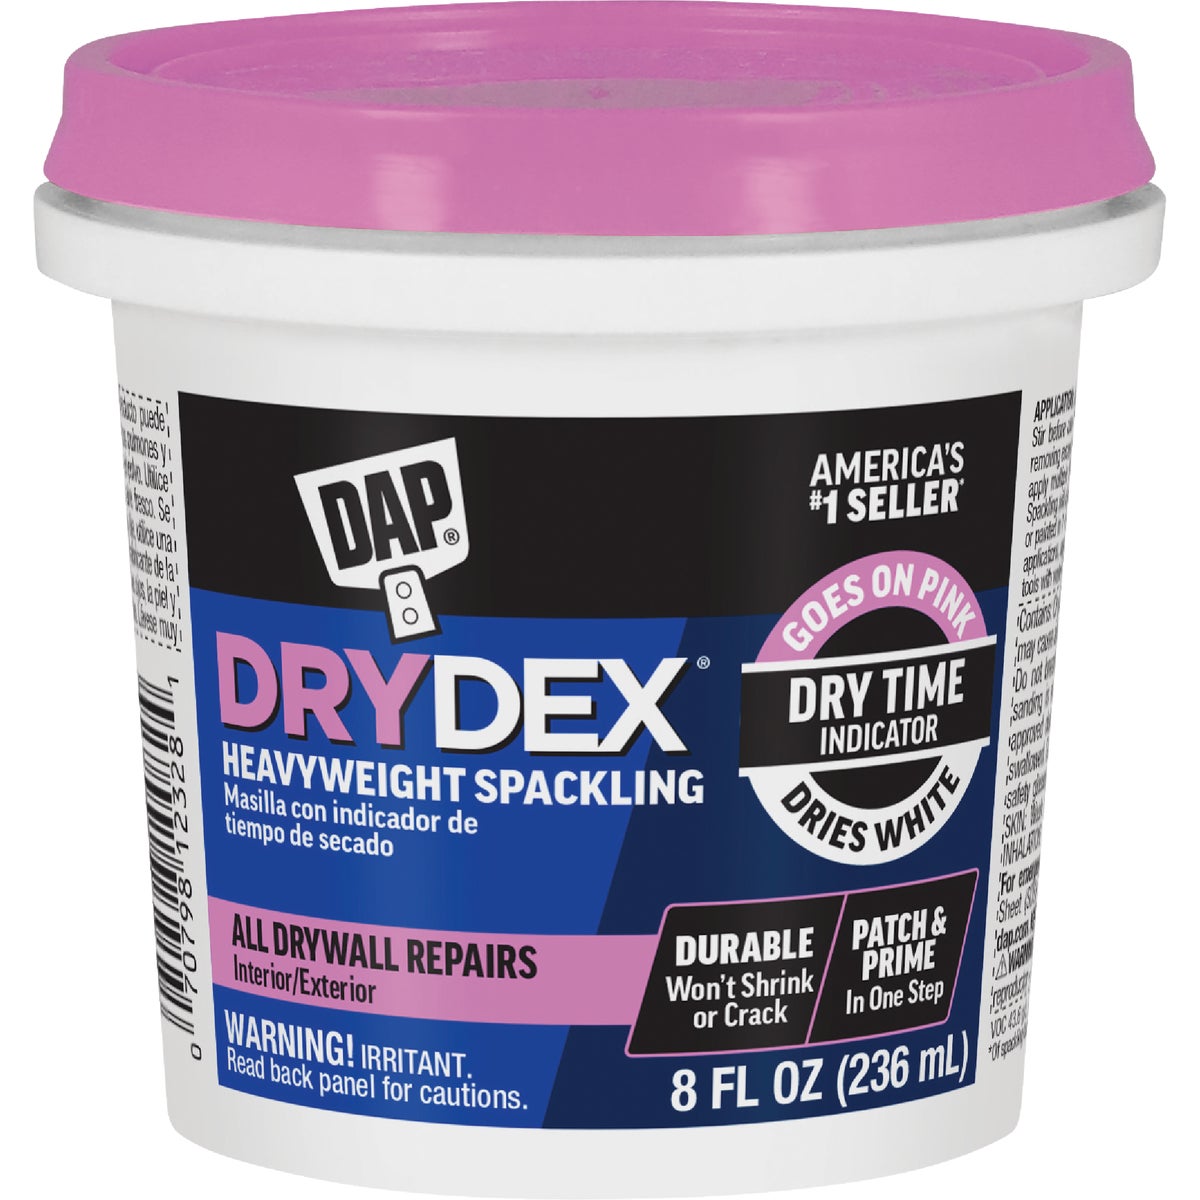
Heat-seal the surface with a heat gun first, then fill the seams with a flexible lightweight spackle and sand flush, then shoot two or three light coats of primer. Raw EVA is a sponge — skip the sealing and your first coat of paint vanishes into the foam and the seams stay visible. Flat gray filler primer is the best diagnostic: it turns the whole piece one color so you can see what still needs filling before you commit to color.
Heat-sealing plus filler primer covers most of what Plasti Dip is used for and gives a harder, more paintable surface. Heat the foam to close the surface cells, fill and sand the seams with lightweight spackle, then build up two or three coats of flat gray primer, sanding lightly between. The result takes paint better than a rubberized coating and does not stay slightly tacky in Florida humidity.
Most cosplay armor is built from 6 mm foam for shells and curved plate, and 10 mm where you want visible thickness or structural rigidity — pauldrons, chest pieces, weapon bodies. 2 mm is for surface detail layered on top. We do not stock EVA foam sheet itself; we stock everything used to cut, shape, glue, seal, and finish it.
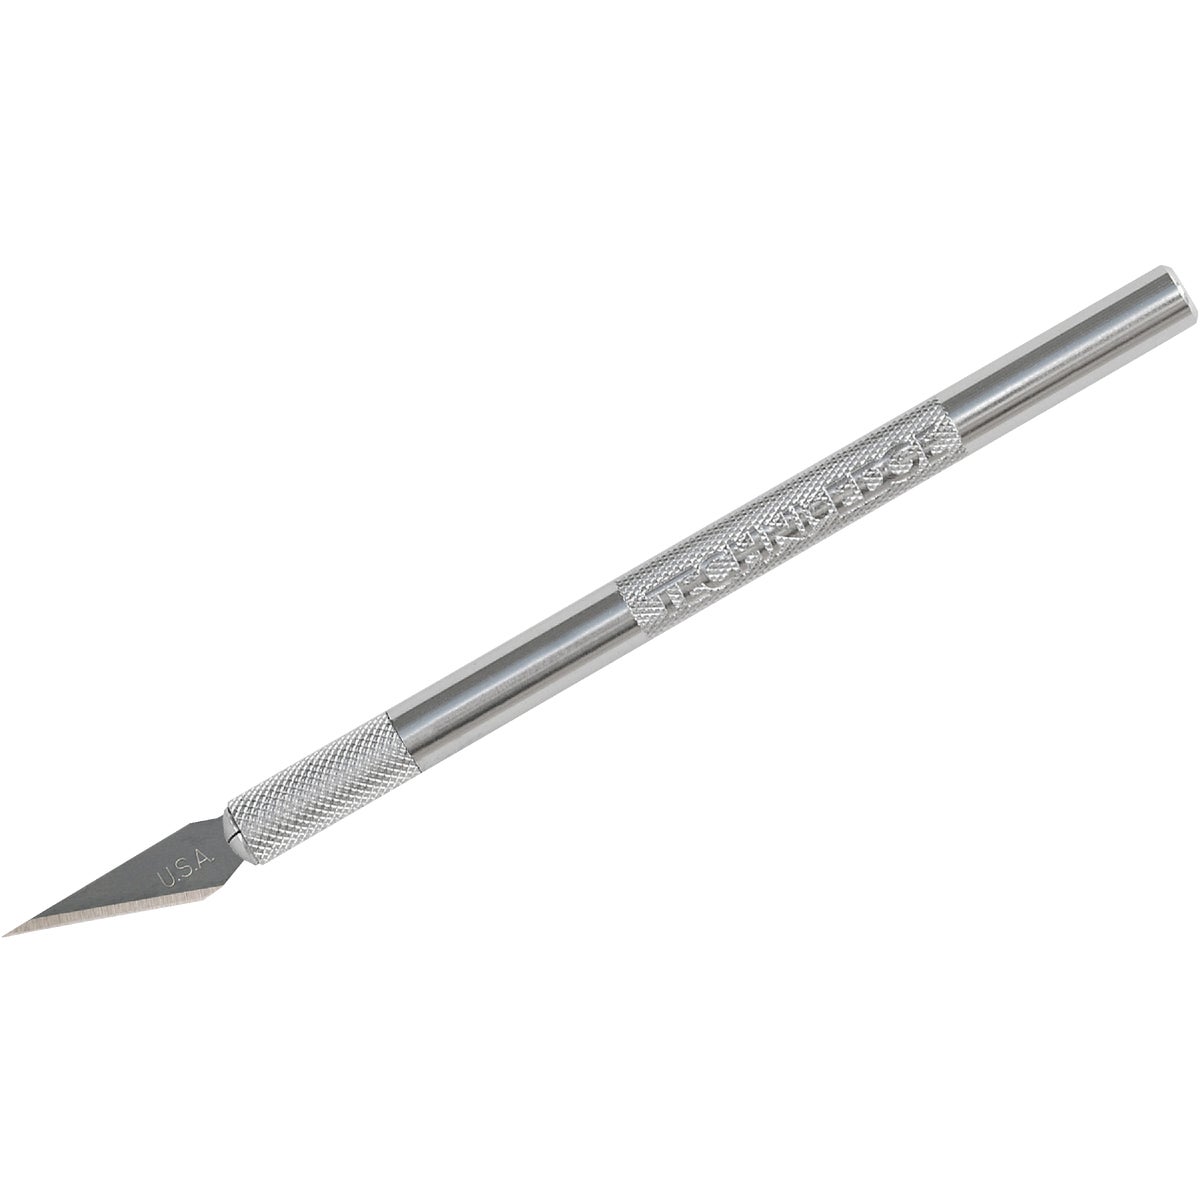
A sharp blade and a slow hand. Use a retractable utility knife held at a consistent angle for bevels, make several passes rather than trying to cut through in one, and change the blade far more often than feels necessary — a dull blade tears foam rather than slicing it, and no amount of pressure fixes that. Hook blades pull through long curves better than straight blades. For detail work a #11 hobby knife is the right size.
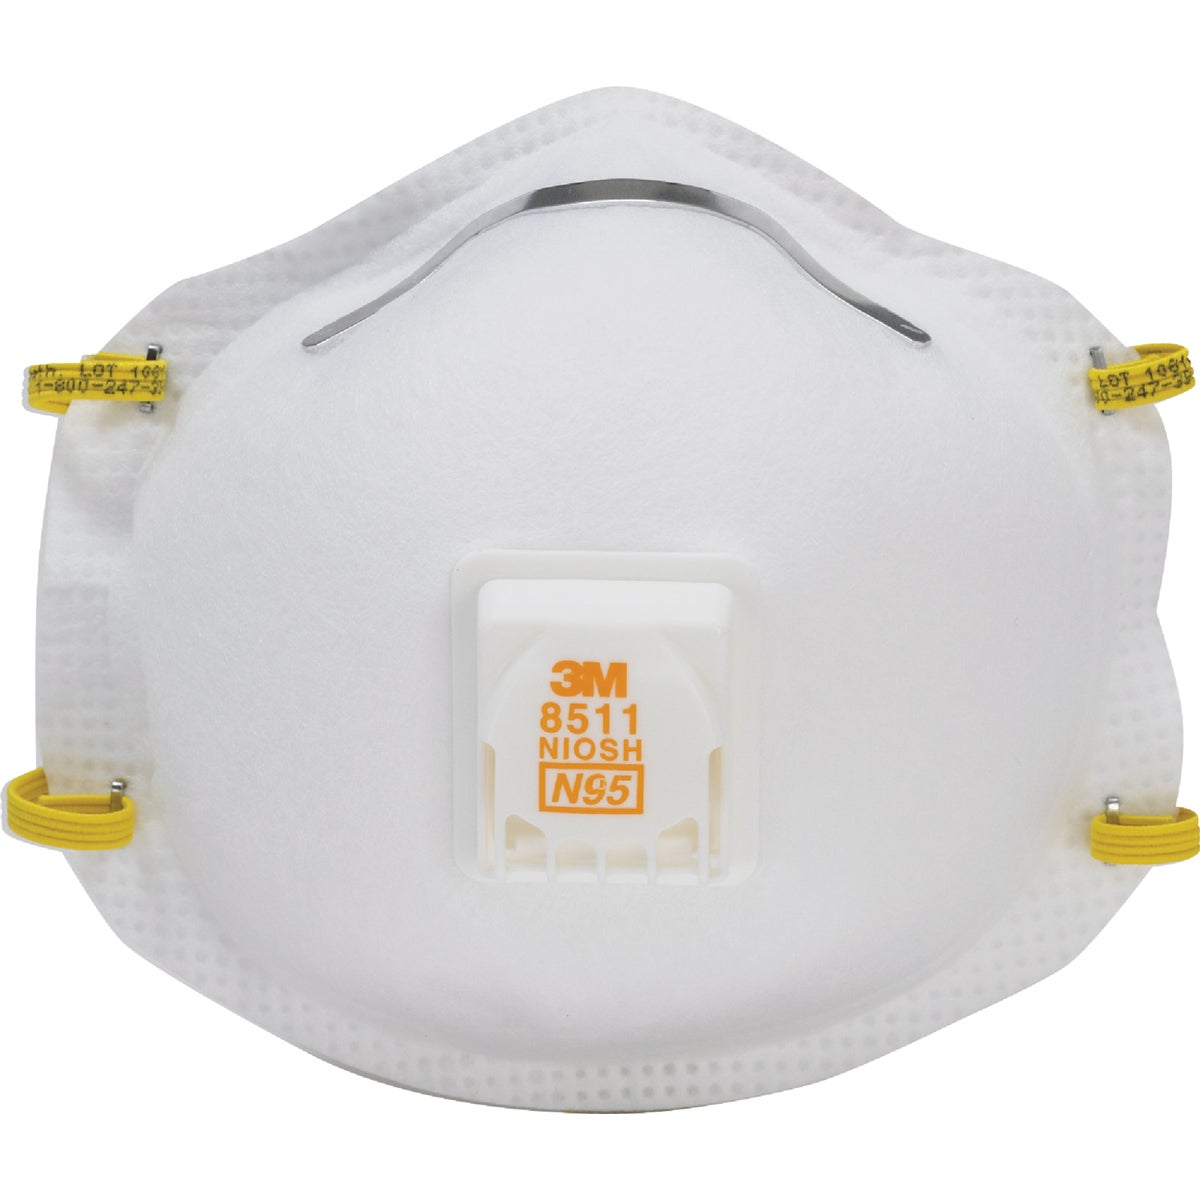
For contact cement, yes — it is a solvent adhesive and you will be brushing it for hours in a small space. Ventilate first, open a window and a door, and wear an N95 with a valve. You want the same mask when sanding cured filler or primer. For heat-shaping foam, ventilation matters more than the mask, but neither hurts.
Once the foam is sealed and primed, standard rattle-can spray paint works fine and is what most prop builders use. The classic order is flat black over primer, then metallics or color on top — black in the recesses is what makes a metallic finish read as metal rather than as silver plastic. Acrylic craft paint also works over primer and is easier to control for weathering and dry-brushing.
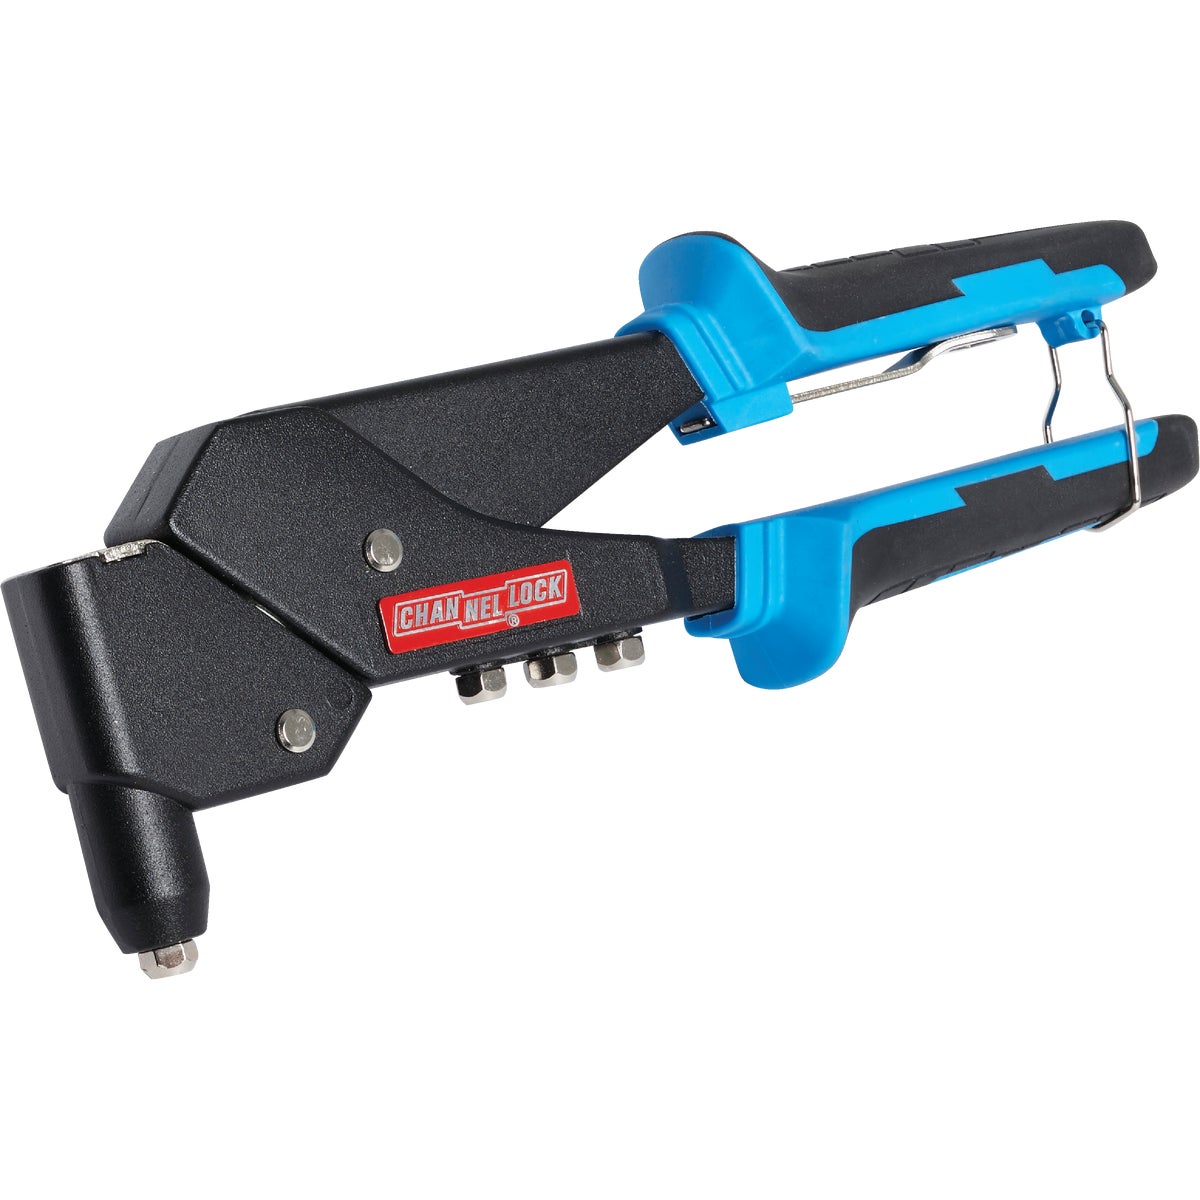
Pop rivets with a washer on the back are the durable answer — they spread the load and will not pull through the way glue or a bare rivet does. Plan the anchor points before you paint, because riveting after means touching up. For pieces that need to articulate, joining plates with zip ties or elastic gives you movement that a rigid fastener would not.
No — we do not stock EVA foam sheet, worbla, thermoplastics or patterns, and we would rather say so than waste your trip. What we do stock is everything you use on the foam: contact cement, heat guns, blades, rotary tools, spackle, primer, spray paint, rivets, and safety gear. Most of it is the same product a cosplay supplier sells in a smaller container at a higher price.
Family Hardware carries the full list on this page at both stores. Cape Coral: 622 SE 47th Terrace — (239) 542-6365. Fort Myers: 13101 McGregor Blvd — (239) 933-1744. Open Mon–Sat 7 AM–6 PM and Sun 8 AM–3 PM. Order online for free in-store pickup, usually ready within 2 hours, or ship anywhere in the continental US with free shipping over $99.
Related Guides
These overlap with this list more than you would expect — often the same shopper, and frequently the same aisle.
Pick It Up Today in Cape Coral or Fort Myers
Order online for free in-store pickup — usually ready within 2 hours — or just come in. Prices shown are our everyday shelf prices at both stores; stock on any single item is on its product page.
622 SE 47th Terrace, Cape Coral, FL 33904
Mon–Sat 7 AM–6 PM | Sun 8 AM–3 PM
Departments, services and directions for our Cape Coral store →
13101 McGregor Blvd, Fort Myers, FL 33919
Mon–Sat 7 AM–6 PM | Sun 8 AM–3 PM
Departments, services and directions for our Fort Myers store →
Free shipping on orders over $99 • Free in-store pickup • Online customer service: 877-755-2005
About Family Hardware
Store Locations
About Us
Hurricane Prep Guide
Hobby Supply Guides
Employment
Customer Service
Contact Us
Returns
Shipping & Tracking
Gift Card Balance
Rewards
Promotions
Credit Application
Tax Exempt Purchases
Terms of Service
Privacy Policy
Locations
Cape Coral
Fort Myers
All Store Locations
Grills
Grill Store — All Grills
Alfa Pizza Ovens
Big Green Egg
Napoleon
Challenger Designs
Delta Heat
Tagwood BBQ
Twin Eagles
Replacement Parts
Warranty
Services
All Services
Saw Blade Sharpening
Saw Blade Shop
Key Cutting
Screen Repair
Propane Exchange
Lamp Repair
Key Fob Batteries
Freud
Lamello P-System
Popular Tools Saw Blades
Diablo
Tenryu
© 2026 Family Hardware. Family Hardware and the Family Hardware logo are registered trademarks of Family Hardware Corporation. All rights reserved.